One of my biggest projects during quarantine last spring was to finally get caught up on printing my family’s personal photo albums. And by “caught up”, I mean get started.
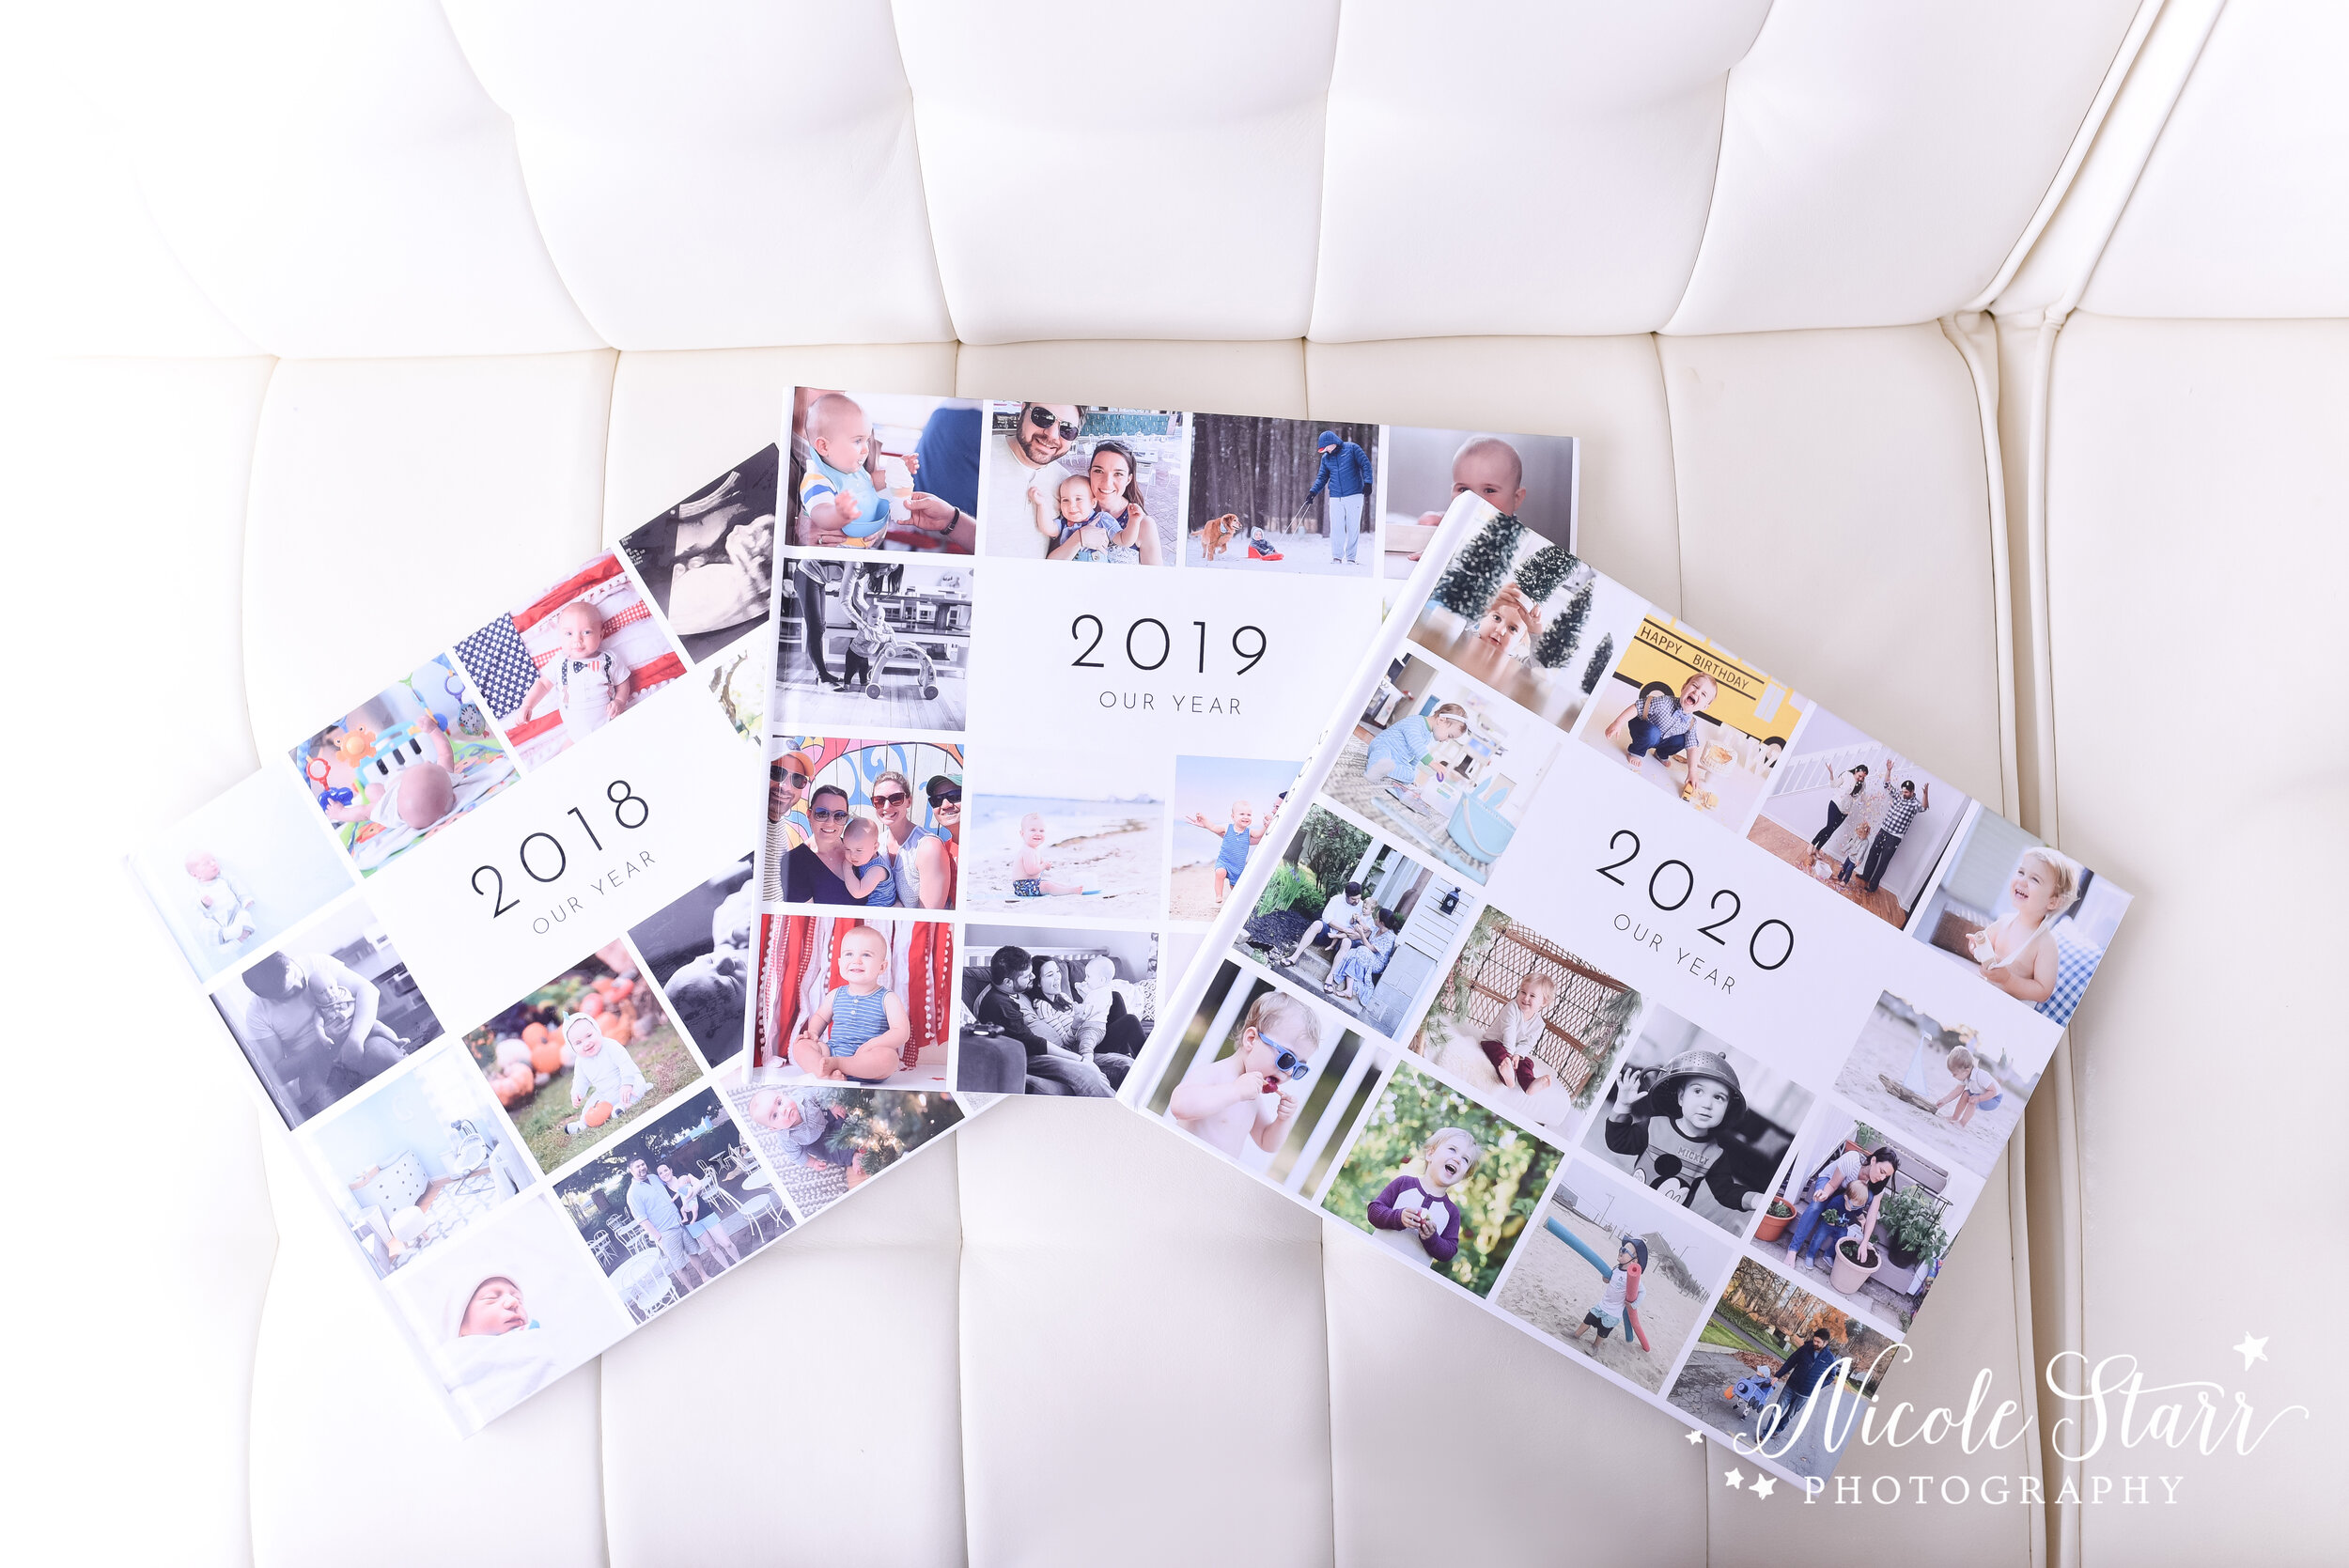
I was hugely inspired by Kate L. Photography’s blog post about her annual yearbooks, and I decided to use the same printer (Blurb Books) and album size that she uses. I loved her colorful covers so much that I wanted those bringing cheer to our bookshelves, too, and I am so glad I did! The covers are one of my favorite parts of these albums! A huge thank you to Kate for the inspiration that I needed to finally tackle this project!
I had already printed 3 different albums since Grayson was born in 2018 with his Fresh 48 photos, first year photos in the studio, and some lifestyle images done by a photographer friend, but I still hadn’t done anything with all of the hundreds of other photos that we had taken over the past few years. We had thousands of photos on my phone and my husbands phone, and hundreds more that I had taken on my camera of our day-to-day adventures. I was overwhelmed with where to start, but I knew that I wanted to get those photos organized and printed so that we could start to enjoy reliving those moments again and again.
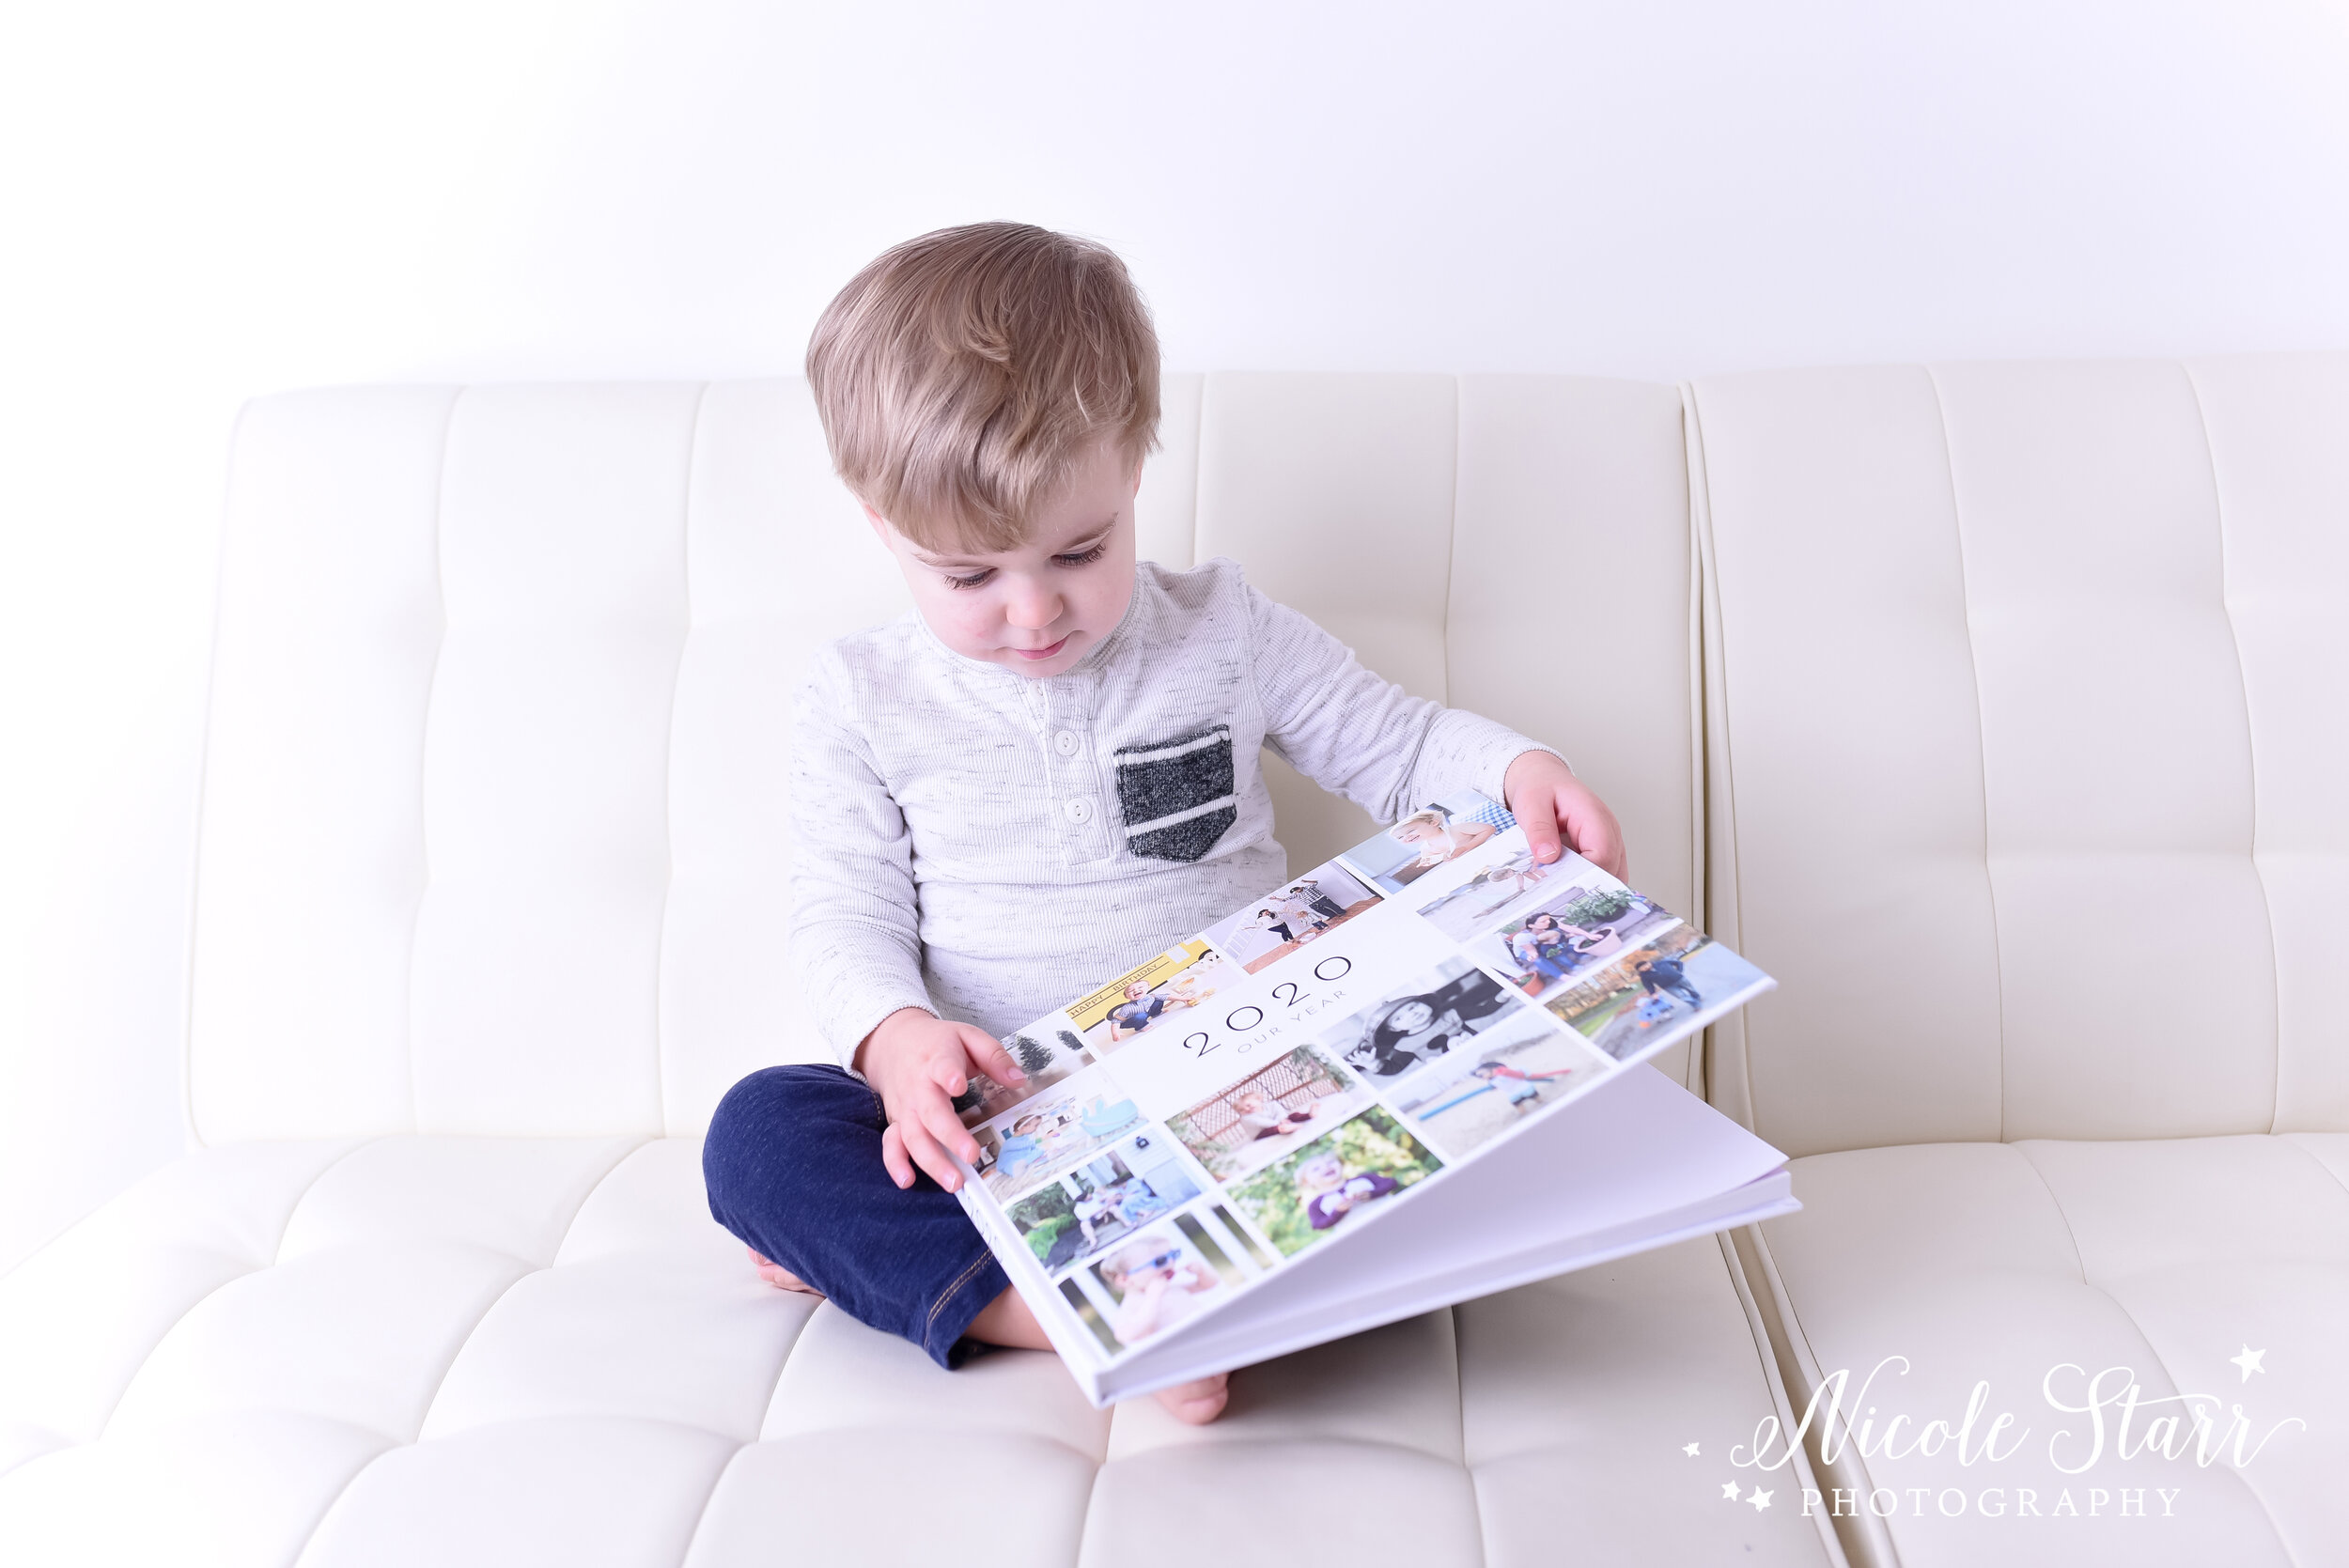
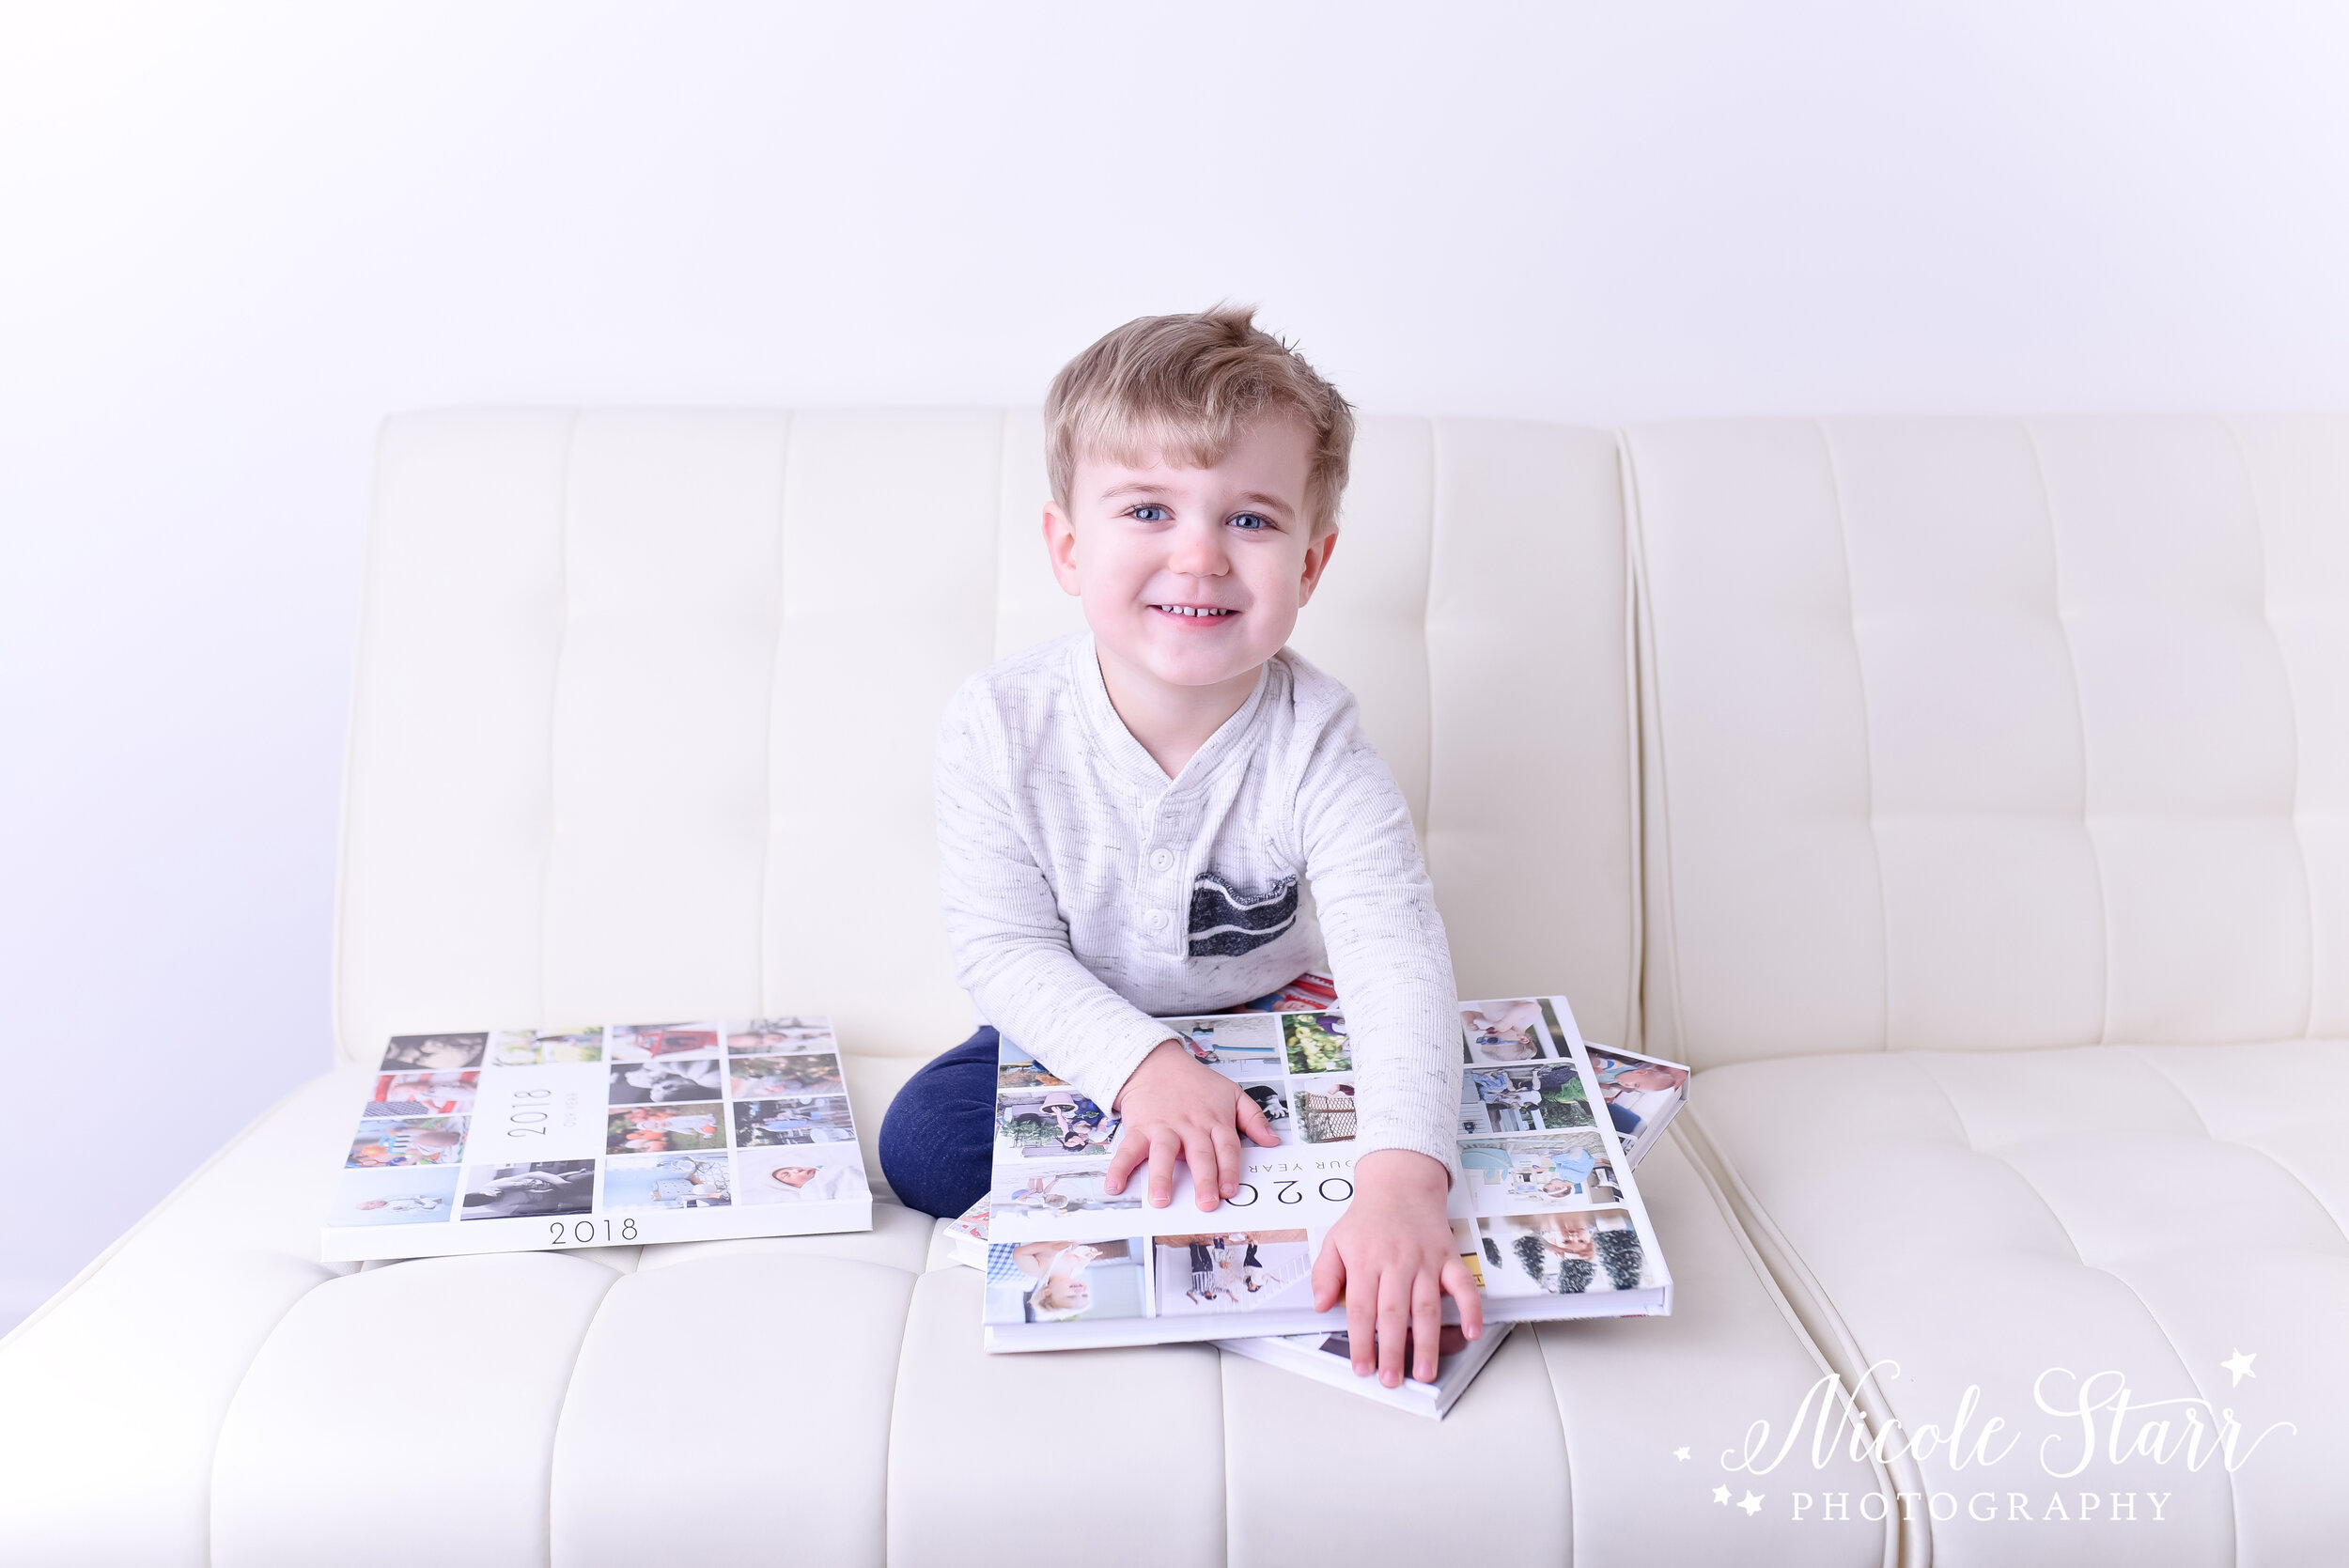
I wound up organizing my photos from 2018 and cranking out the design for the first book in a few days. When it arrived in the mail and I saw how interested Grayson was in reading the book, turning the pages, and talking about every single photo and every single story, I knew that this was definitely going to be my new priority.
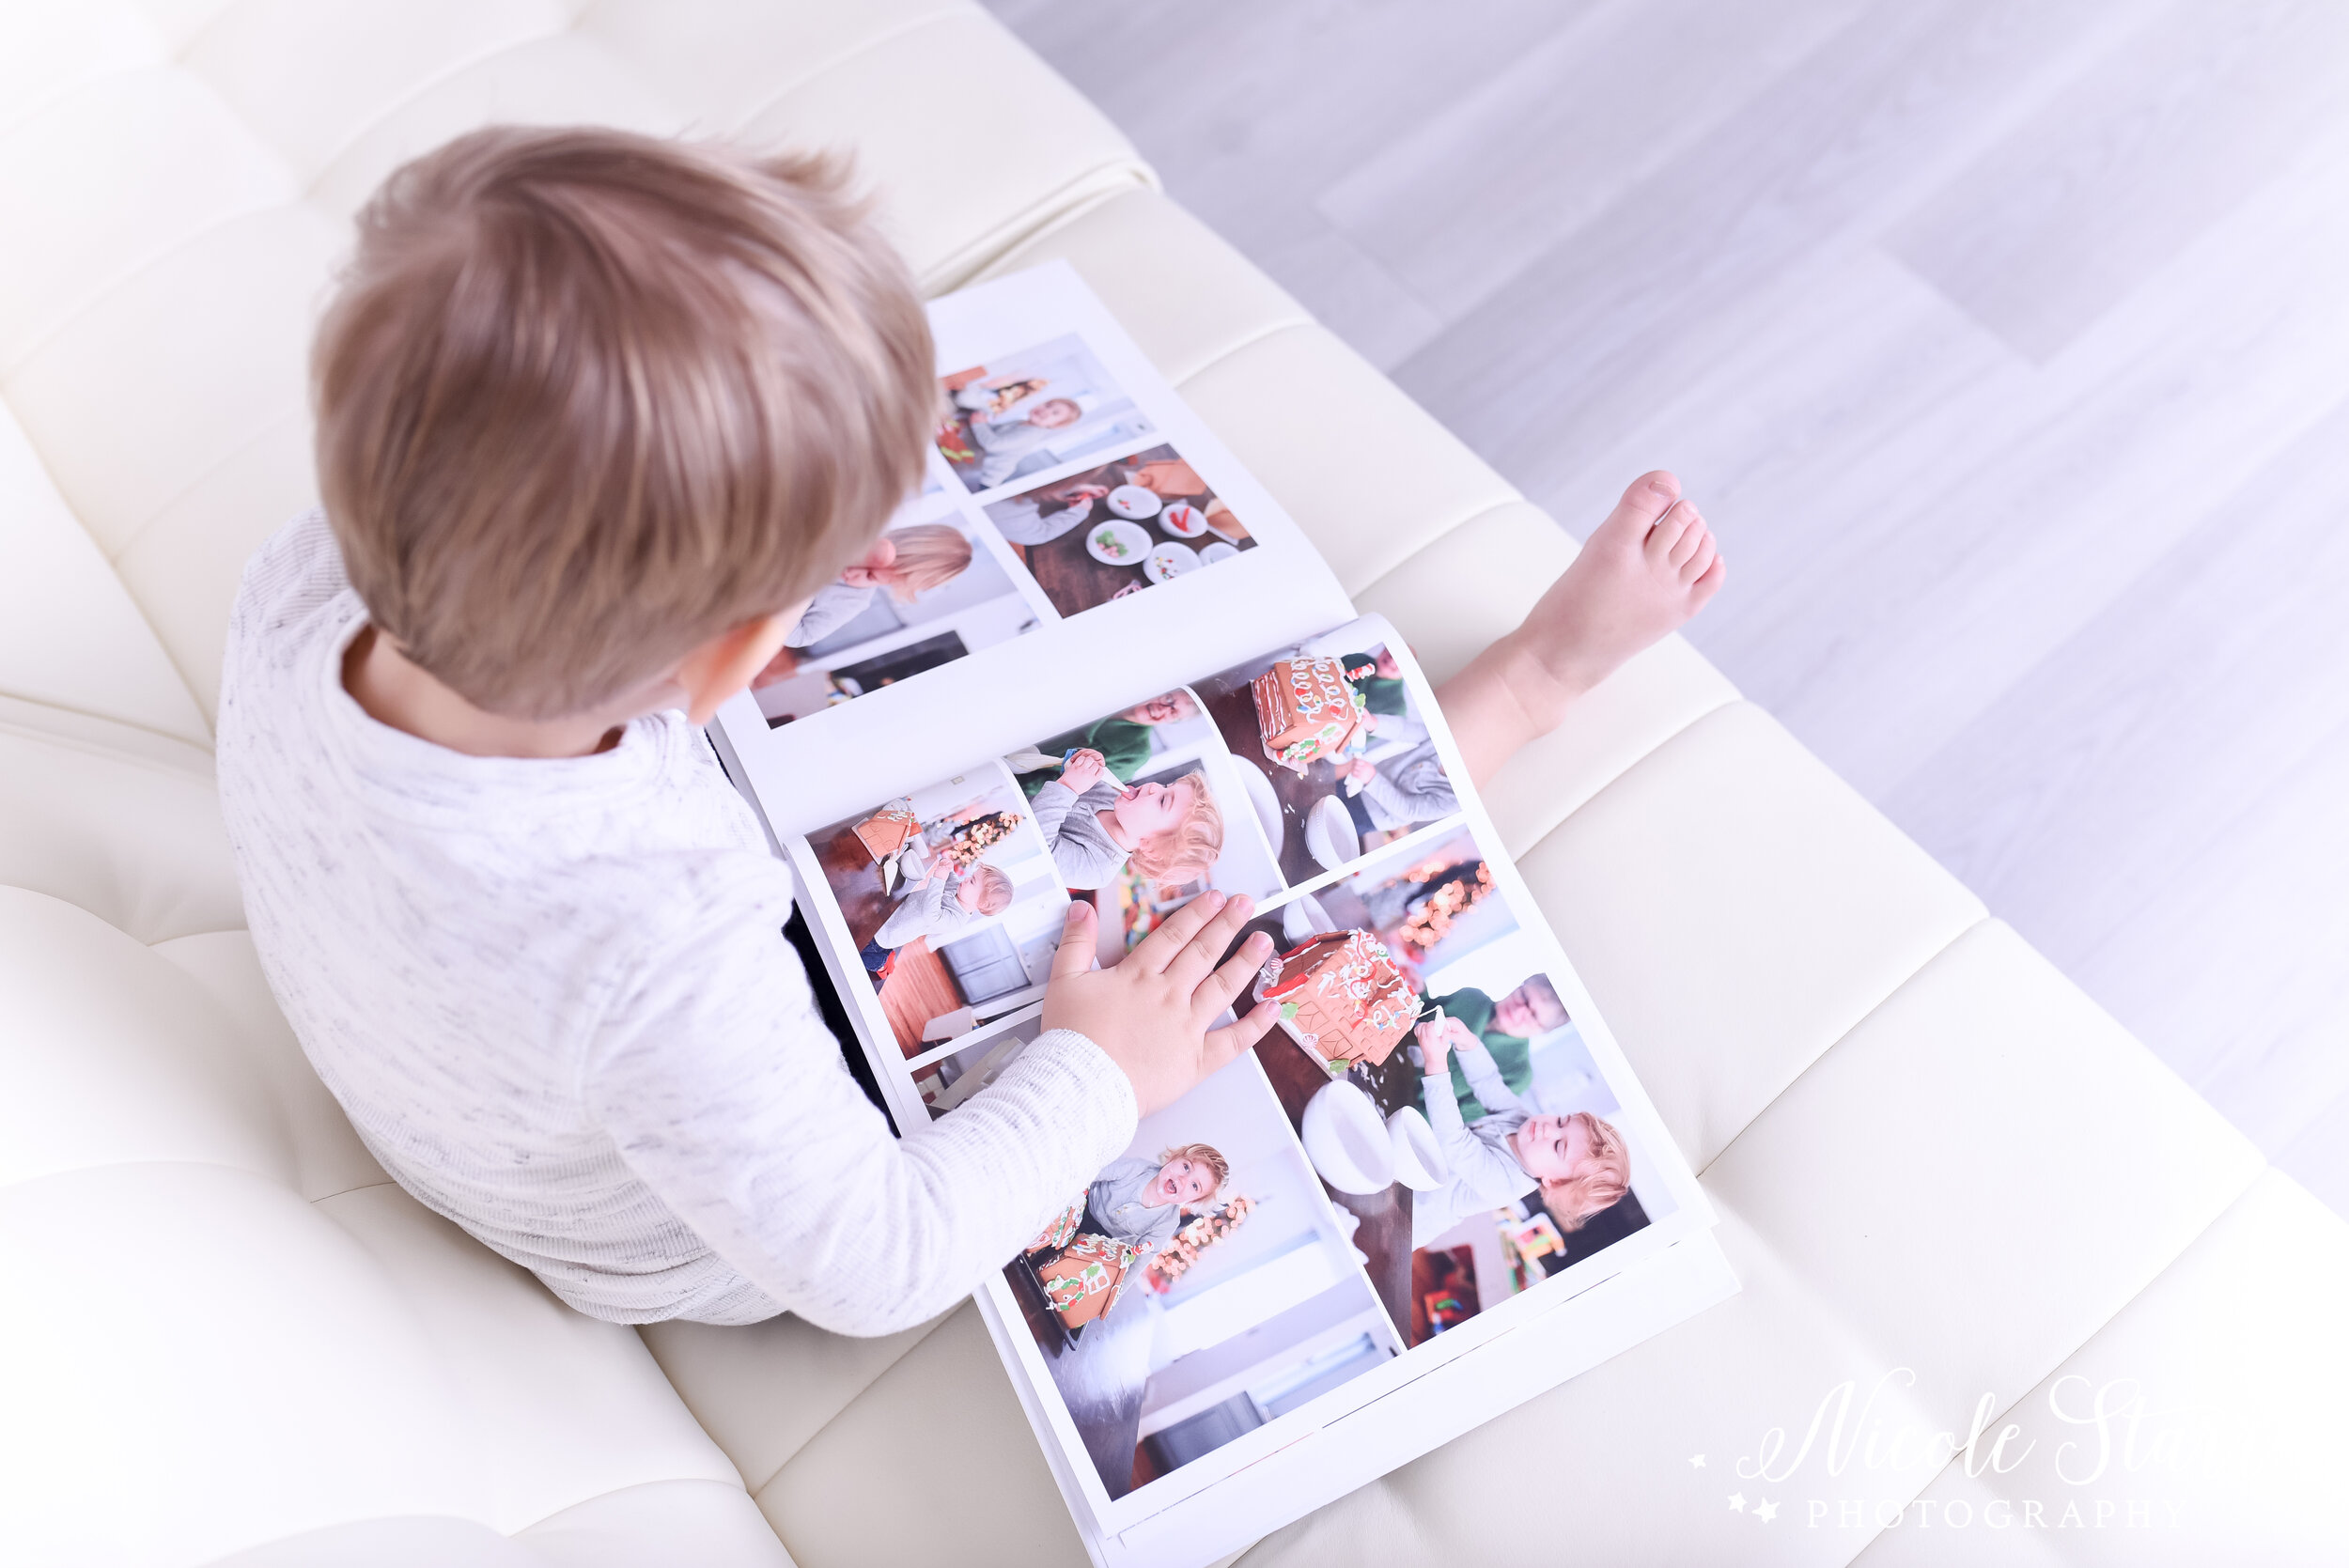
I quickly created 2019’s book, and for the past year we enjoyed the set of books. Grayson literally pulls them off the shelf multiple times a week and will spend an hour looking through the pages and talking about our adventures. It makes my mama heart so happy to see how much he loves these books!
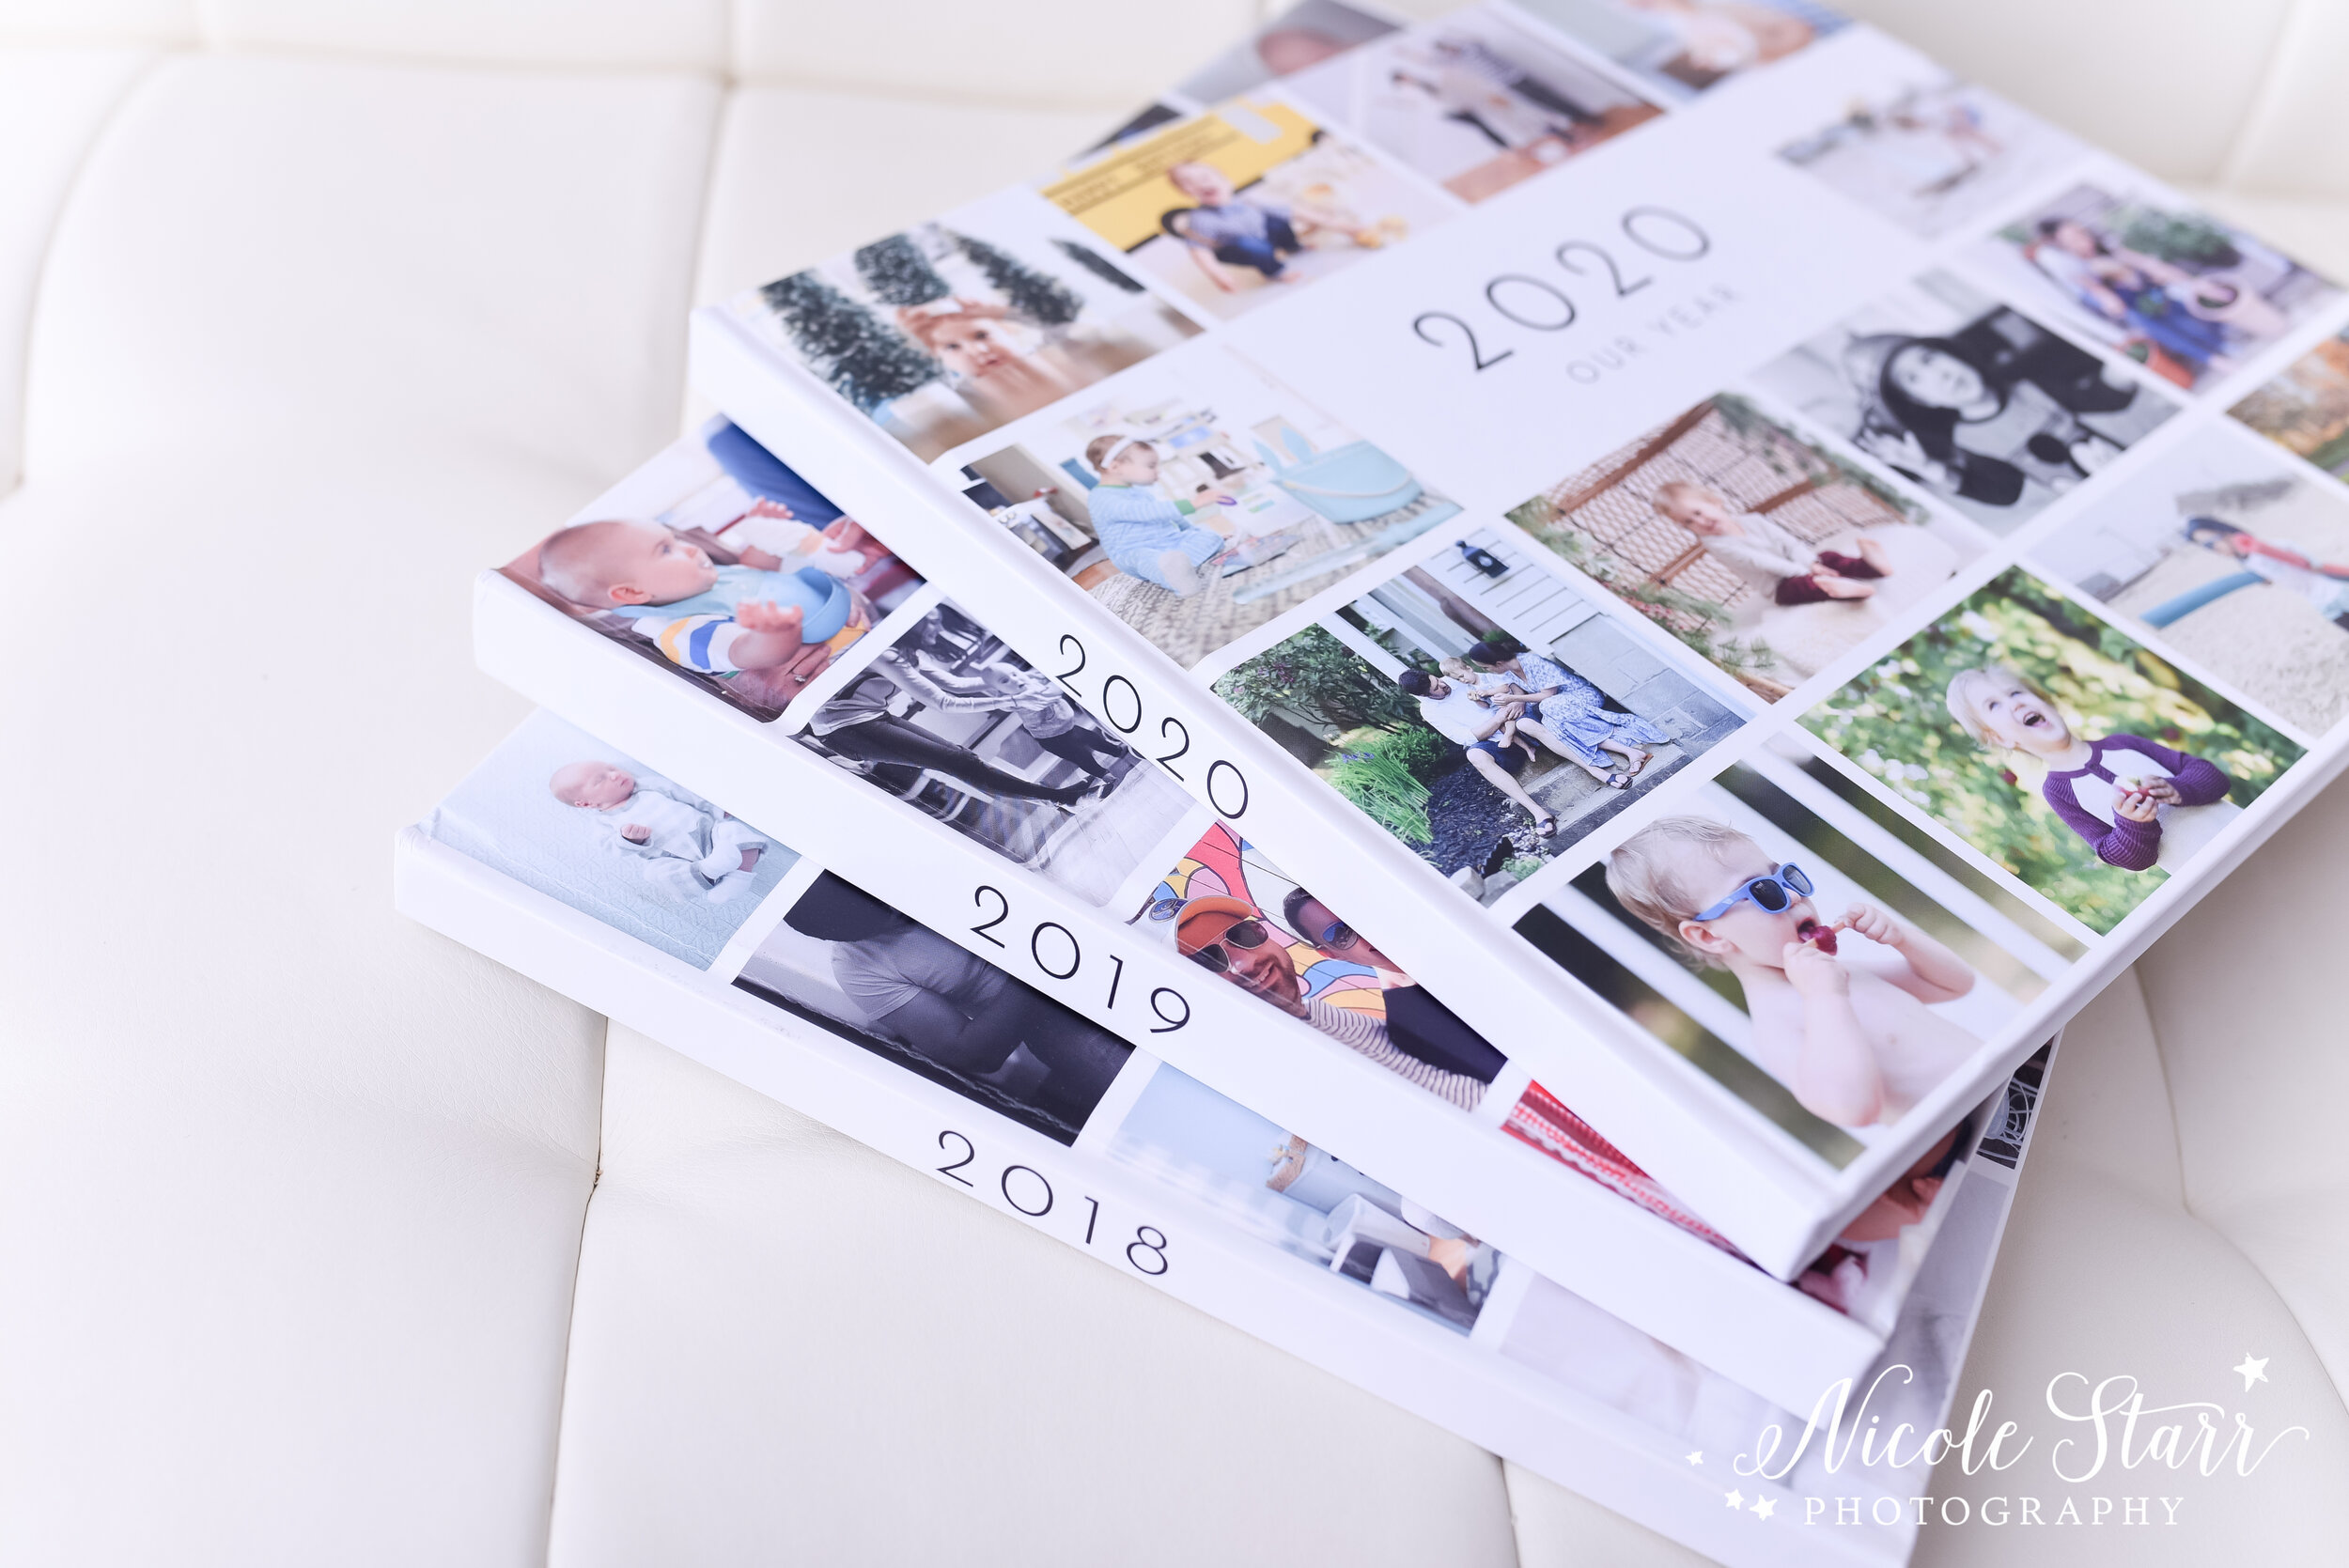
So with 2018 and 2019 in print, of course I made it a priority to capture even more moments of our day to day lives in 2020 with the goal of preserving these stories in our annual photo album. When it came time to create the album, I designed it in two nights and sent it off to print. Easy peasy!
Now, if you’re feeling like I was a year ago and you’re wondering where to even begin with the thousands of photos sitting on your phone and hard drive, I want to help you!
Keep reading for tips on organizing your photos and making this task something you look forward to instead of dread & avoid!
I have compiled some of the things I’ve learned from making my own albums, plus tips I’ve talked with friends about and strategies that they’ve found to work for them. Take what you will, and make it work for you!
1. Start small.
You know that quote that goes something like, “How do you eat an elephant? One bite at a time.” This is how you want to approach this project. You don’t have to organize all of your photos at once. Start with the most recent ones and work your way backwards. Right now, just focus on last year. Do all of these tasks for one year at a time, and then when you’re done go back to the one before that until you’re all caught up.
2. Choose your favorites first.
If you have a ton of photos on your phone, this part is easy! I’ve only ever owned an iPhone so I don’t know how it works on an Android, but I’m sure it’s similar. Go through and click the heart/favorite button to mark all of your favorite photos. You can scroll back to look at the ones in a particular month/year. While you’re at it, go ahead and delete the screenshots, cast-offs, and any other photos that are just clogging up your phone. Put a reminder on your phone every evening for a week to spend 15 minutes going through and marking your favorites. Before you know it, you’ll have a whole year of favorites saved in an album that is ready to export!
3. Get the photos ready to print.
Now you need to get the photos off of your phone and onto your computer to design the album. Or you can use a printing company that will just let you upload from your phone. I hear that www.chatbooks.com is great for this! I have not personally used them, but I heard you can upload right from your phone.
You can plug your phone into your computer to transfer the photos. You can save them to the cloud or Dropbox and access them that way. You can AirDrop them. However you want to, get those photos onto your computer.
Are you going to edit them? This is a personal preference. I chose to adjust the brightness and color of most of my cell phone photos in Lightroom. I also used that to crop them to whatever crop I felt best suited each portrait. You can get a Lightroom CC subscription for just $9.99 a month, and this would be a great way for you to try out the software if you’re new to it!
When saving your photos, sort them by month to make it easy to plug them into your album. I export in Lightroom and I automatically have them sorted by capture date. This names them in the order the photographs were taken, and it is really easy for me to them put them together in a logical and sequential order when I go to design my book (next step!).
4. Design your album!
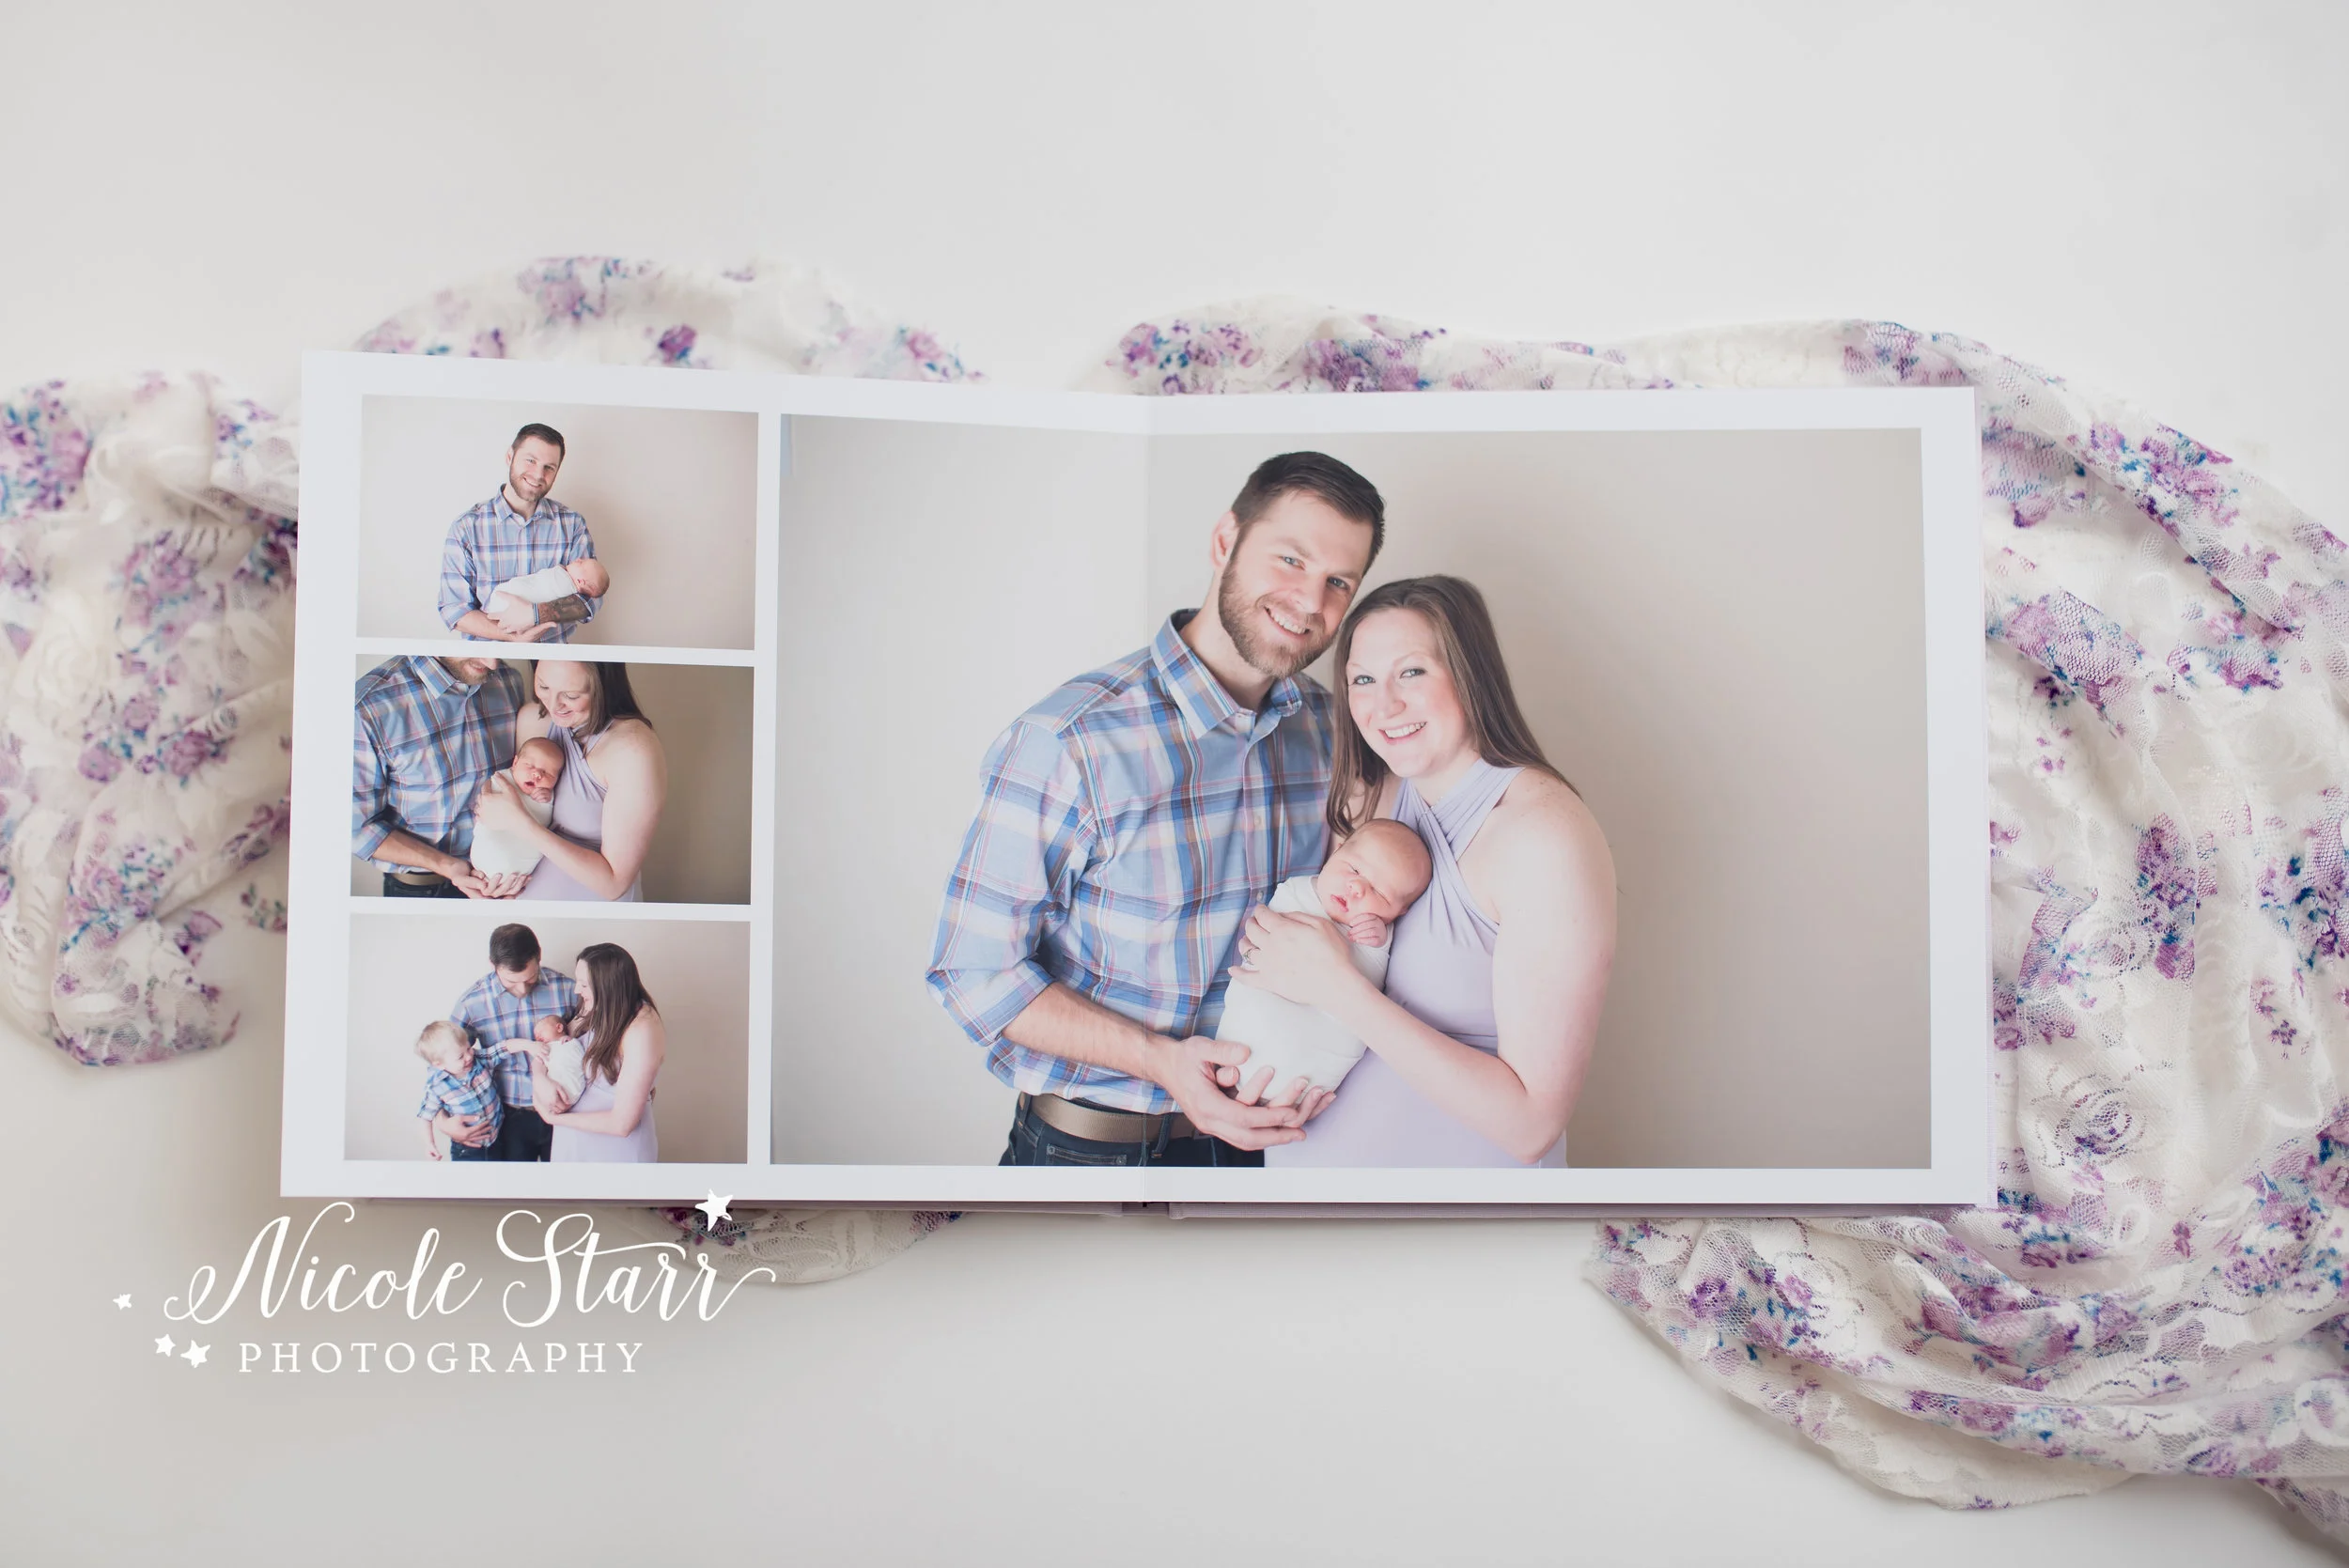
Most album companies have free software that lets you drag and drop your photos into templates to easily create your album. I recommend choosing a few of their pre-made layouts that you love and repeating those throughout the book. I tend to do layouts with 2-6 images on each spread, and sometimes I will do a page with 4-9 smaller but related images in a grid.
Make sure to not try and fit too many photos on each page because you want to be able to see the details in each one without making it feel cramped. I like layouts that have a little white space between the images and at the top & bottom of the page.
Don’t overthink it, and don’t let your perfectionist tendencies take over here. Done is better than perfect right now. If you keep tweaking the layout you will never get around to getting the album printed, and you’re going to get a lot more enjoyment out of it when sitting on the couch flipping through the pages with your little one than you will by spending another night moving photos around on your screen to see how they look a different way.
5. Print it & enjoy!
Once I designed my album I was so proud of it that I wanted to print it right away. But I had heard that Blurb Books ALWAYS has sales so I decided to wait for a sale — which is a good thing because my albums tend to have 110-125 pages!
Sign up for their emails and before you know it, you’ll get a notification about a sale. Simply upload it to print, and you’re done! Then you can start waiting by your mailbox for it to arrive, eager to tear open the box the minute it’s delivered. (Wait, I’m not the only one that does that, am I?!?!)
Psst!!! Use this link to save $30 on your first album! (affiliate link)
6. Create a system to stay organized moving forward.
After you’re all caught up and you’ve printed however many years worth of family photos that you have backlogged, create a system to stay on top of it.
Have only a few minutes a month?
Choose a time once a month to sort through your photos from that month and mark a few favorites. If you do this regularly, it will only take you 10-15 minutes to add a few to your favorites folder each month. Put it on your calendar or set a reminder on your phone, and make sure you do it! Then at the end of the year you simply open up that favorites folder and start designing your album!
Have an hour a month?
Pour a warm cup of tea or a glass of your favorite wine, put on some music, and get to work! Set that reminder on your calendar so this is an evening activity you can look forward to each month. Mark your favorite photos from the month, and upload them into an album design right then and there. As the year goes on you’ll slowly add to your album page layouts, and at the end of the year it will all be done for you and ready to print.
Save for later!