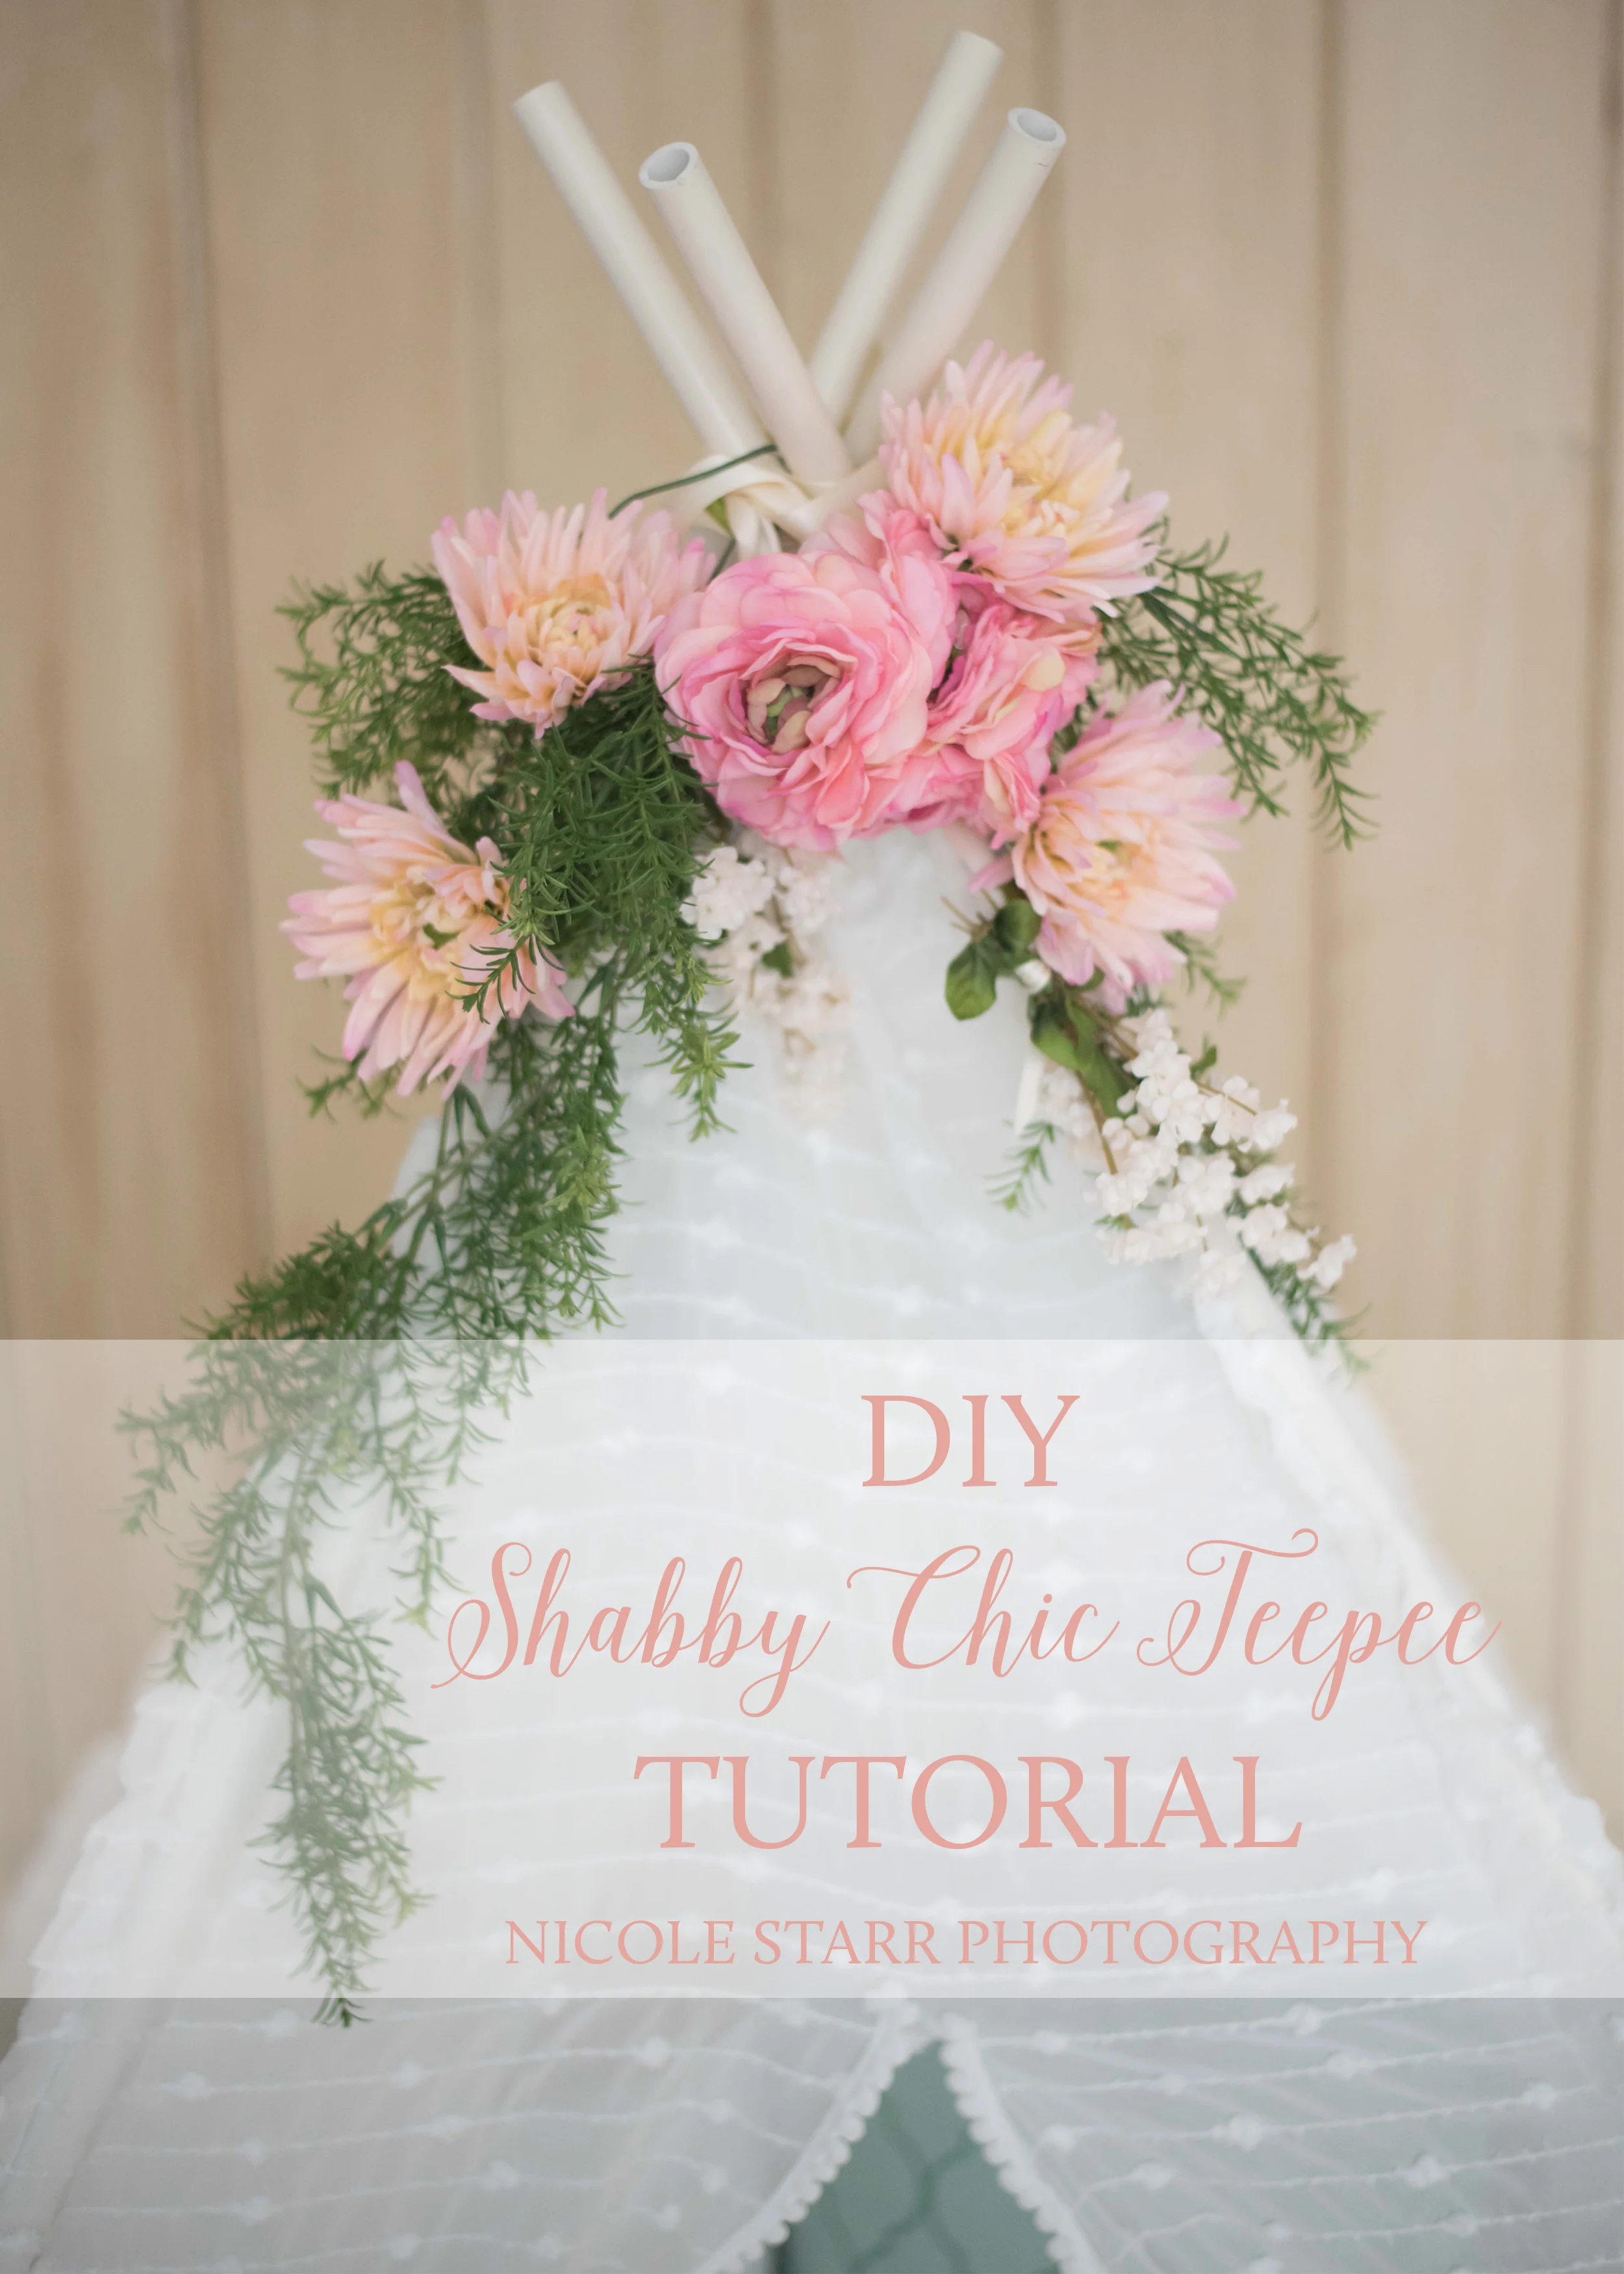
After our last tutorial was such a big hit, I received a lot of requests to share a step-by-step guide to making your own teepee at home!
When a mother requested a boho teepee for an upcoming cake smash, I was thrilled to be able to pull together a gorgeous set using this new prop. Fabric teepees seem to be the "it" item of 2016 -- for months I had been admiring teepees on Etsy, in clients' homes, on nursery blogs, and all over Pinterest. These beautiful tents easily sell for $100-$200, and being the oh-so-crafty photographer that I am, I knew that I could make this for a lot less, love the outcome, and have fun doing so!
First, I headed over to Pinterest for a little inspiration. I knew that I wanted the teepee to be a medium size, perfect for sitters, toddlers, and young children. I decided that the ideal height would be 5 feet tall, though at the moment I am debating making another set of poles 3.5 feet tall to see how it looks with smaller babies.
STEP ONE: The Frame
Purchase PVC pipe at your local hardware store and cut the pipe into four 5-foot sections. I chose the 1" piping.
The PVC will have letters printed on it. Spray paint the top 12" to cover the letters. You can use any color that will match your fabric or theme! I happened to have some cream colored paint sitting around, so I used that. Let dry.
Then, use a power drill and drill holes all the way through each piece about 7" from the top of the PVC. Later on, this will be how you string the four pieces together.
STEP TWO: The Fabric
Many people like to use a sturdier canvas fabric for their teepees. If your teepee will get a lot of use, choose a fabric that will stand up to a little wear & tear.
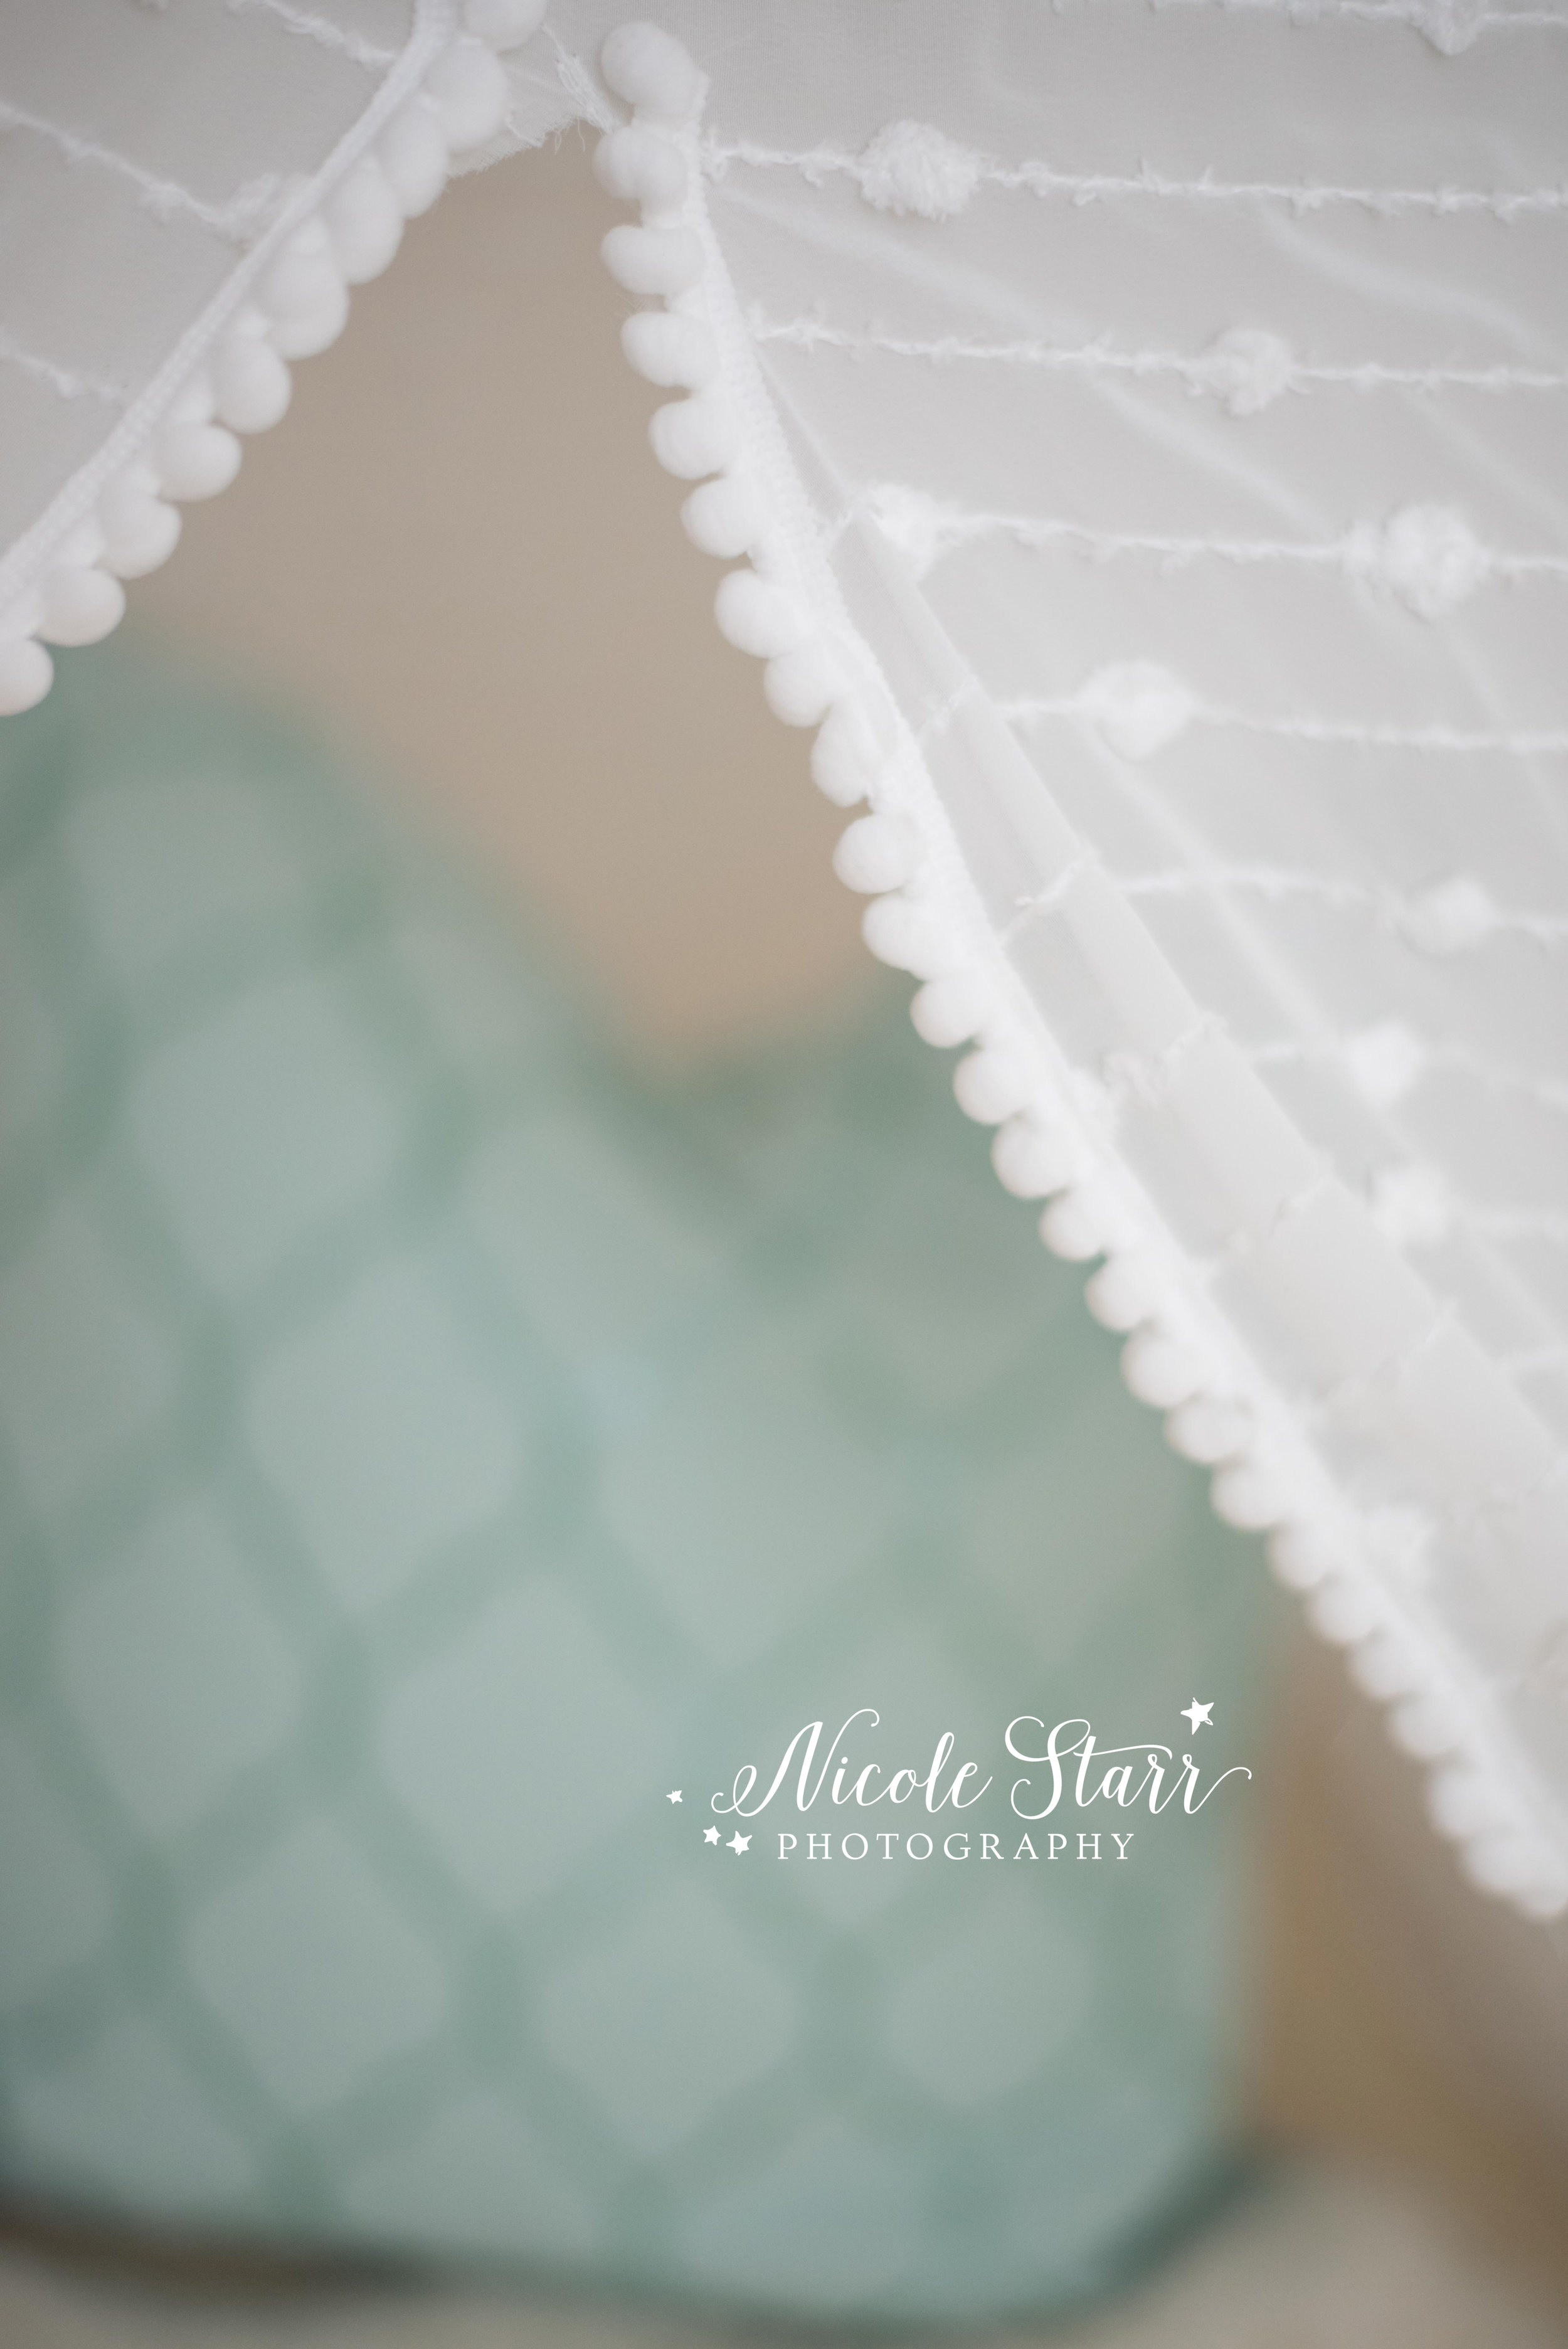
Because this will be more of a photography prop, and to match my airy & whimsical style, I chose a light, gauzy fabric with delicate details. It is sheer enough for light to pass through, and it has beautiful movement.
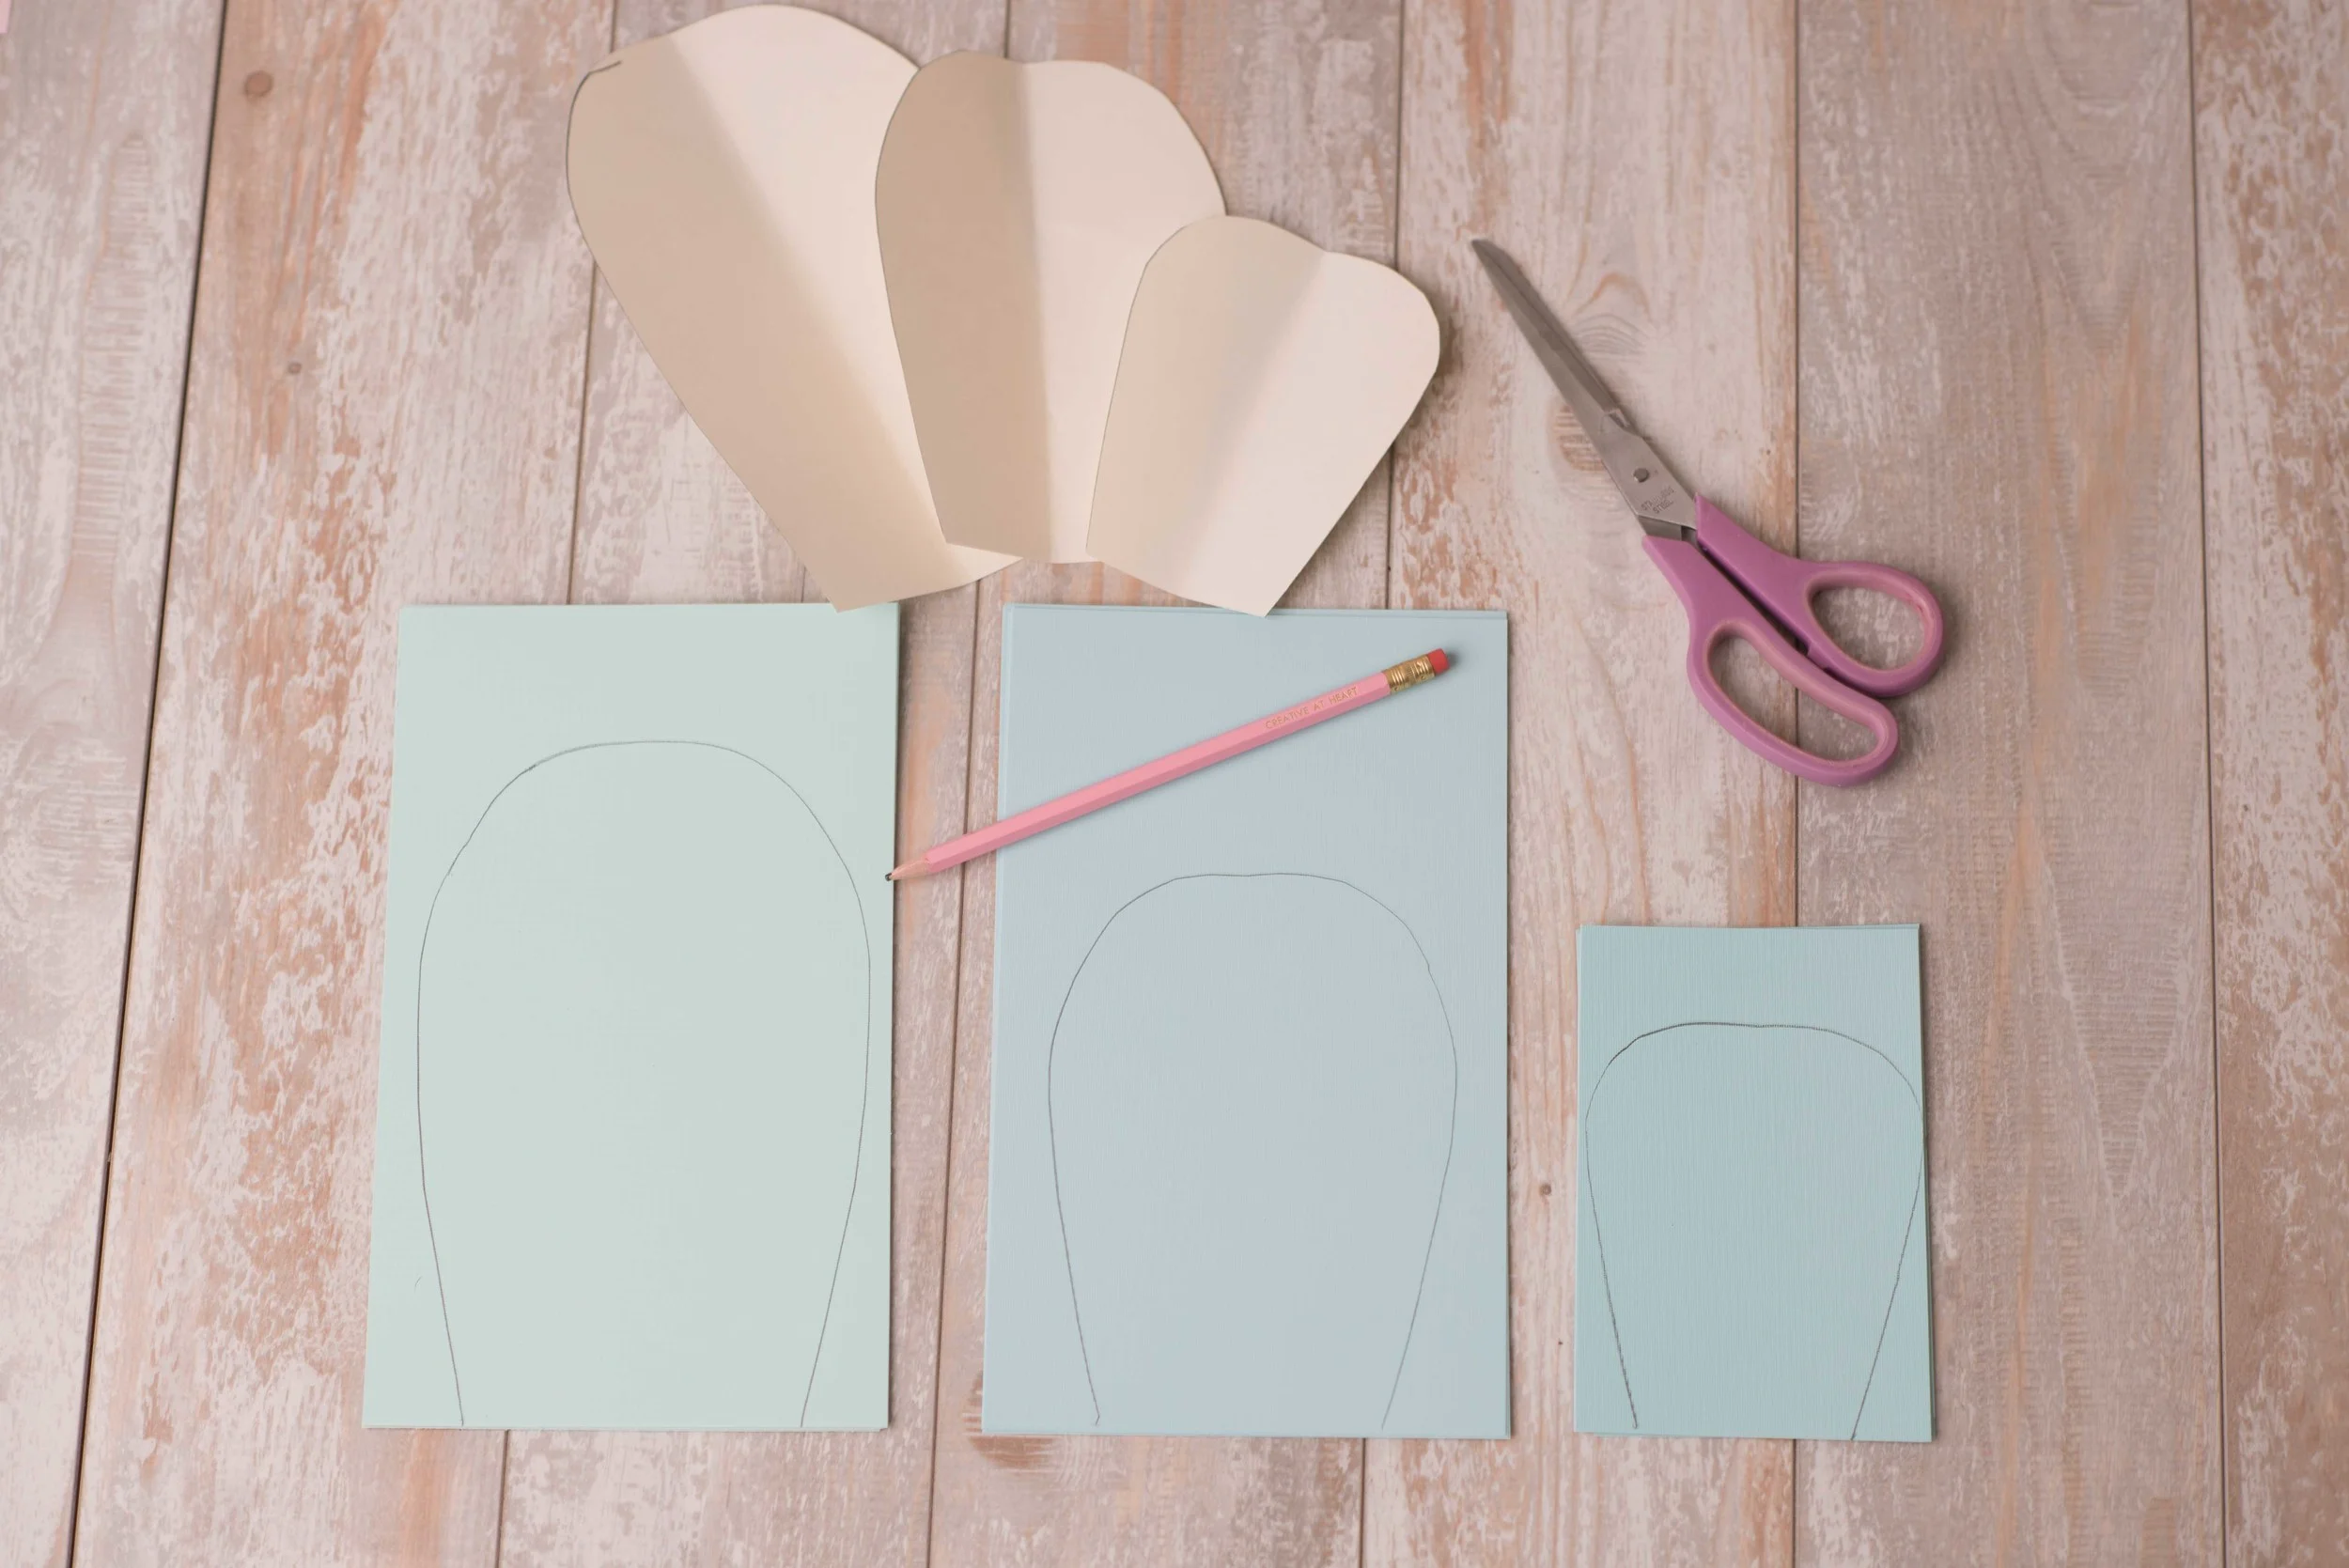
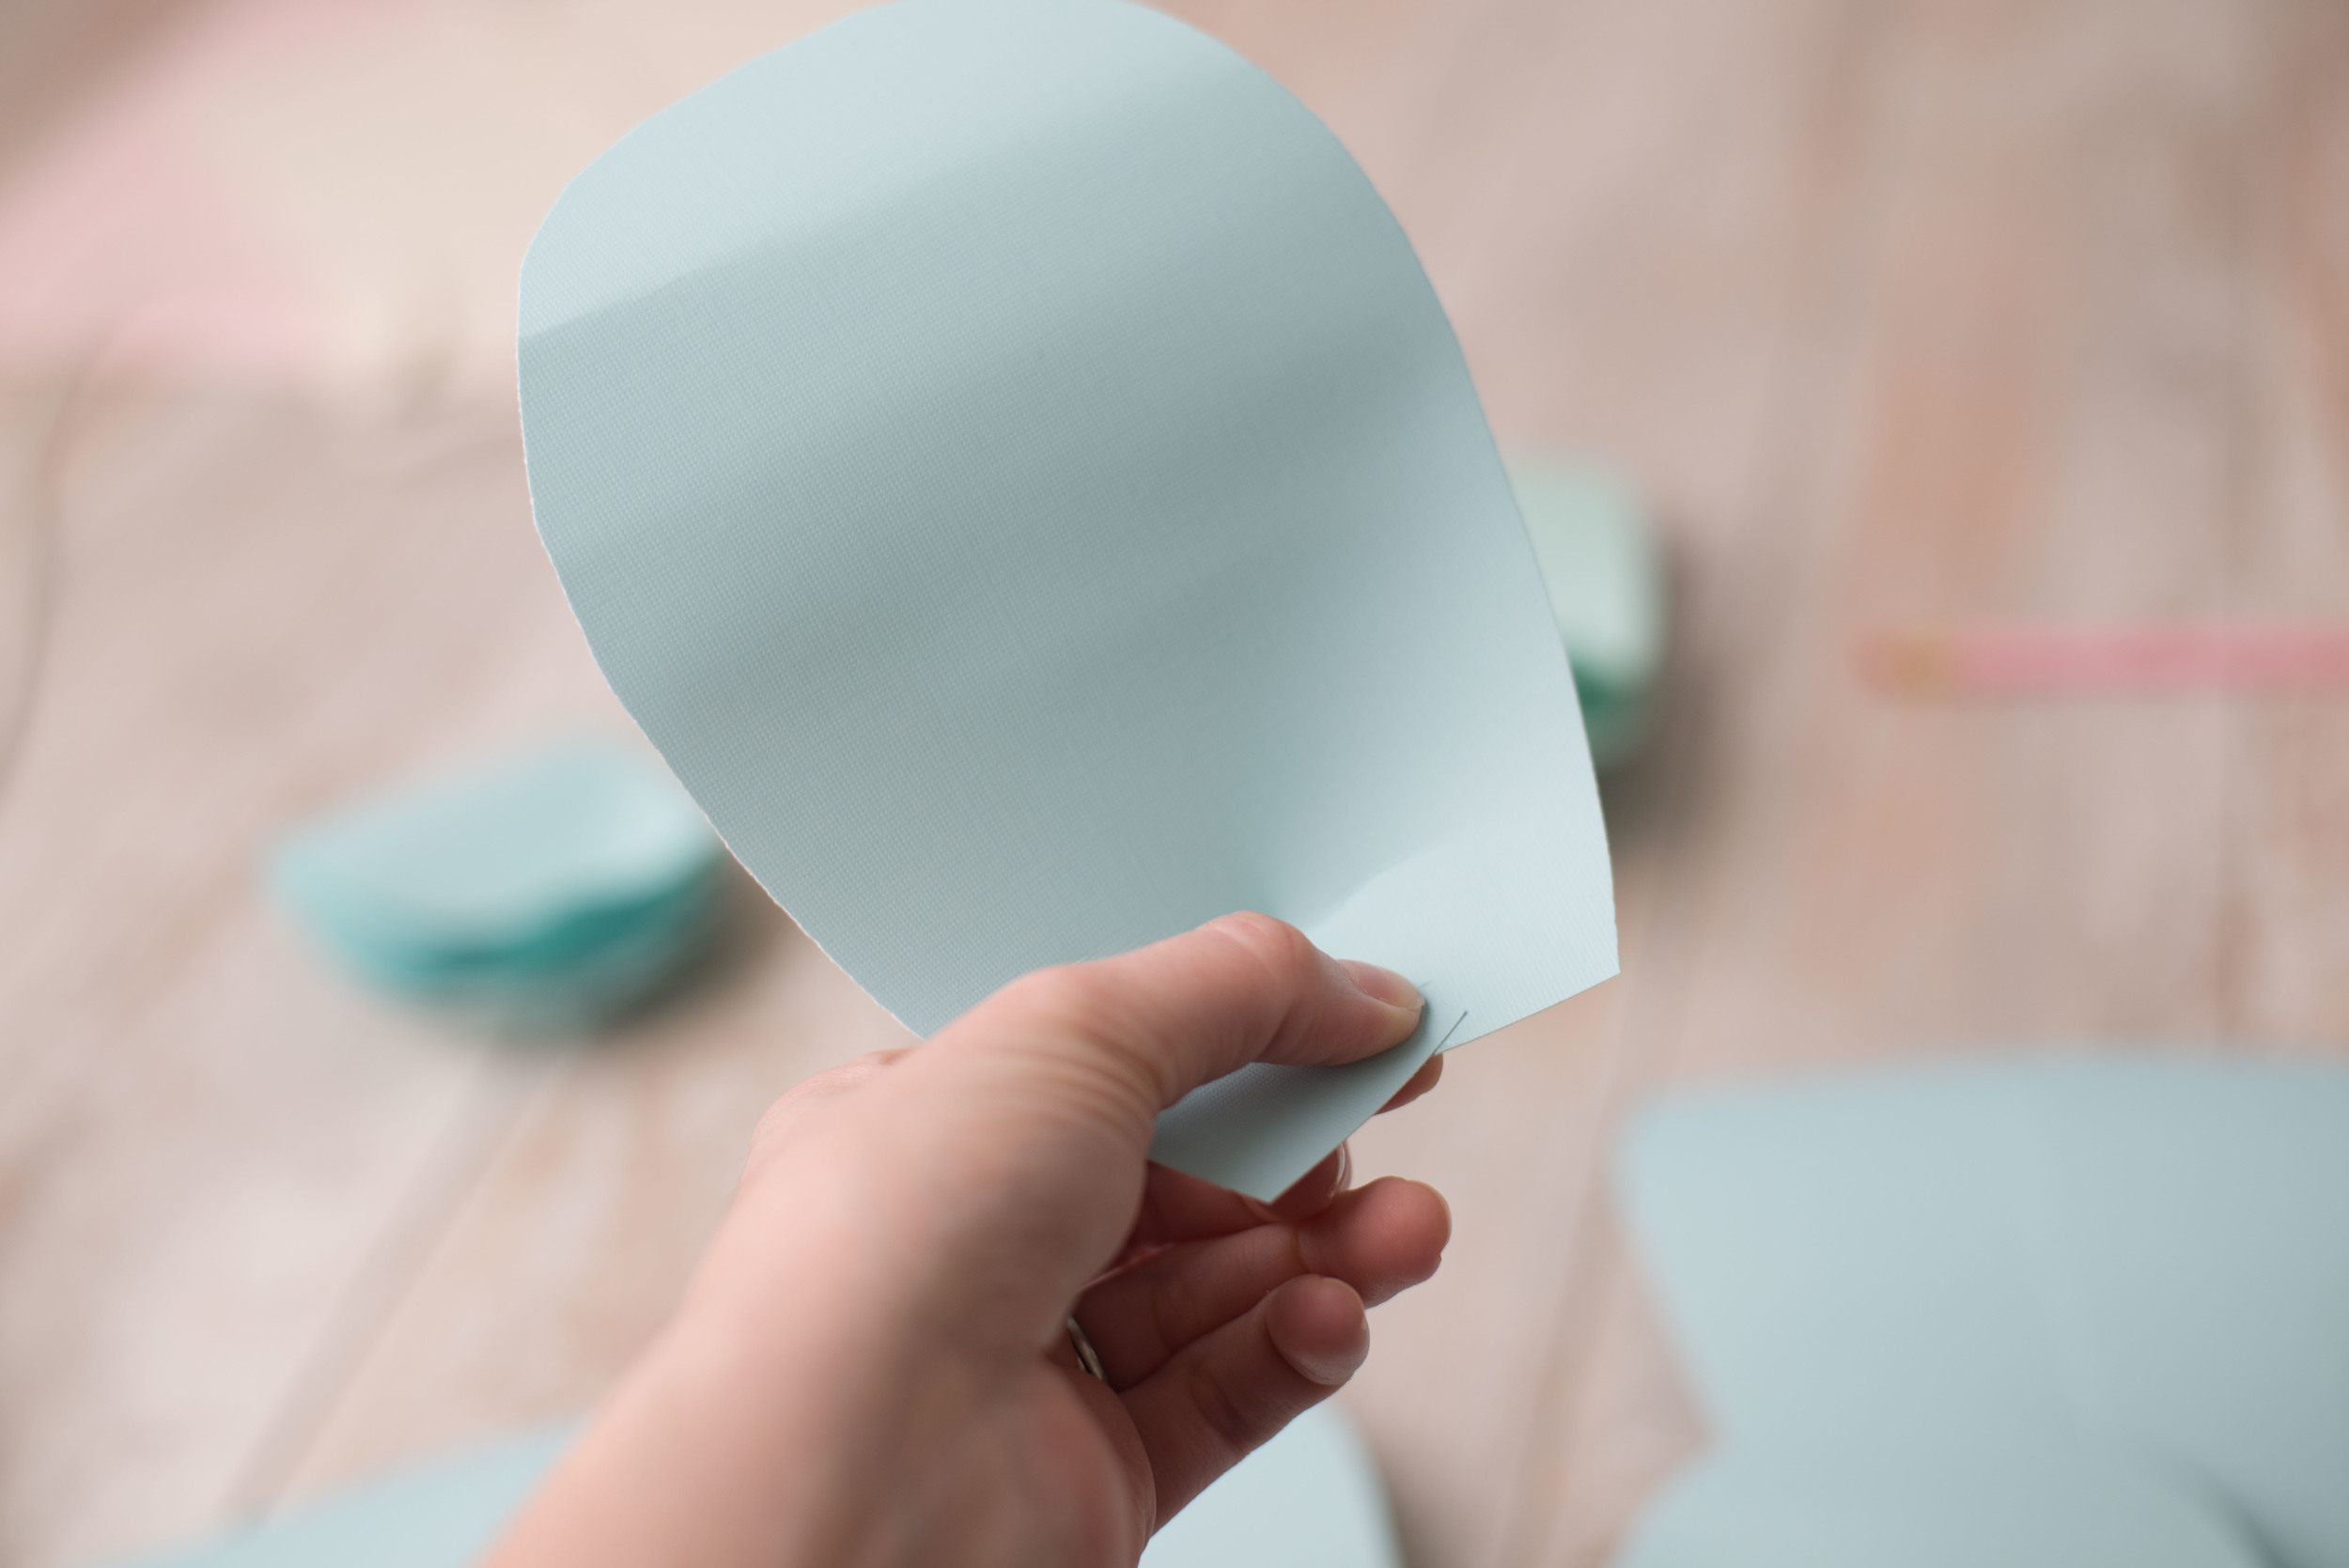
You will need at least 3.5 yards of fabric. You will cut four trapezoids that each measure 44" across the bottom and 10" across the top. I measured and cut my fabric according to the steps in this tutorial here. I left the ends a little frayed to give it more of a soft, shabby look.
STEP THREE: Time to Sew
Next you are going sew the pieces together, creating a "tube" for the PVC pipe to later slide into. Think of it like the double seams at the top of your curtains.
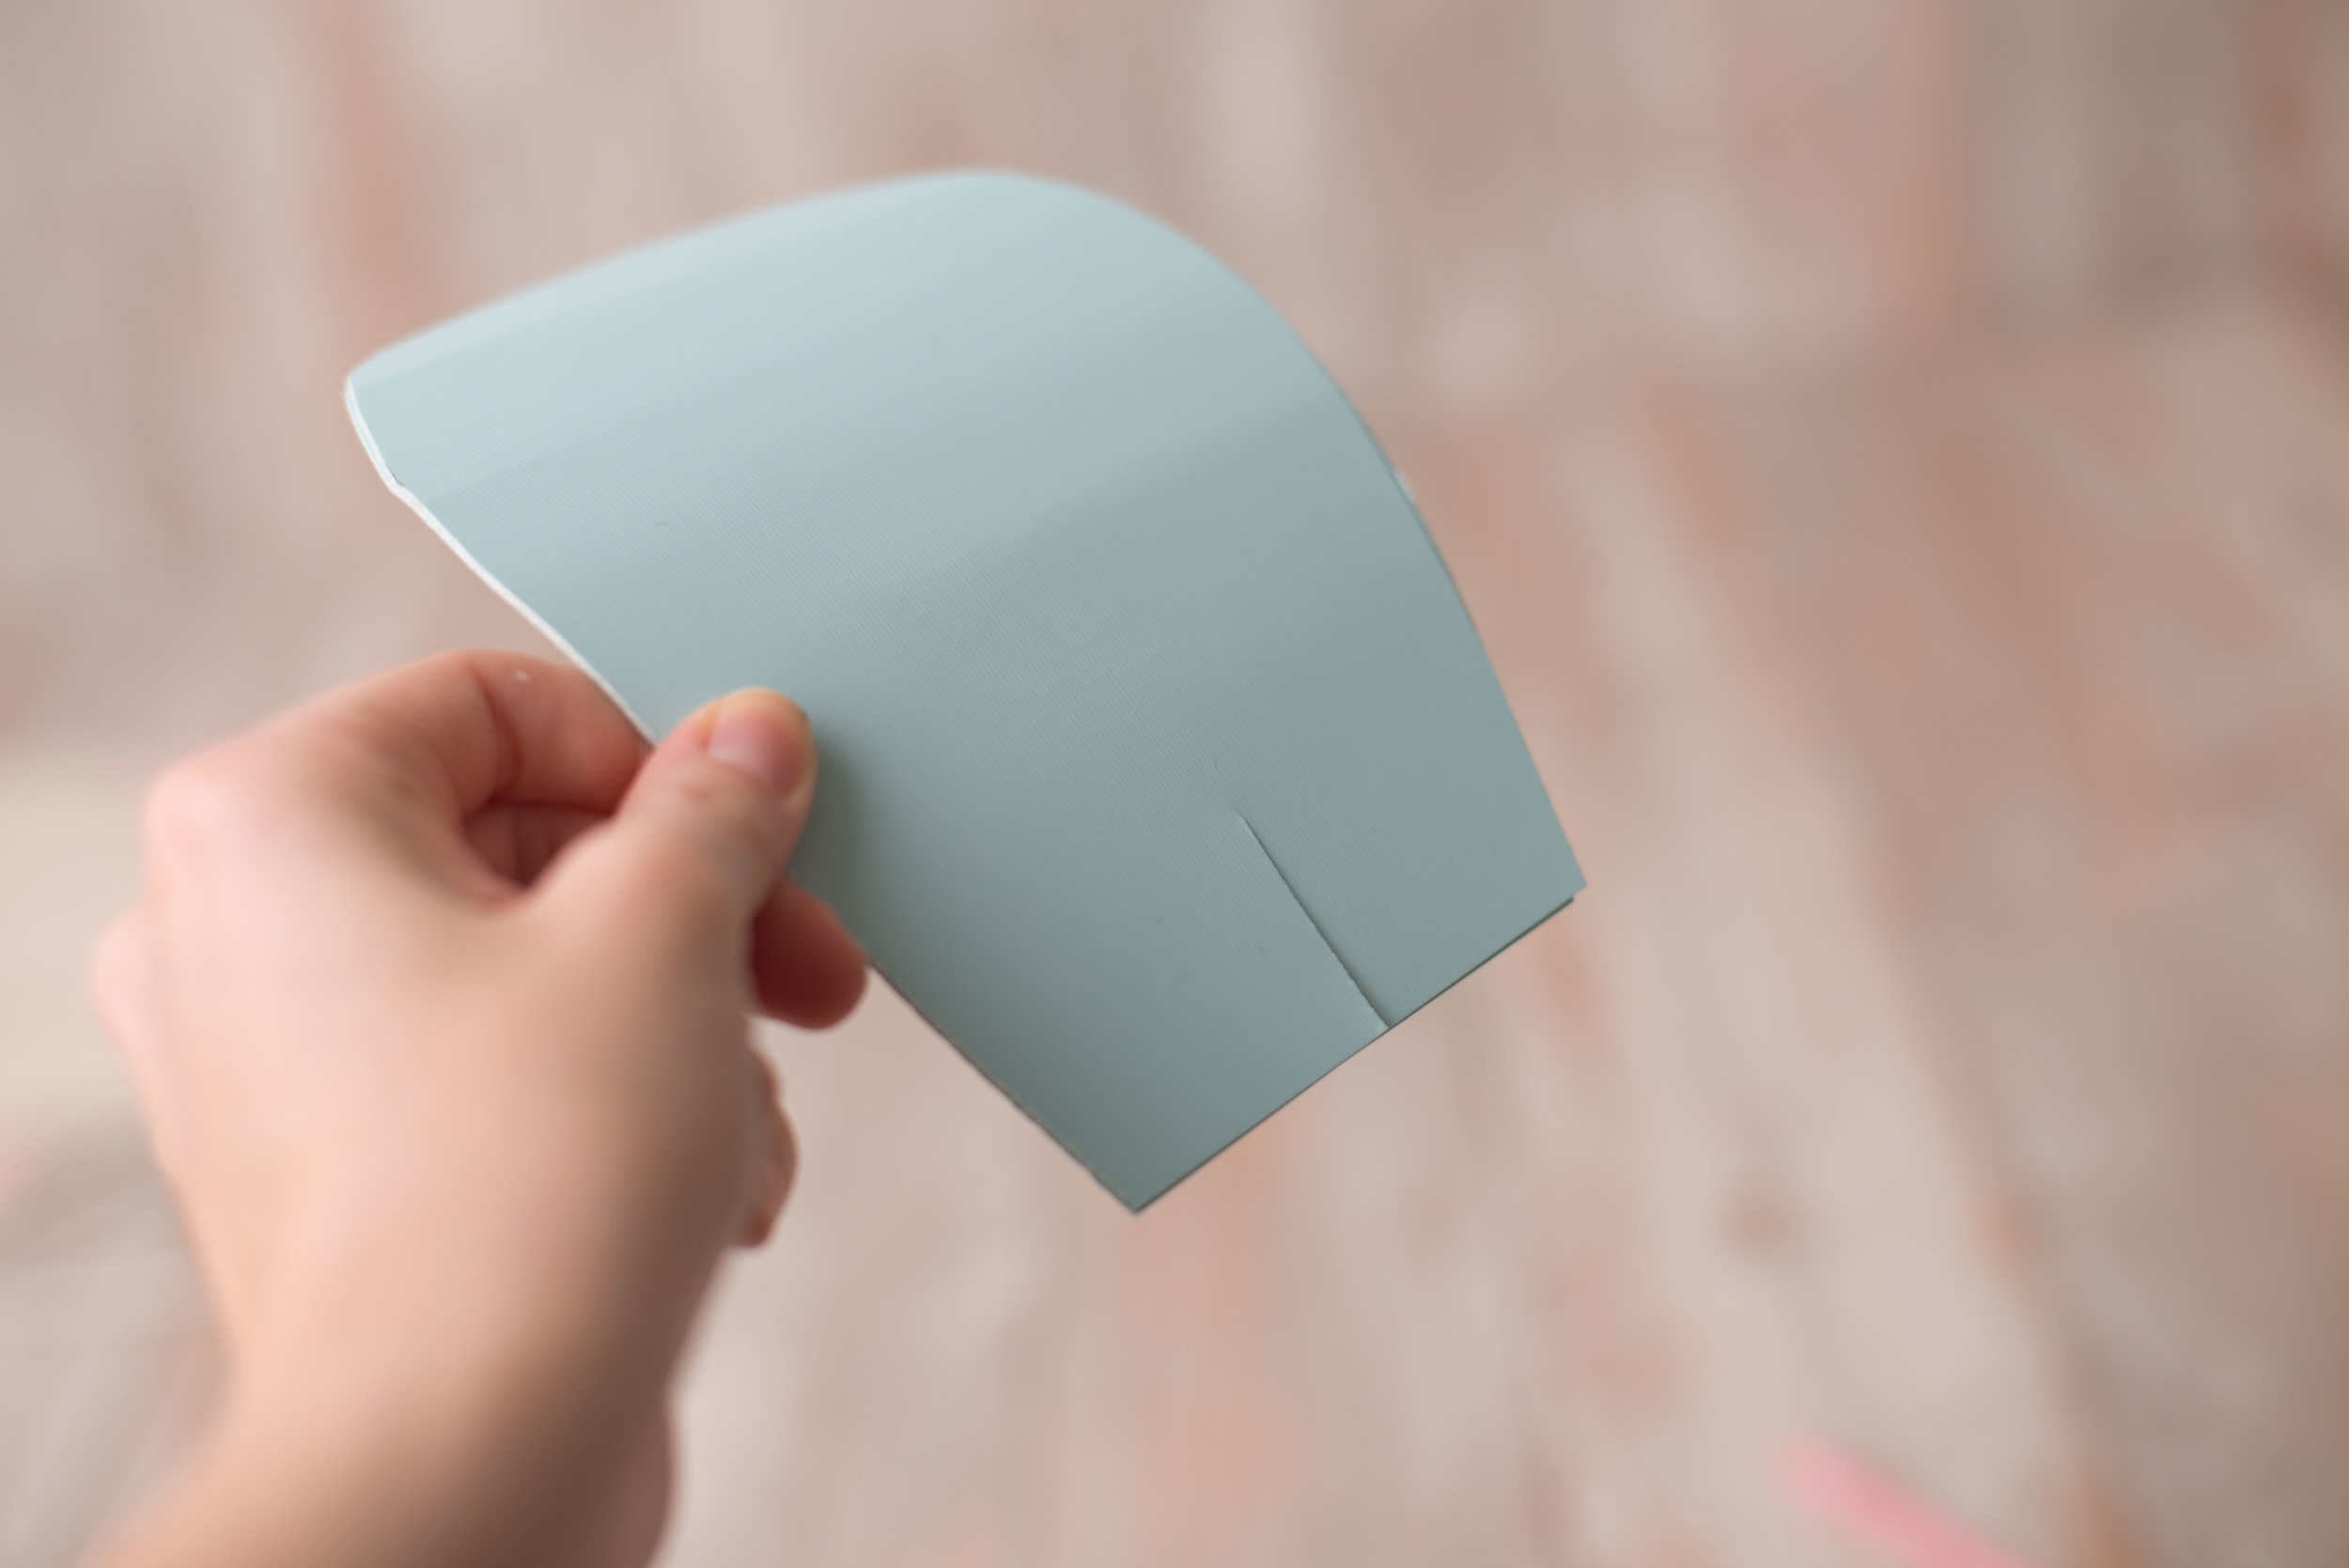
I left a 1/4" seam allowance for the first seam, and then I sewed another straight line down the side of the teepee about 1.5" from the first one. You should hold your PVC pipe up to the fabric and figure out how wide your own seam should be. I did this to attach all four pieces of the teepee to each other.
But wait! When all four pieces are connected and can lay flat, but before you sew the final two sides to each other to finish off the frame, do this next step first.
STEP FOUR: Make an Entrance
Choose which panel will be the front of your teepee. Measure and cut a straight line about 3.5 feet tall in the center of this panel. This will be your doorway.
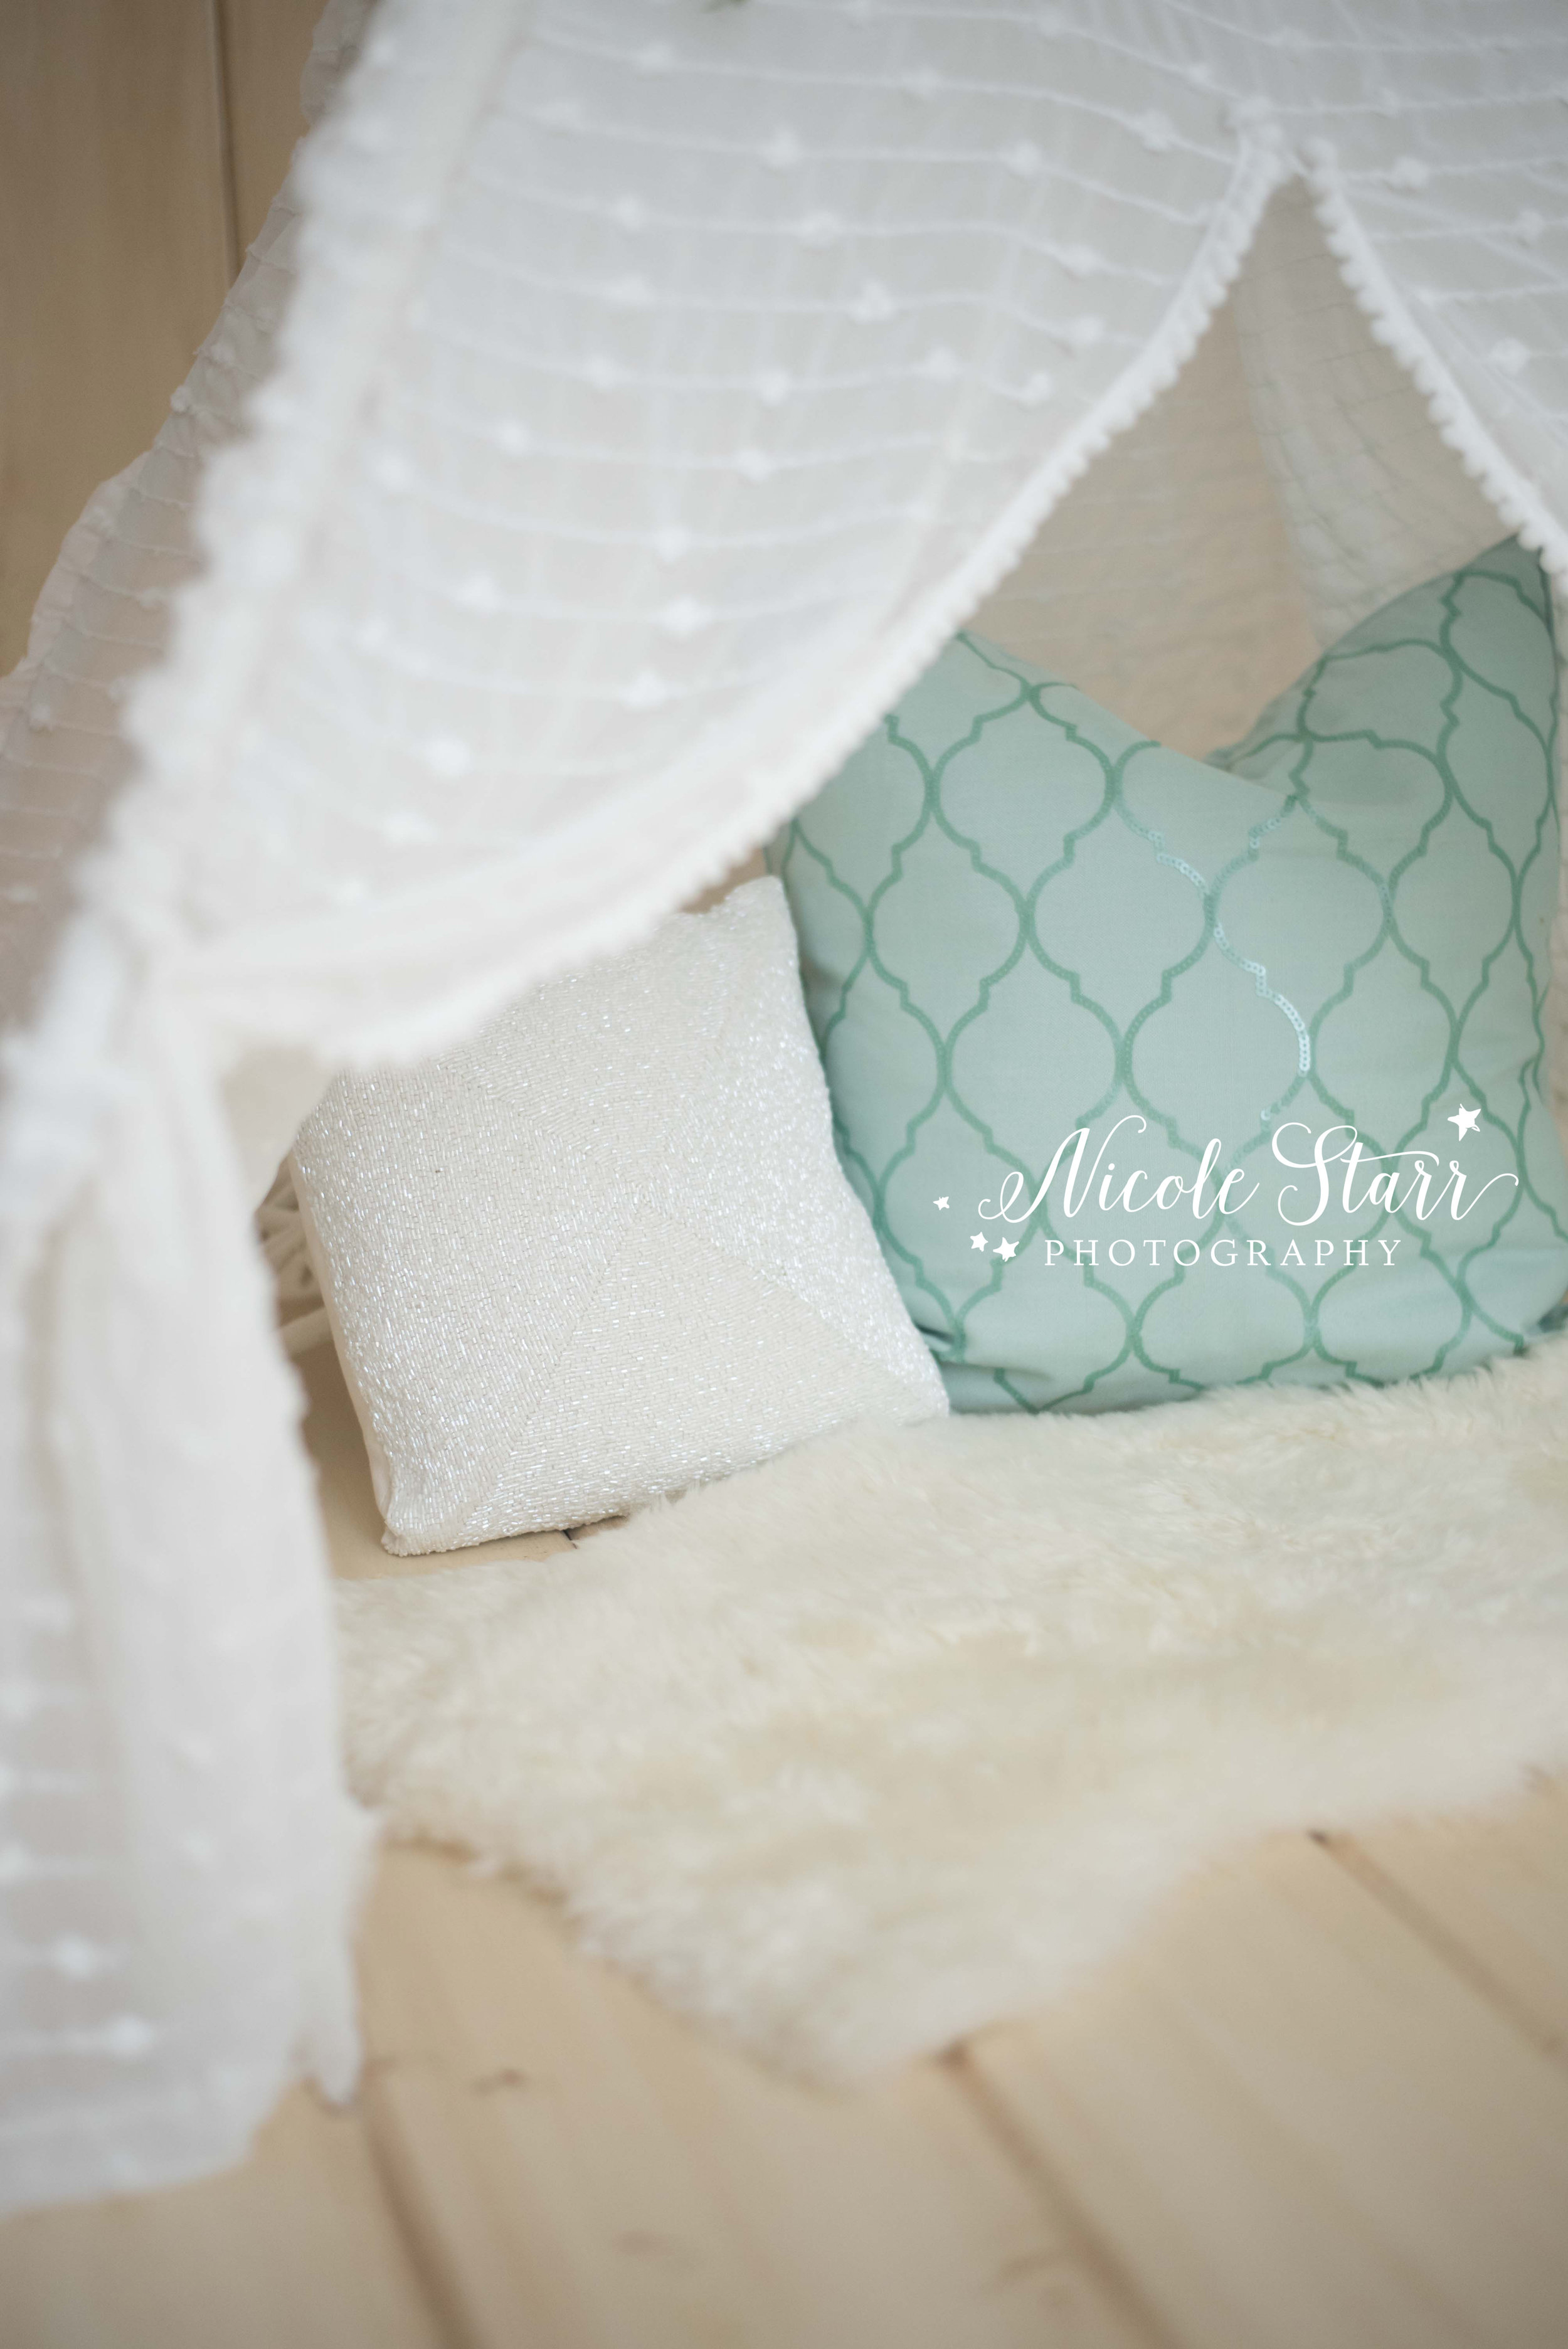
I chose to decorate mine with pompom trim. You can use lace, beads, an accent fabric, feathers -- anything your heart desires! You can sew it on to the fabric, or use a hot glue gun for fast results.
Because I used a sewing machine to attach the trim, it made sense to wait to sew together the final two seams for the last corner of my teepee (like in Step Three) until after I had finished the trim.
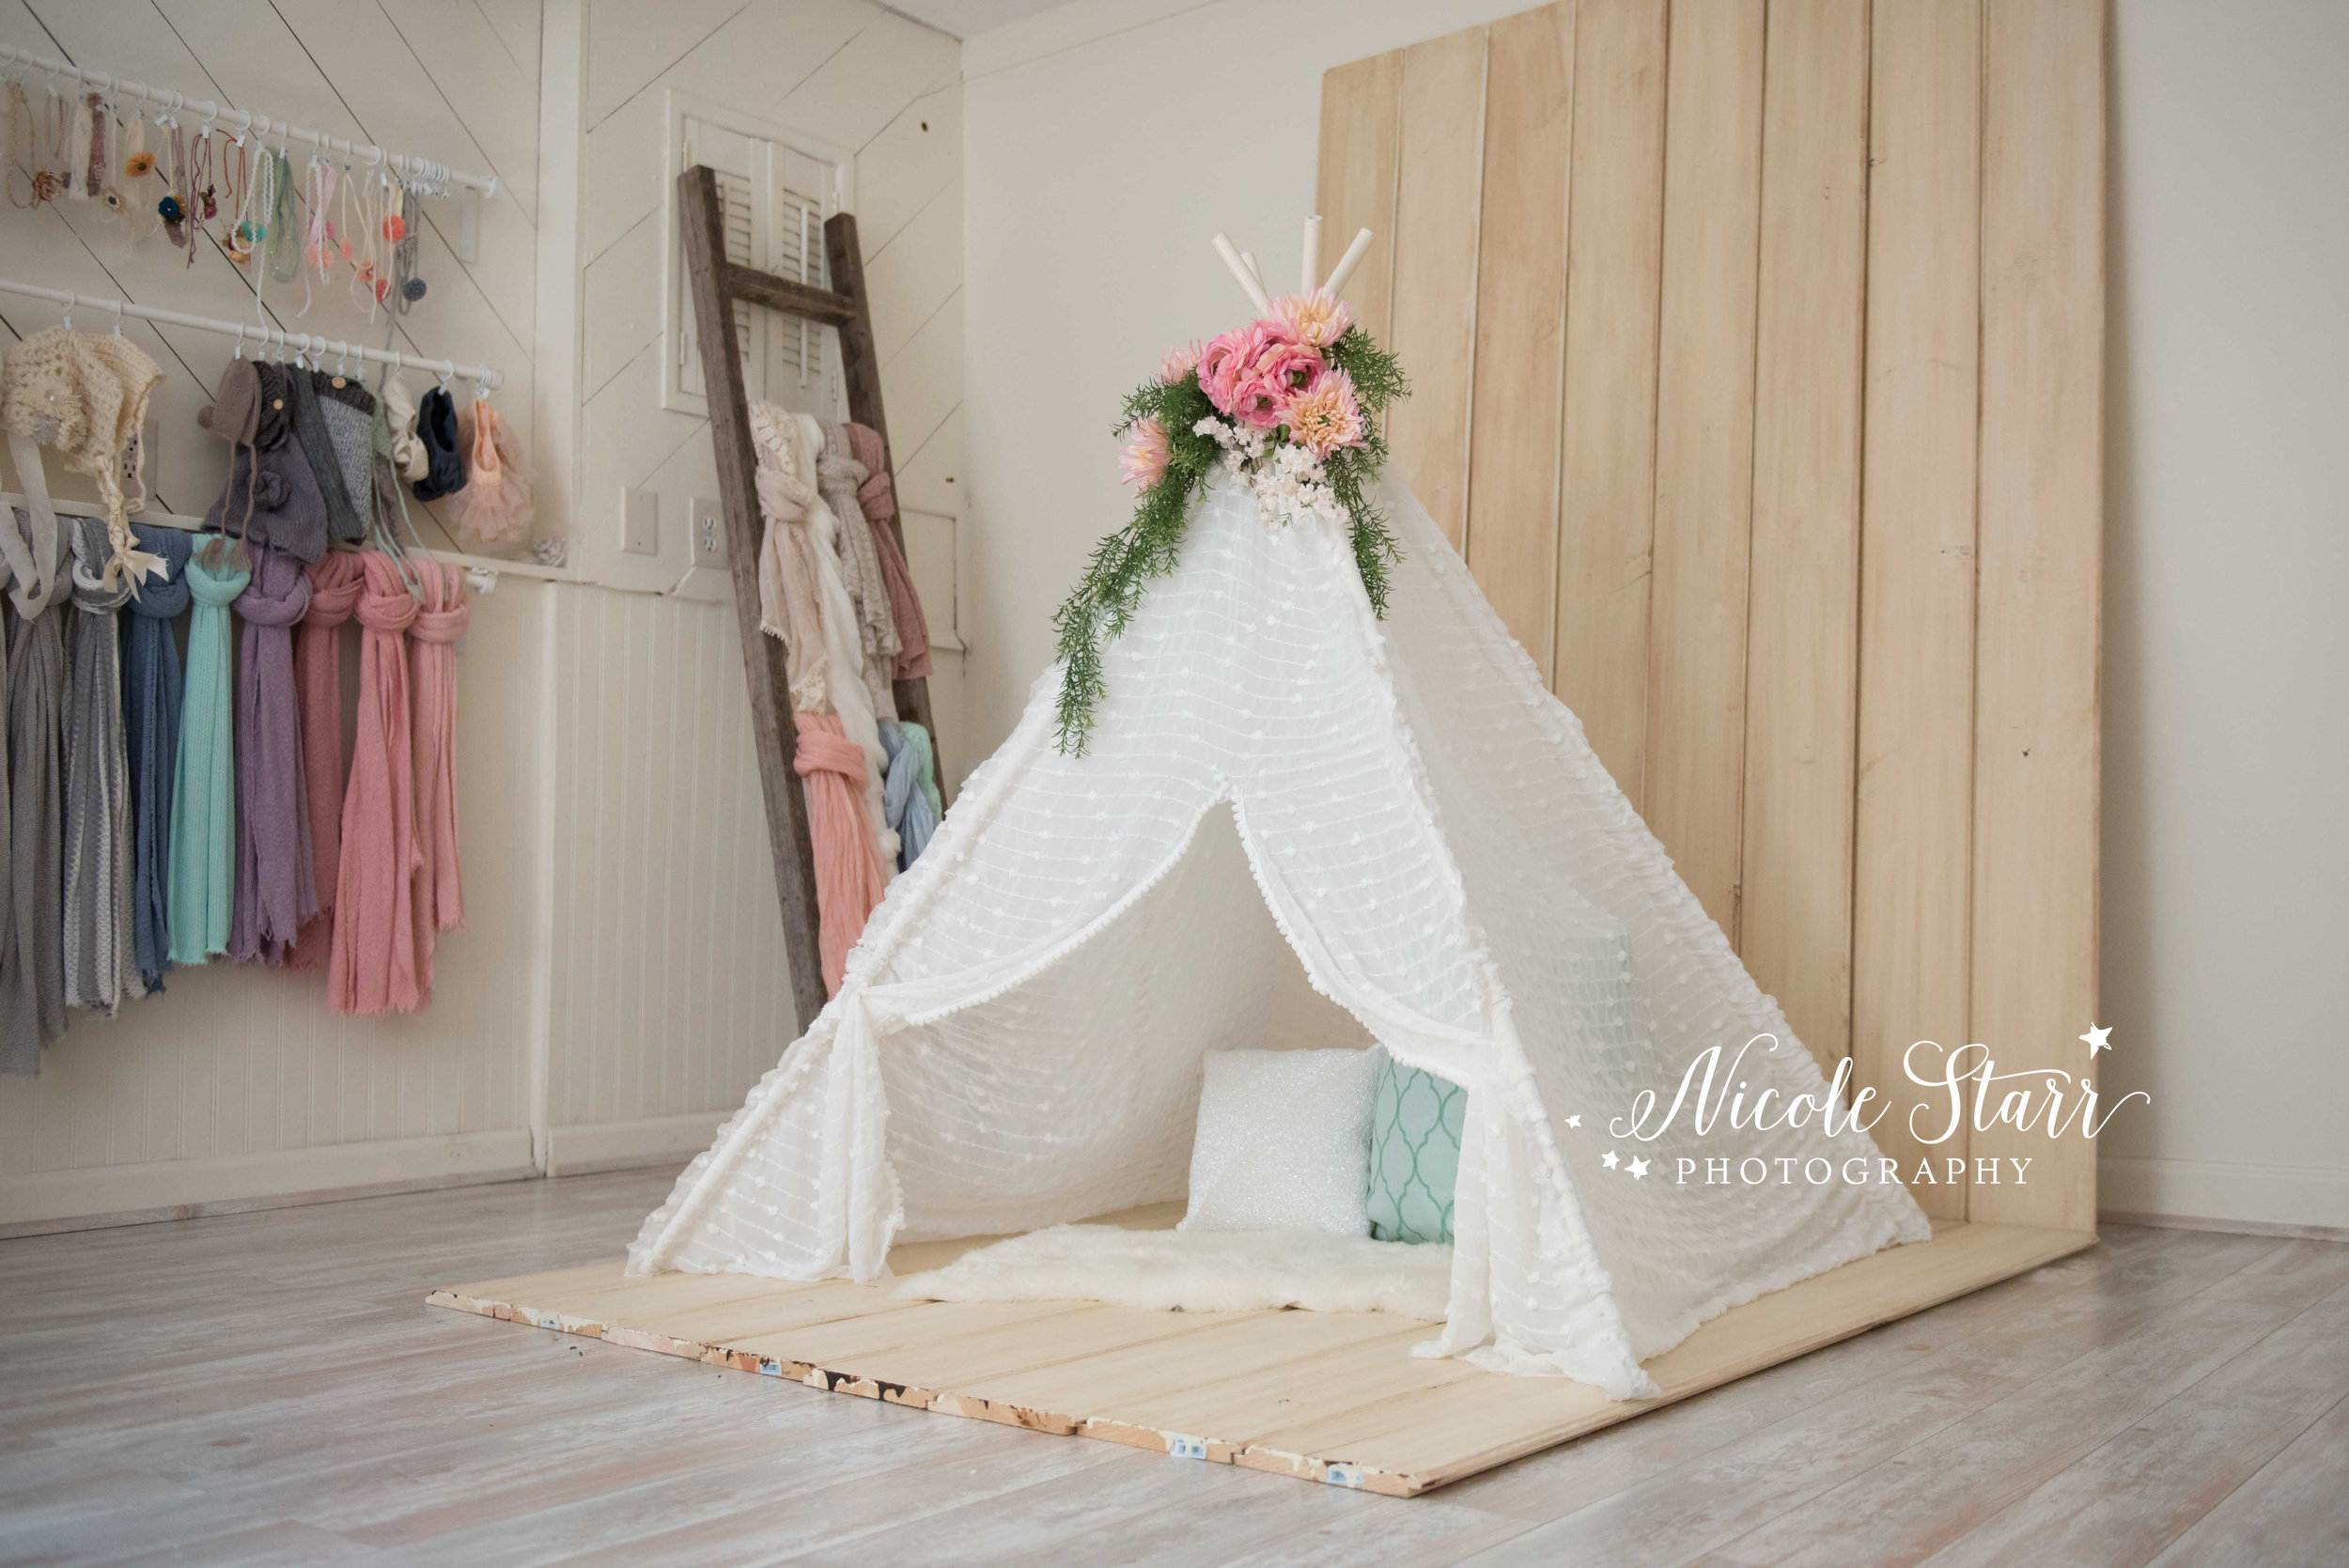
STEP FIVE: Assemble Your Teepee
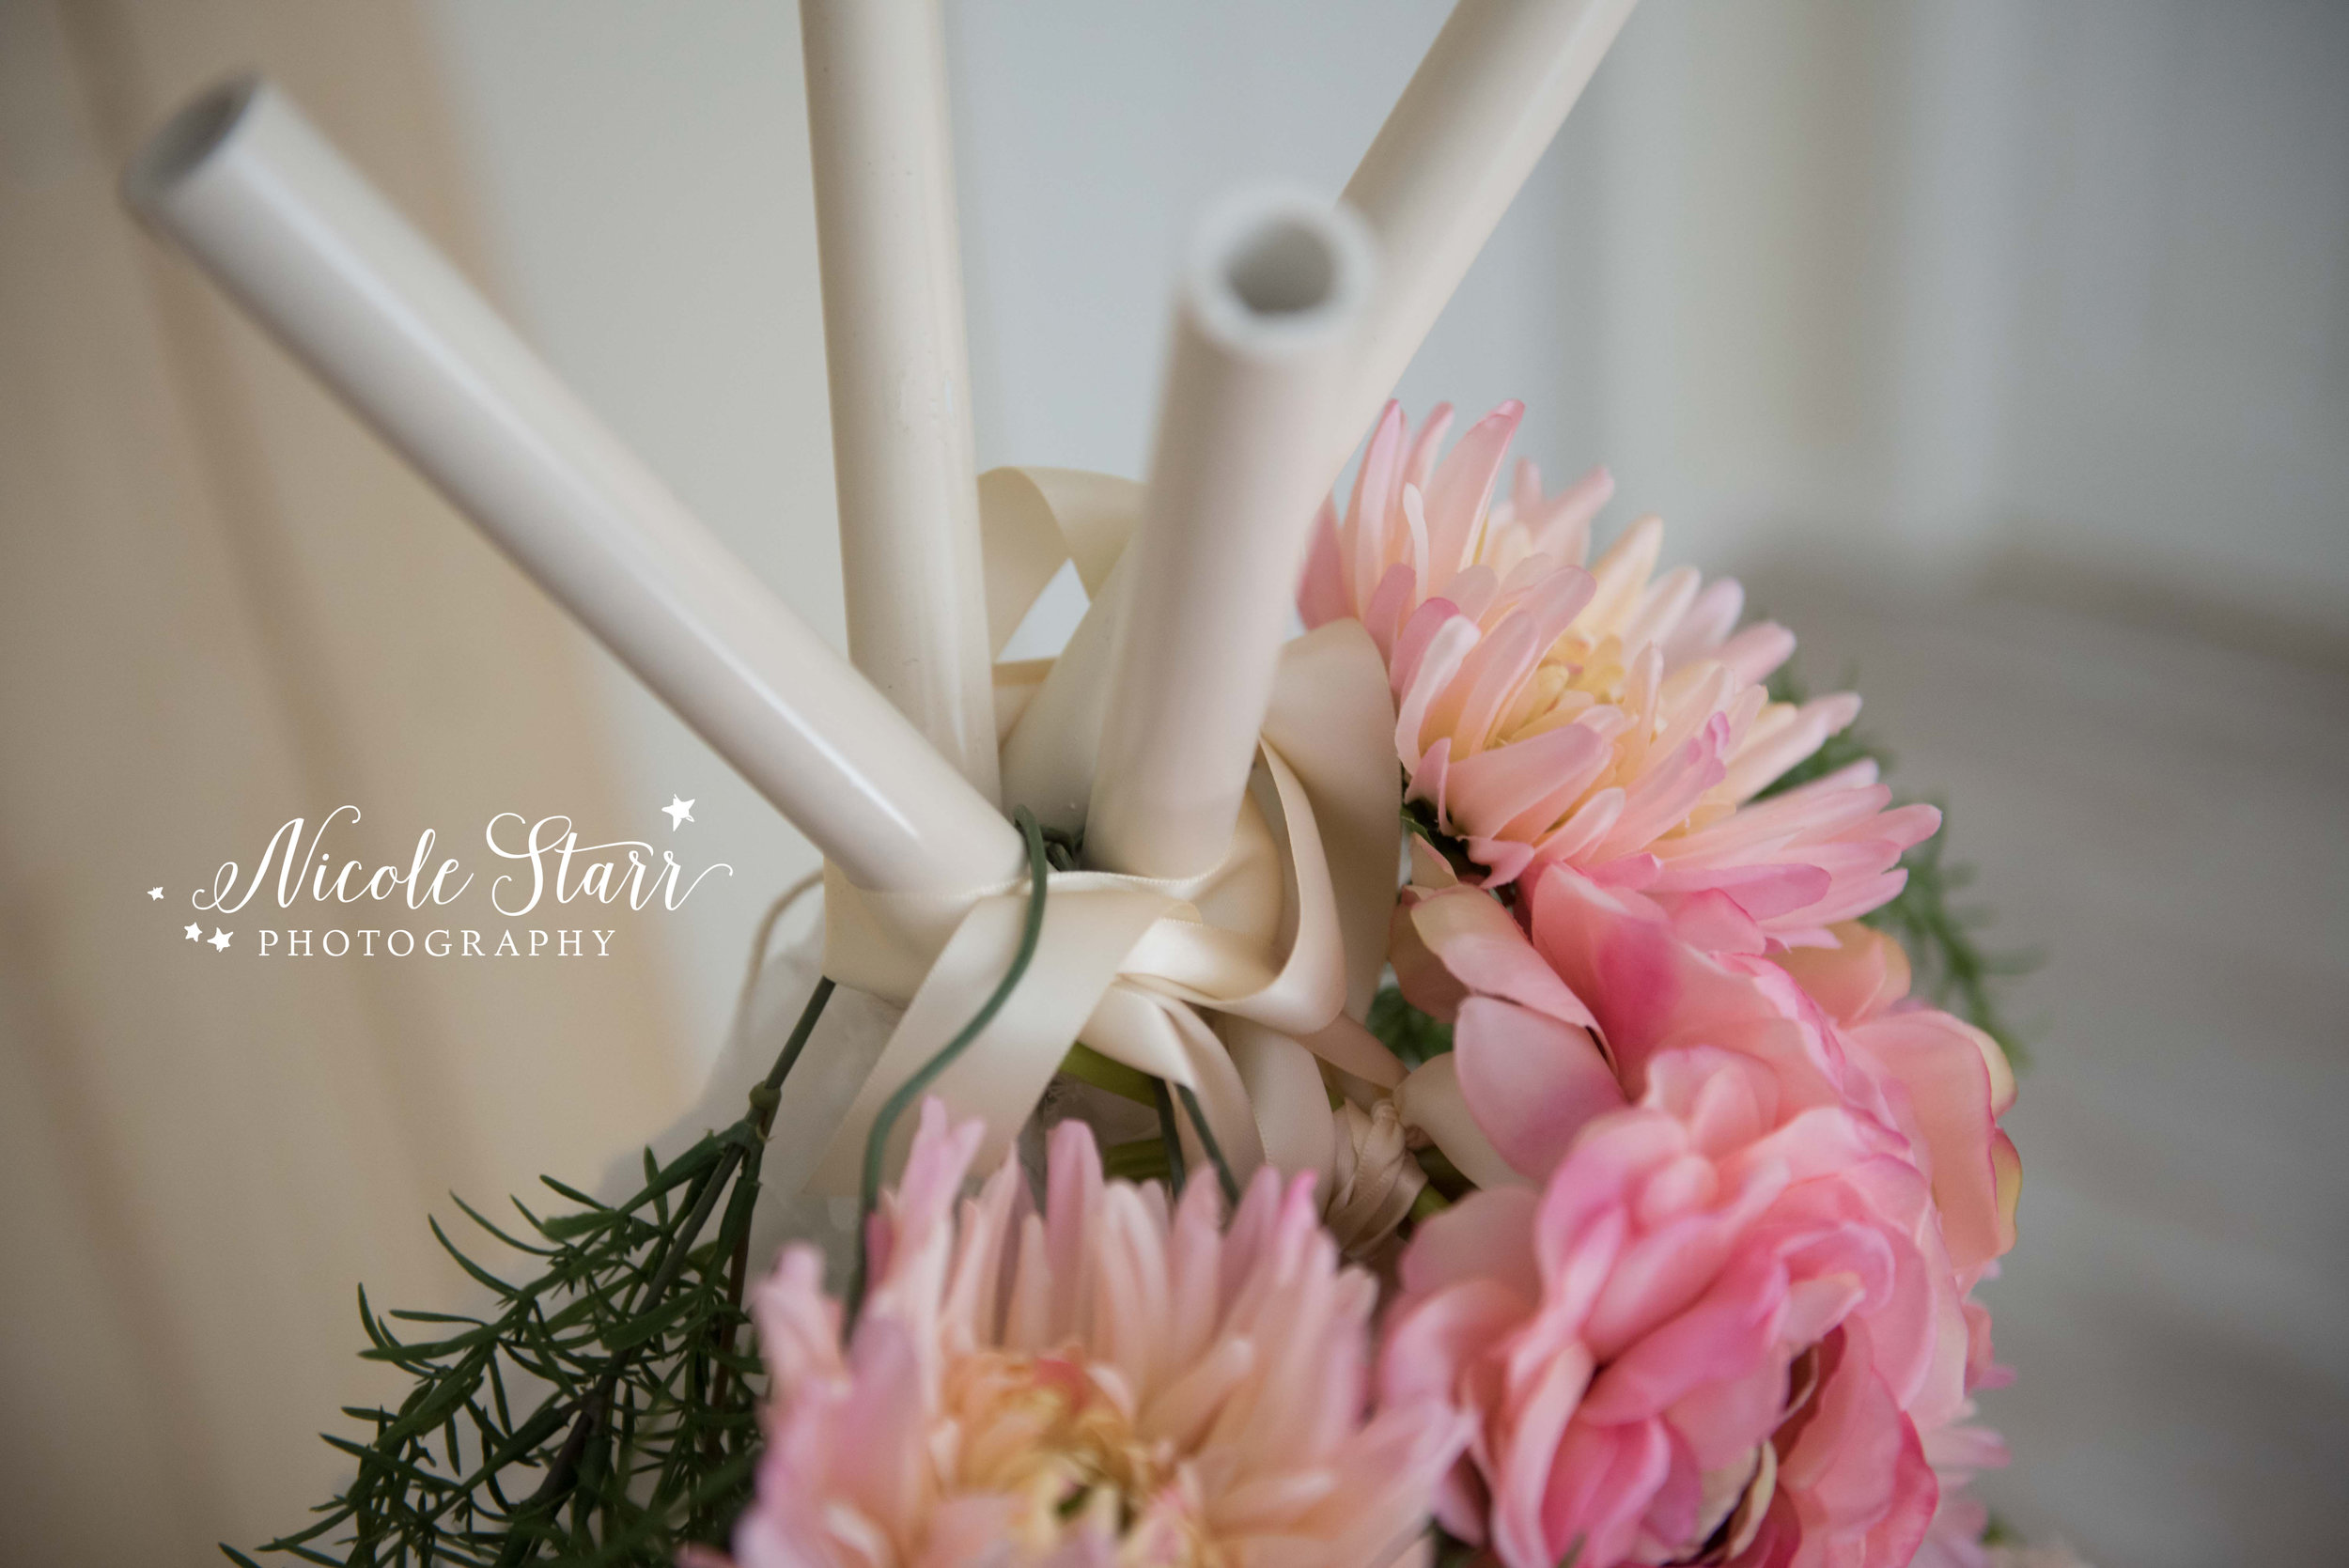
Earlier, you drilled holes into each piece of PVC pipe. Now you will need to thread one very long piece of rope through each of the holes. It can be tricky to thread the rope through the pipes, so I taped the end of my rope to a chopstick and threaded them much more easily that way. For extra reinforcement, I tied a double knot around each pipe to secure each piece in place.
Once all four pieces of PVC are on the rope, pull them all together and wrap the rope around all four pipes multiple times, securing with knots so that the pieces are strong together. Don't worry if it's not too pretty. You can cover that up later with ribbon or decorations.
One more step that I did to prevent the PVC pieces from slipping on my floor was to use a hot glue gun and trace a circle of glue around the bottom of each piece of pipe. This way, the "feet" of your teepee have a little extra grip to them to not slip & slide as much on your floor. It's also extra protection for your hardwoods!
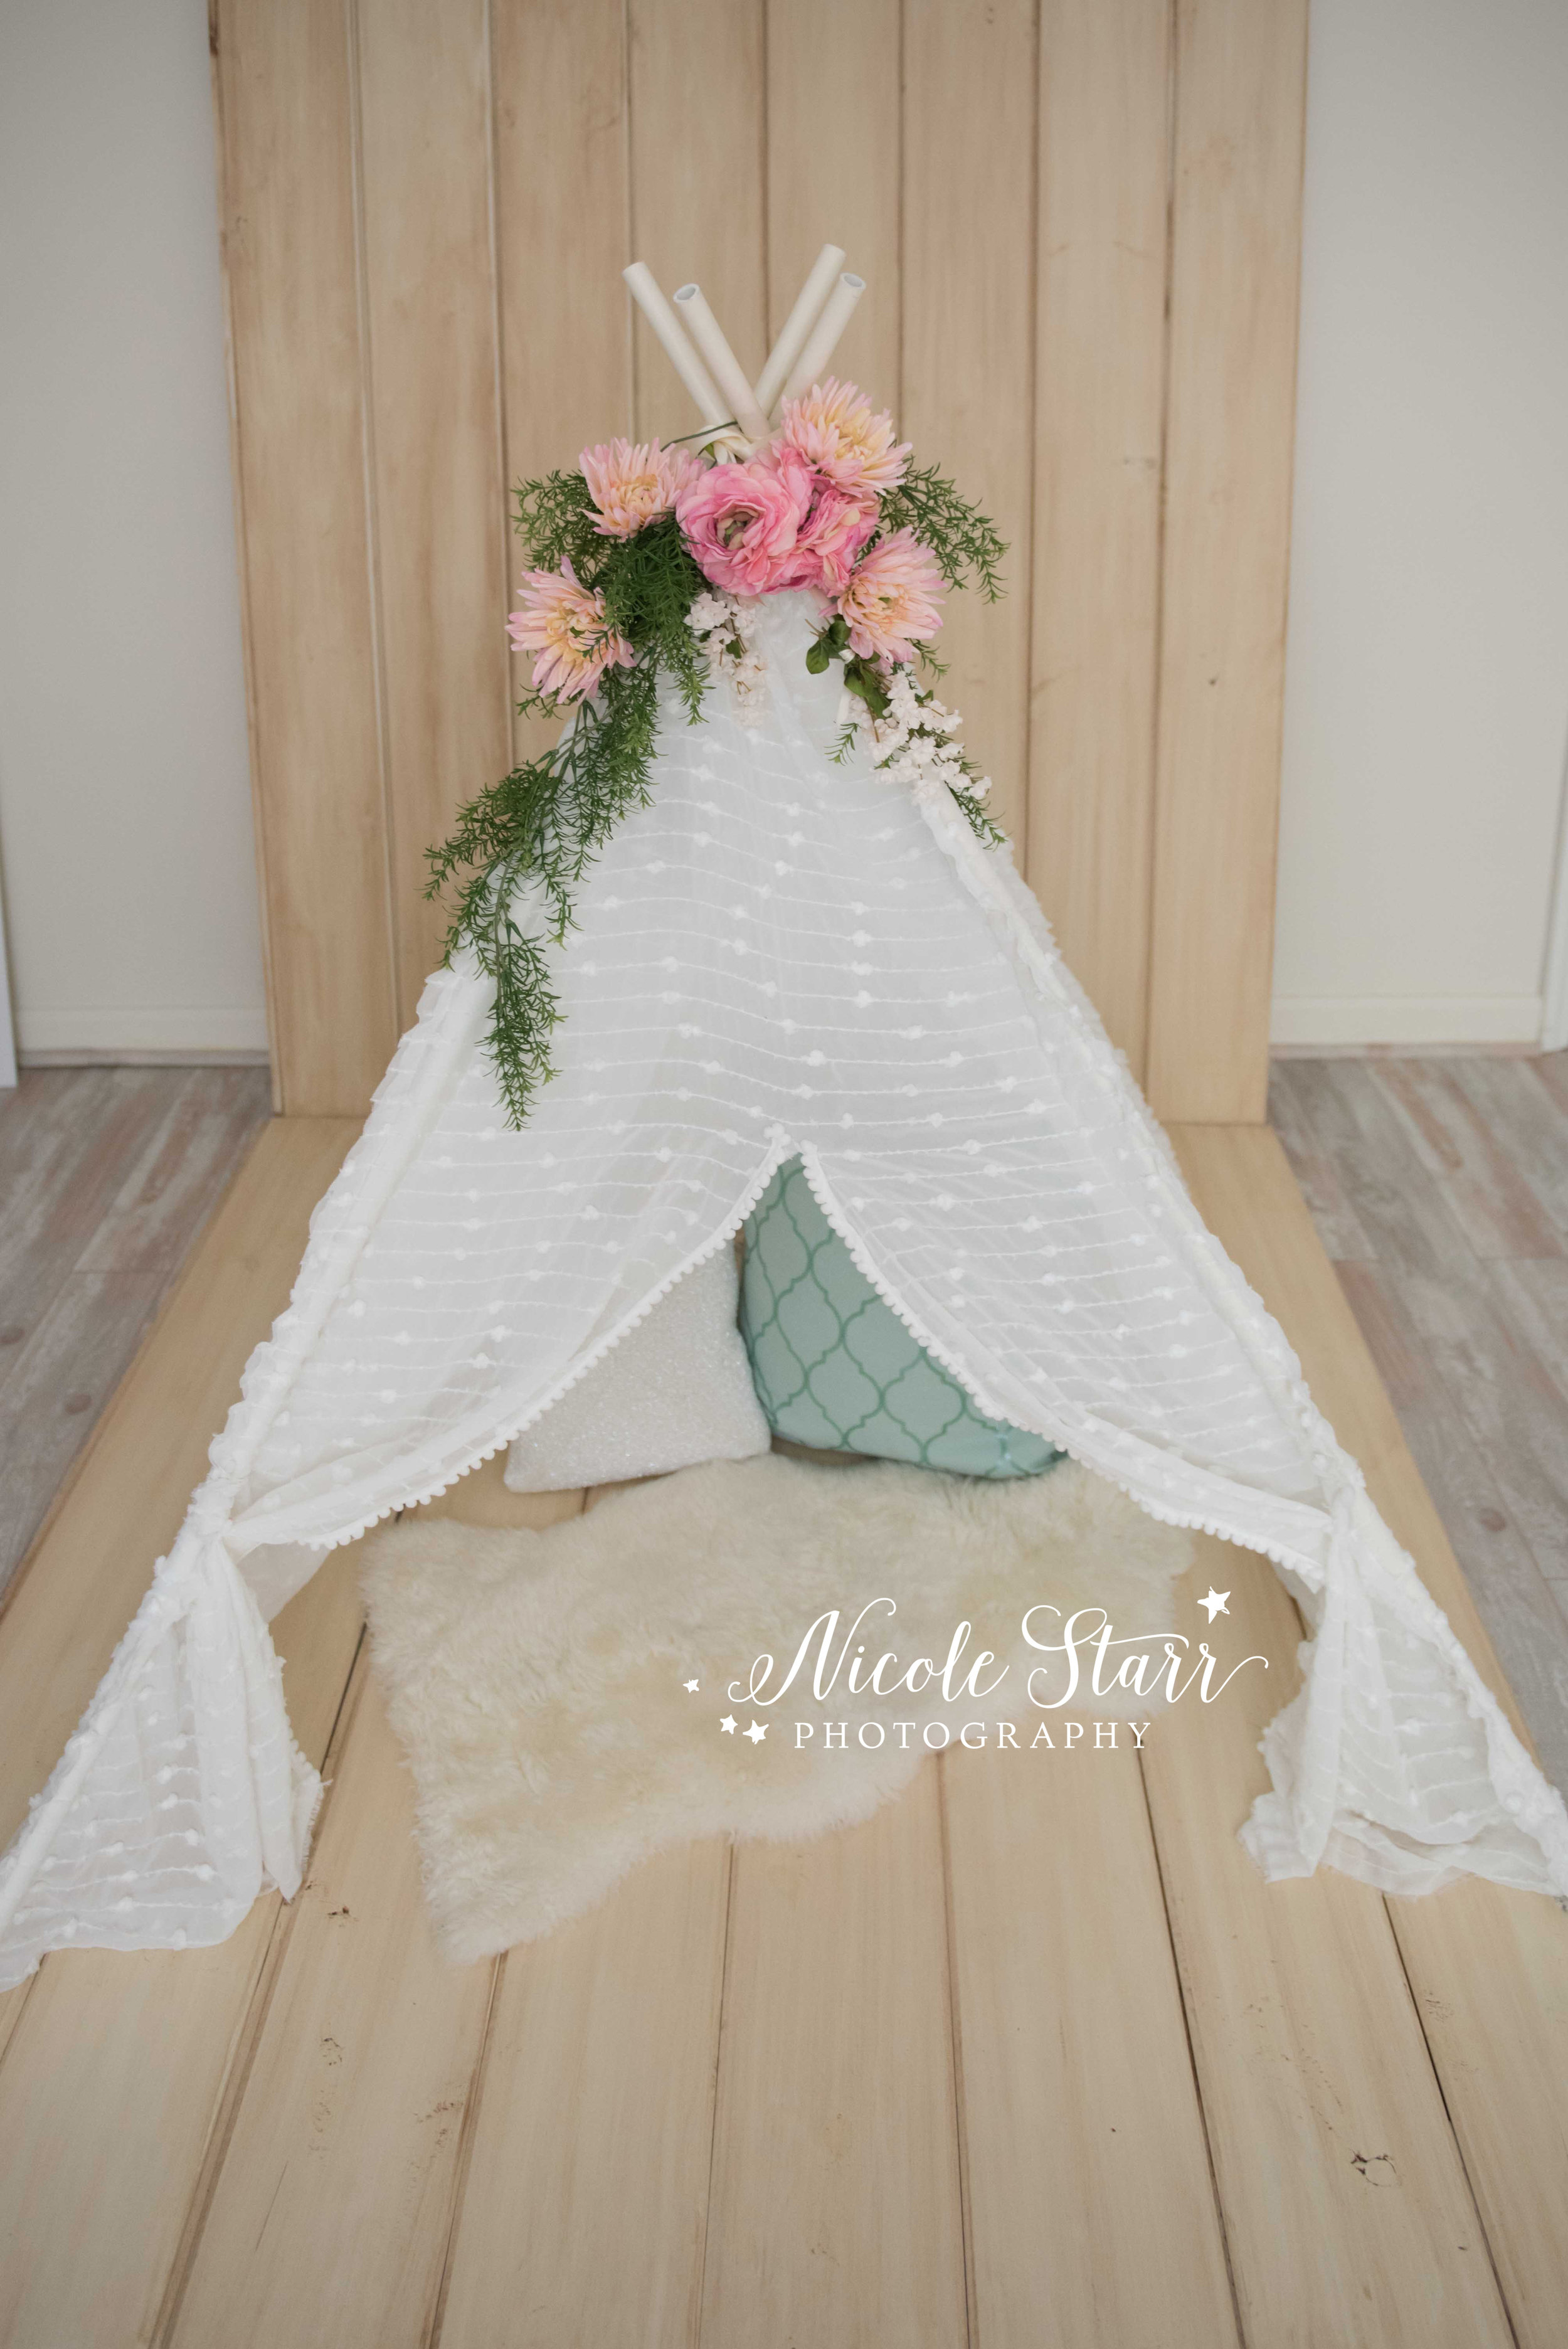
Finally, slide the fabric onto the PVC pieces, and stand your teepee up in the middle of the room! The fabric should fit snugly once you adjust the legs appropriately.
To prevent the fabric from slipping down at the top of your teepee, I used a dot of hot glue to hold the fabric into place on each pole.

STEP SIX: Decorate
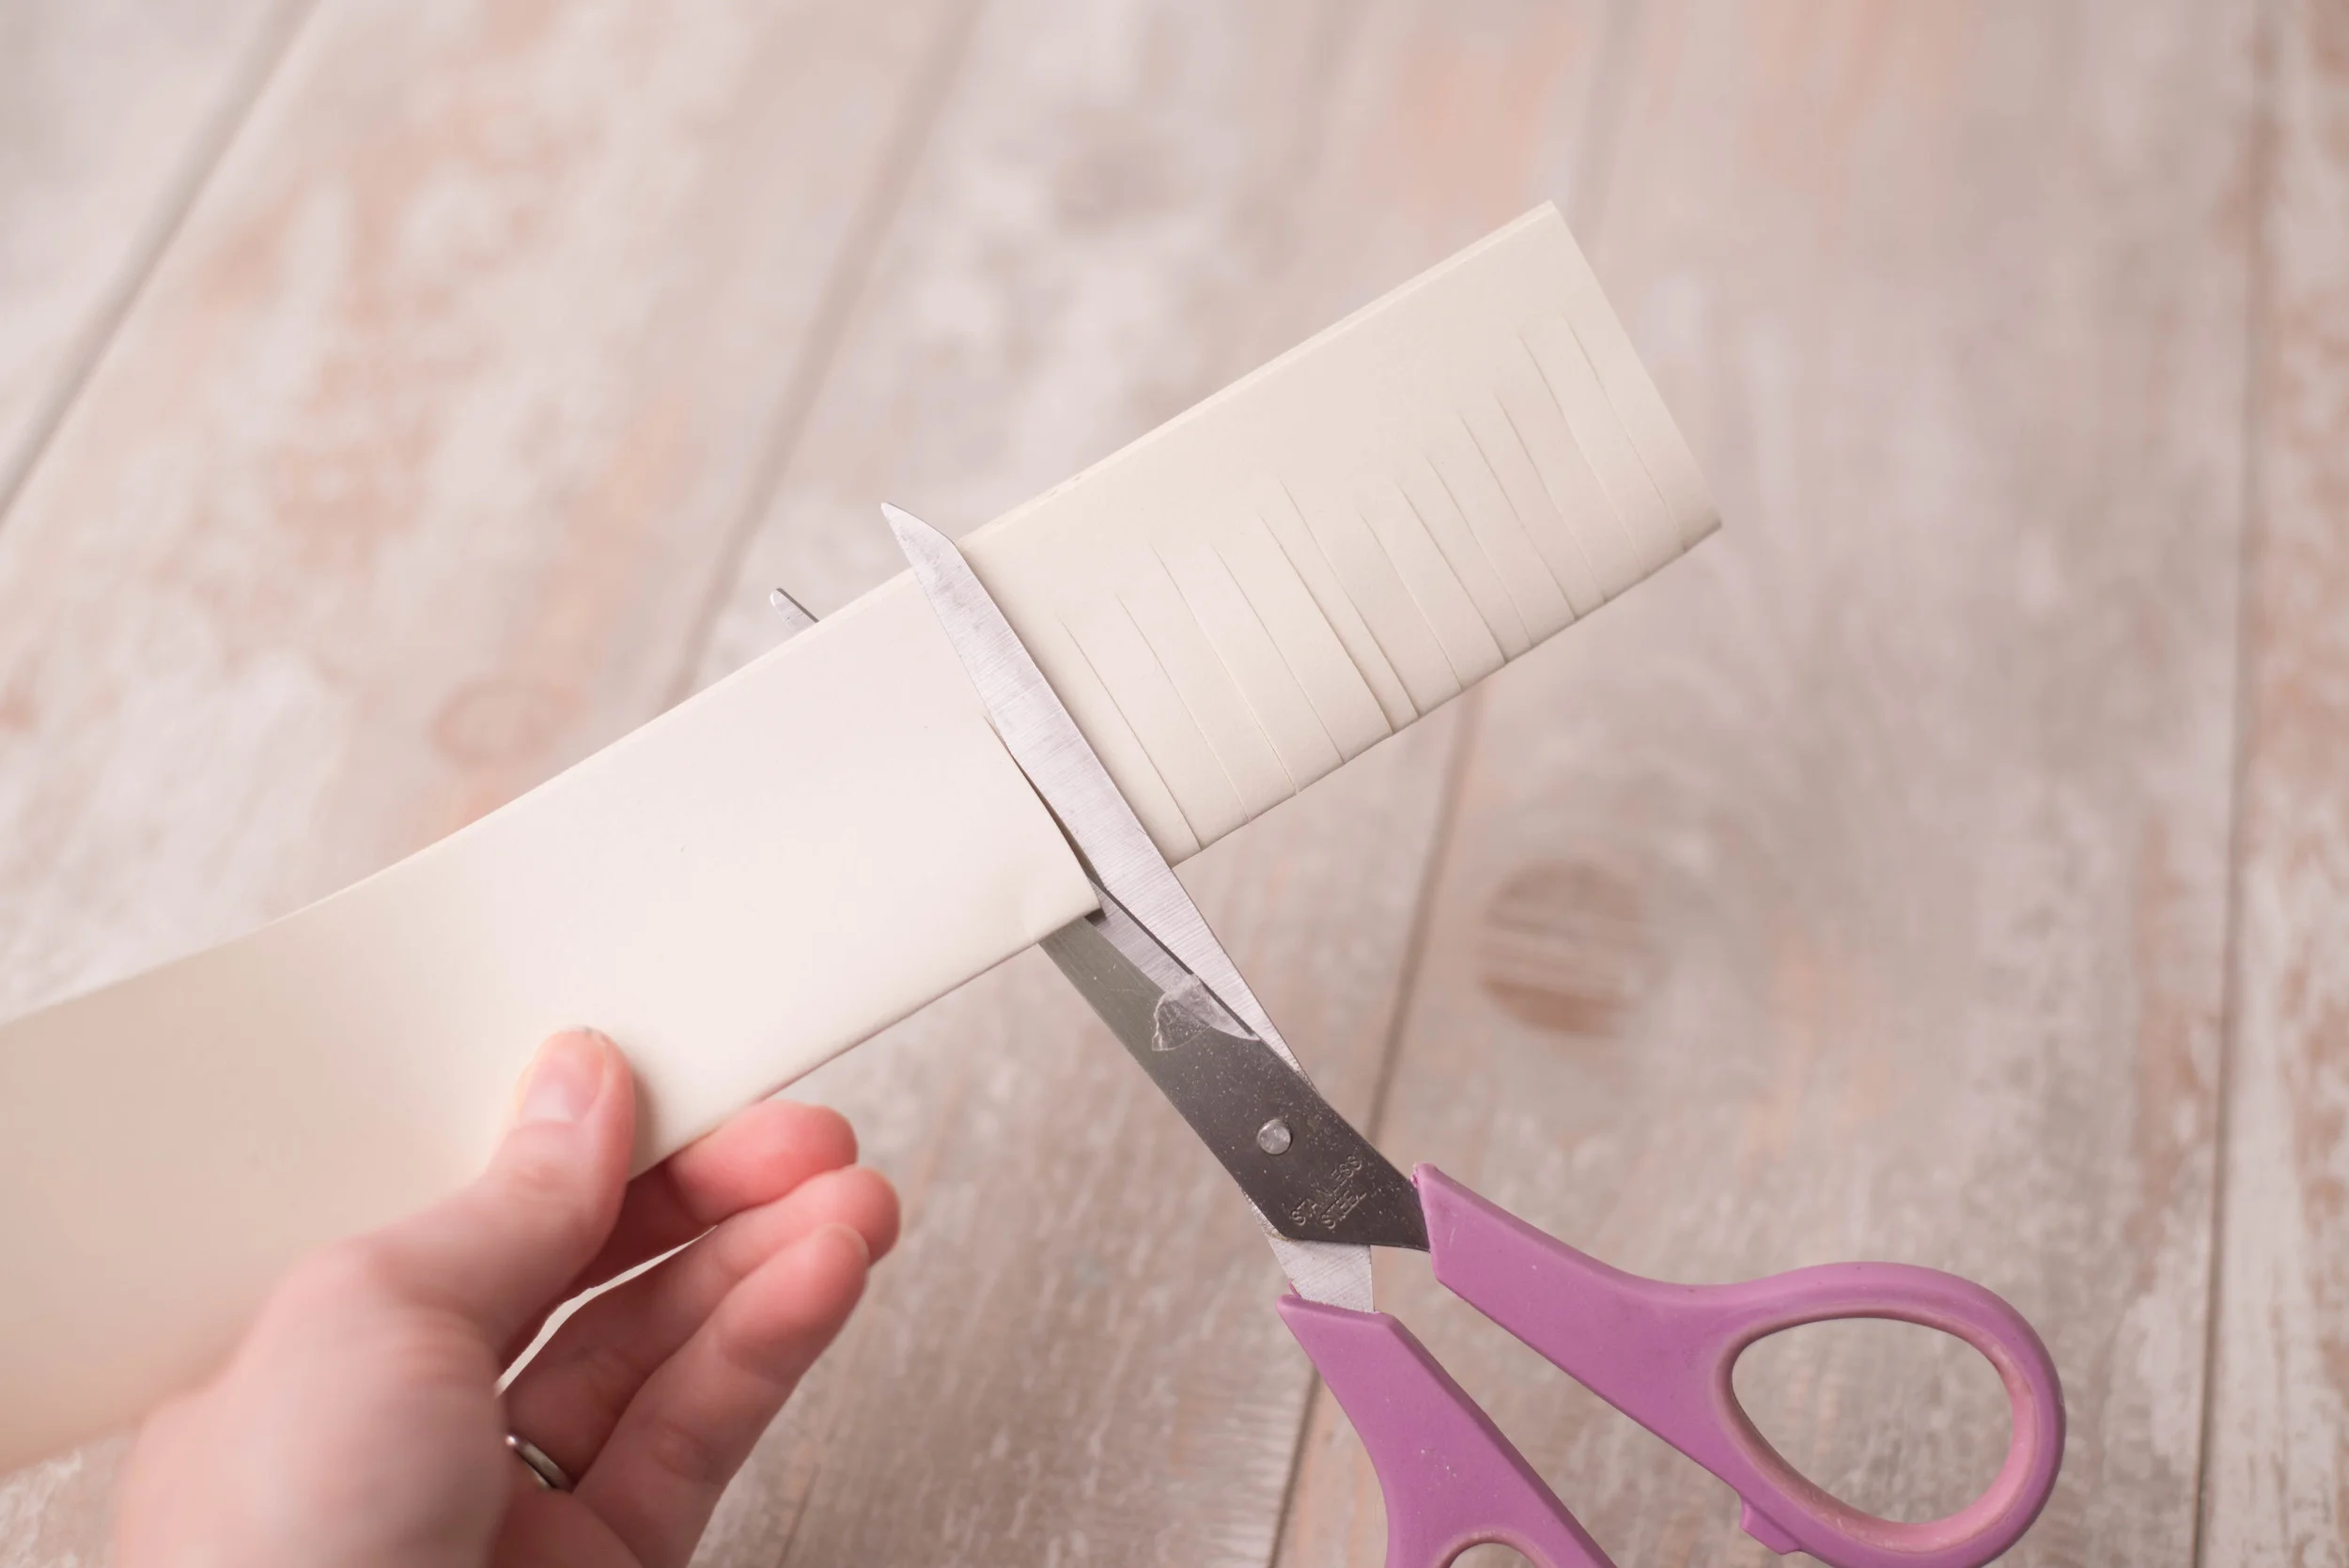
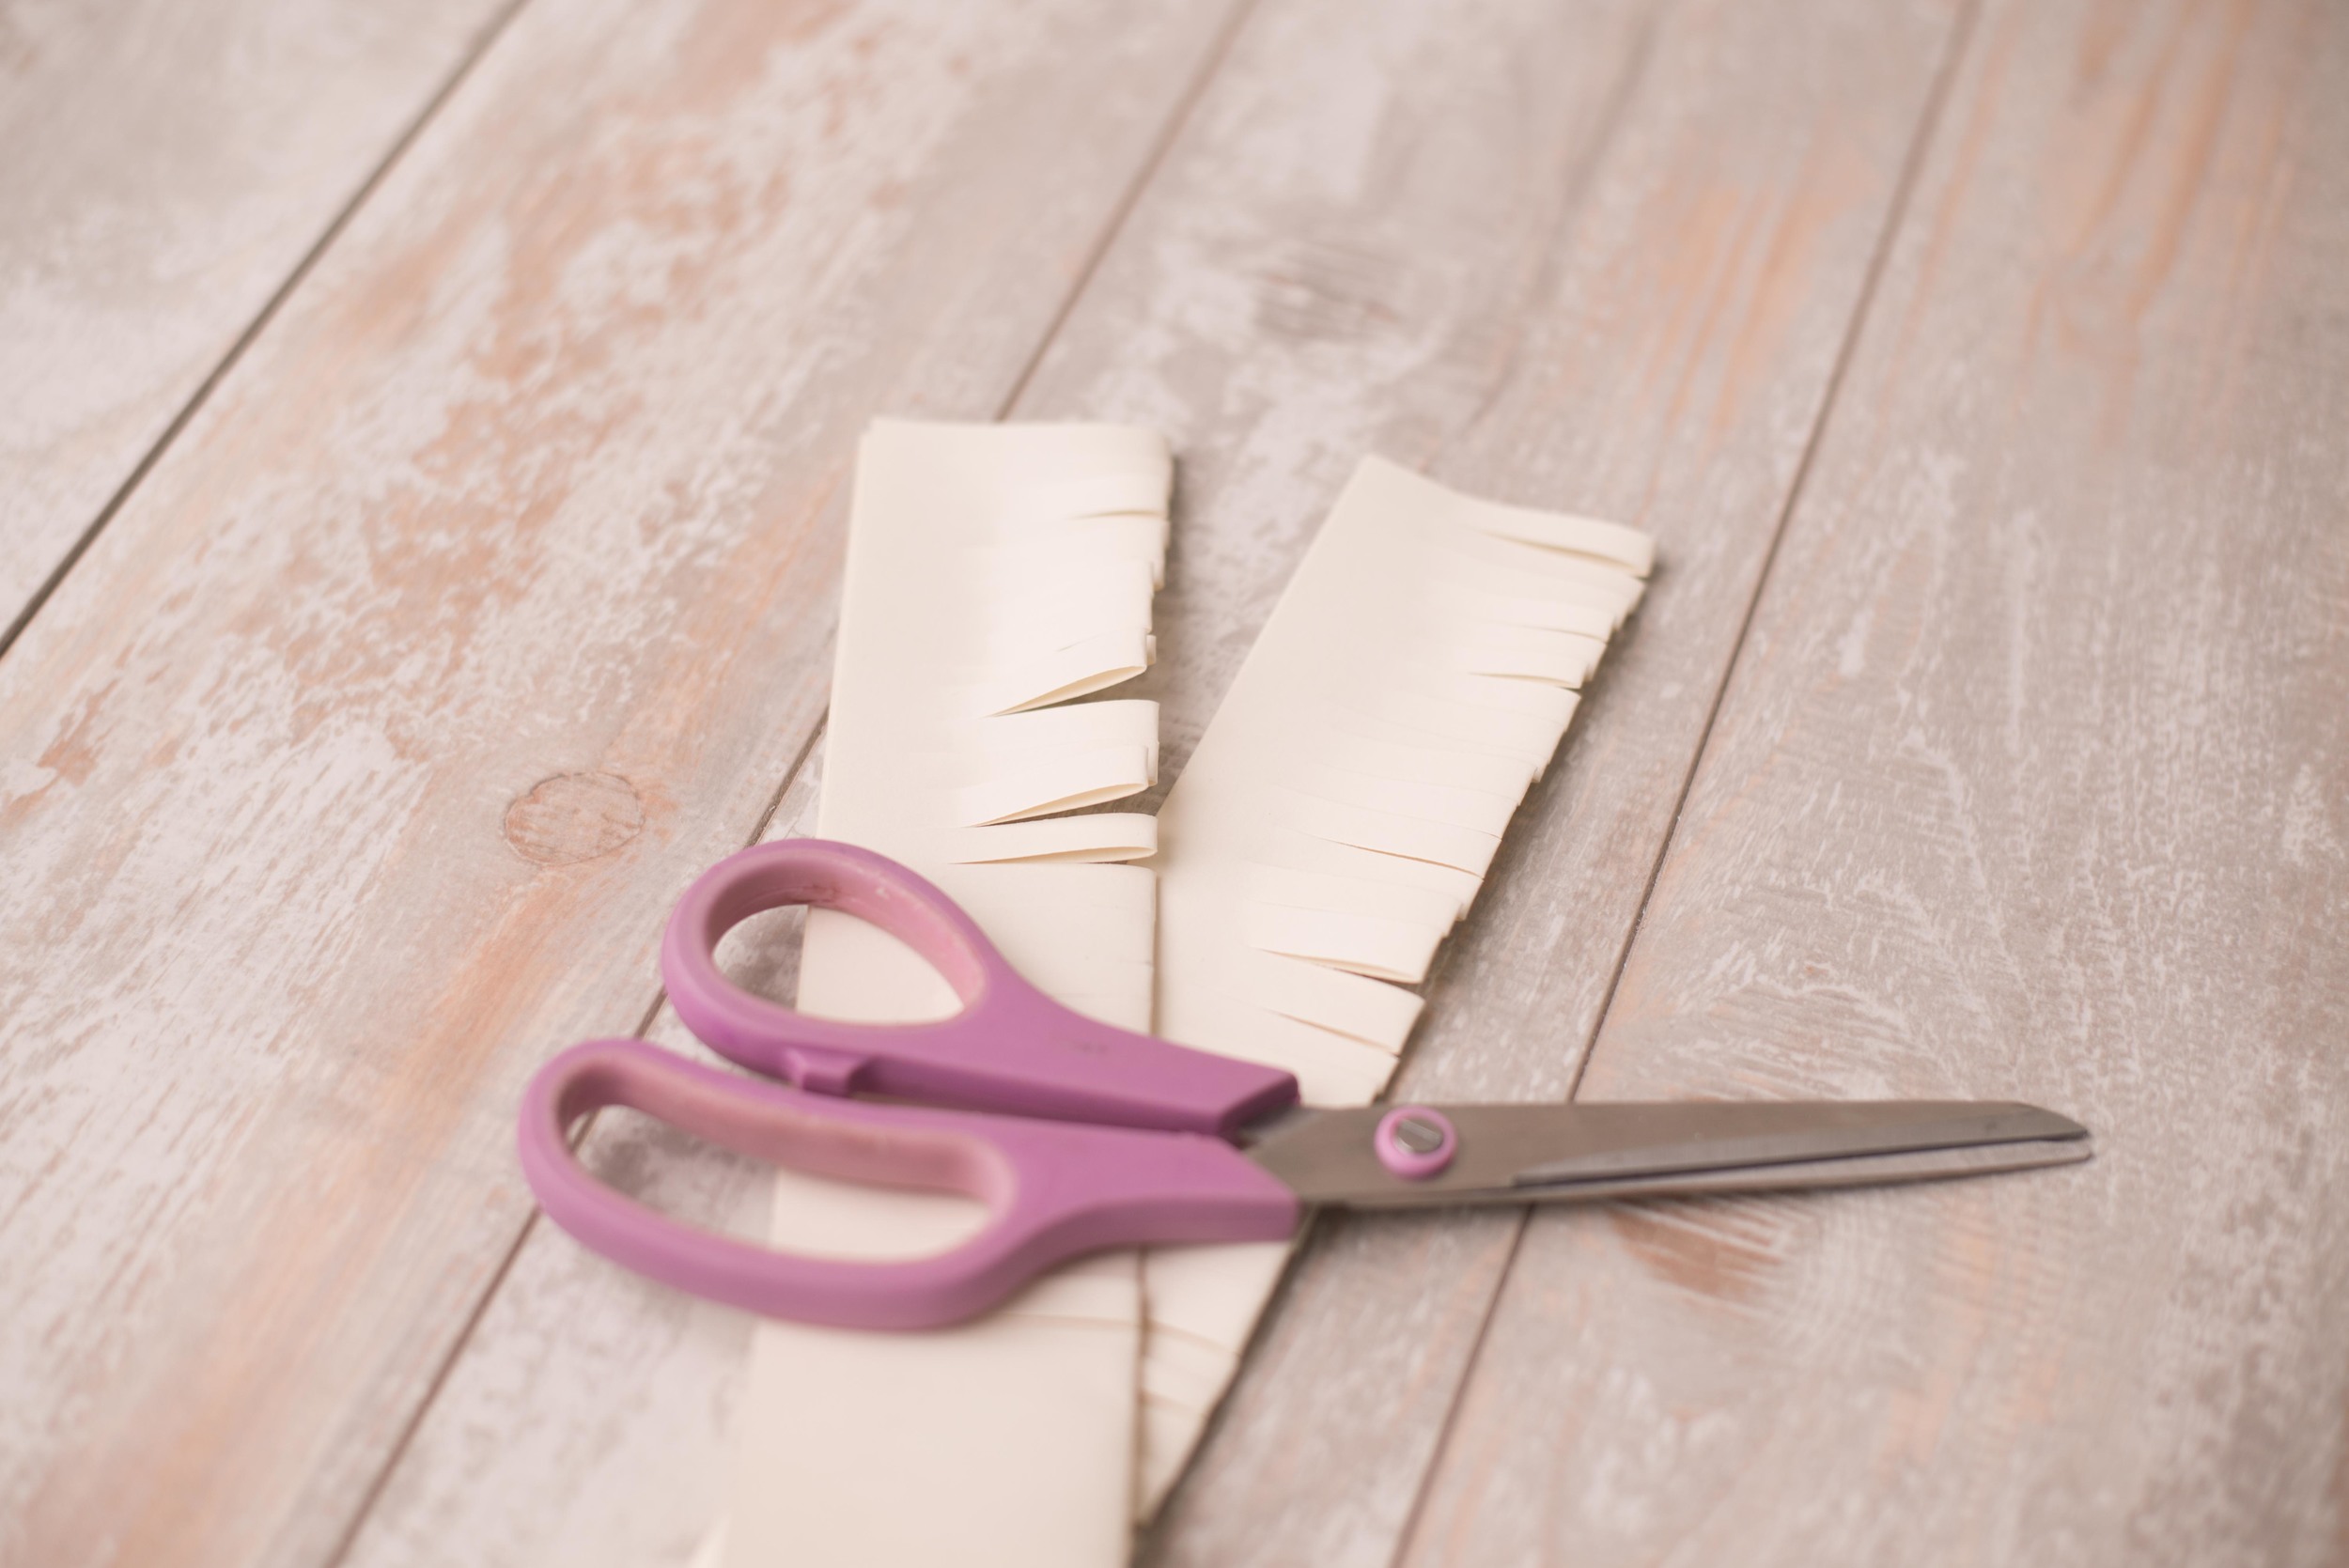
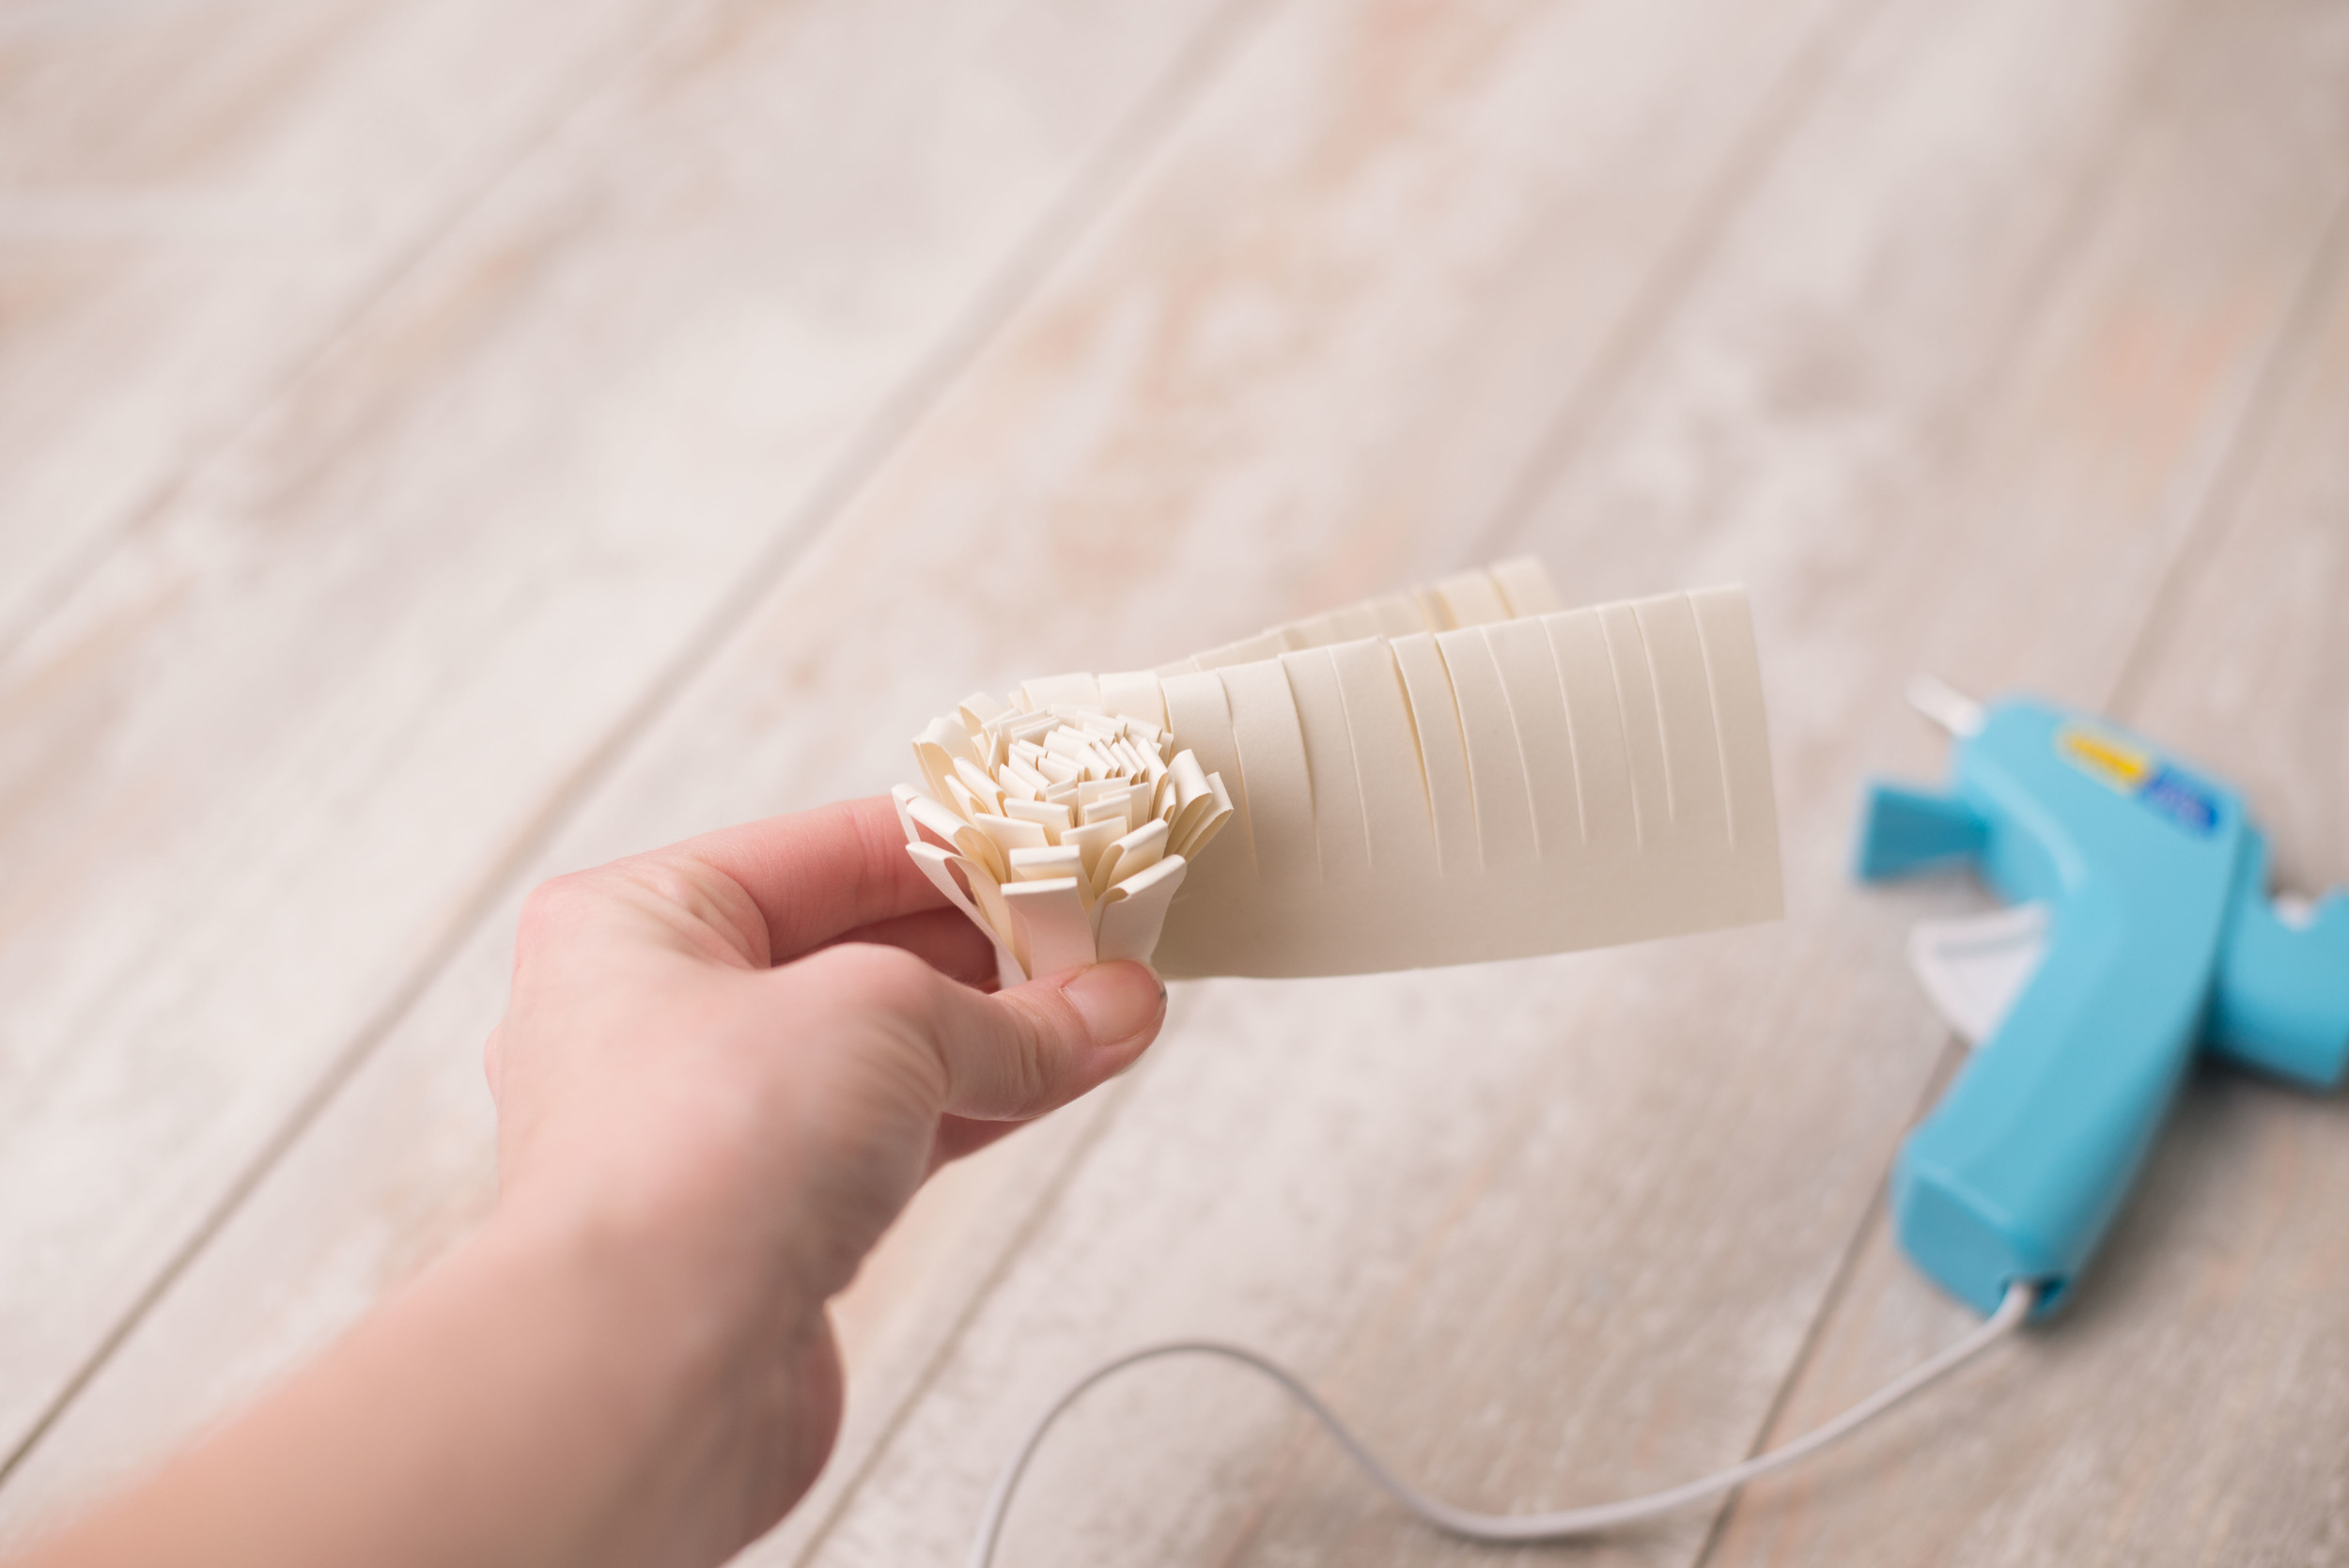
I loved this part! To decorate my teepee, I used all faux flowers and greenery. Many of these pieces I already had on hand, and the rest were bought on sale. Actually, the only piece I had to buy for this project was the greenery, which I found on sale for $9. Score!! Whenever flowers go on sale, stock up and get them at 50-60% off. You'll be so glad to have them sitting around when a project like this inspires you!
I used ribbon to cluster bunches of flowers together, securing with a knot and then wrapping around the top of the poles of my teepee. I loved draping the greenery over the poles and adjusting it to get just the right flow and balance. Have fun with this part and make it your own!
I did not permanently attach the decorations to the teepee, and they are all removable so that the teepee can be used and redecorated for a variety of sessions, each with a distinct look.

I can't wait to use this in a session I have coming up in a few weeks! I'll add more to the decor to really bring the set all to life, and I have a few magical ideas for this particular session that I cannot wait to create. Be sure to follow our Facebook page to see this teepee in use!
MATERIALS NEEDED:
4 five-foot sections of PVC pipe (approximately $5)
3.5 yards of fabric (approximately $15)
Coordinating thread
Faux flowers and greenery (approximately $25)
Sewing Machine
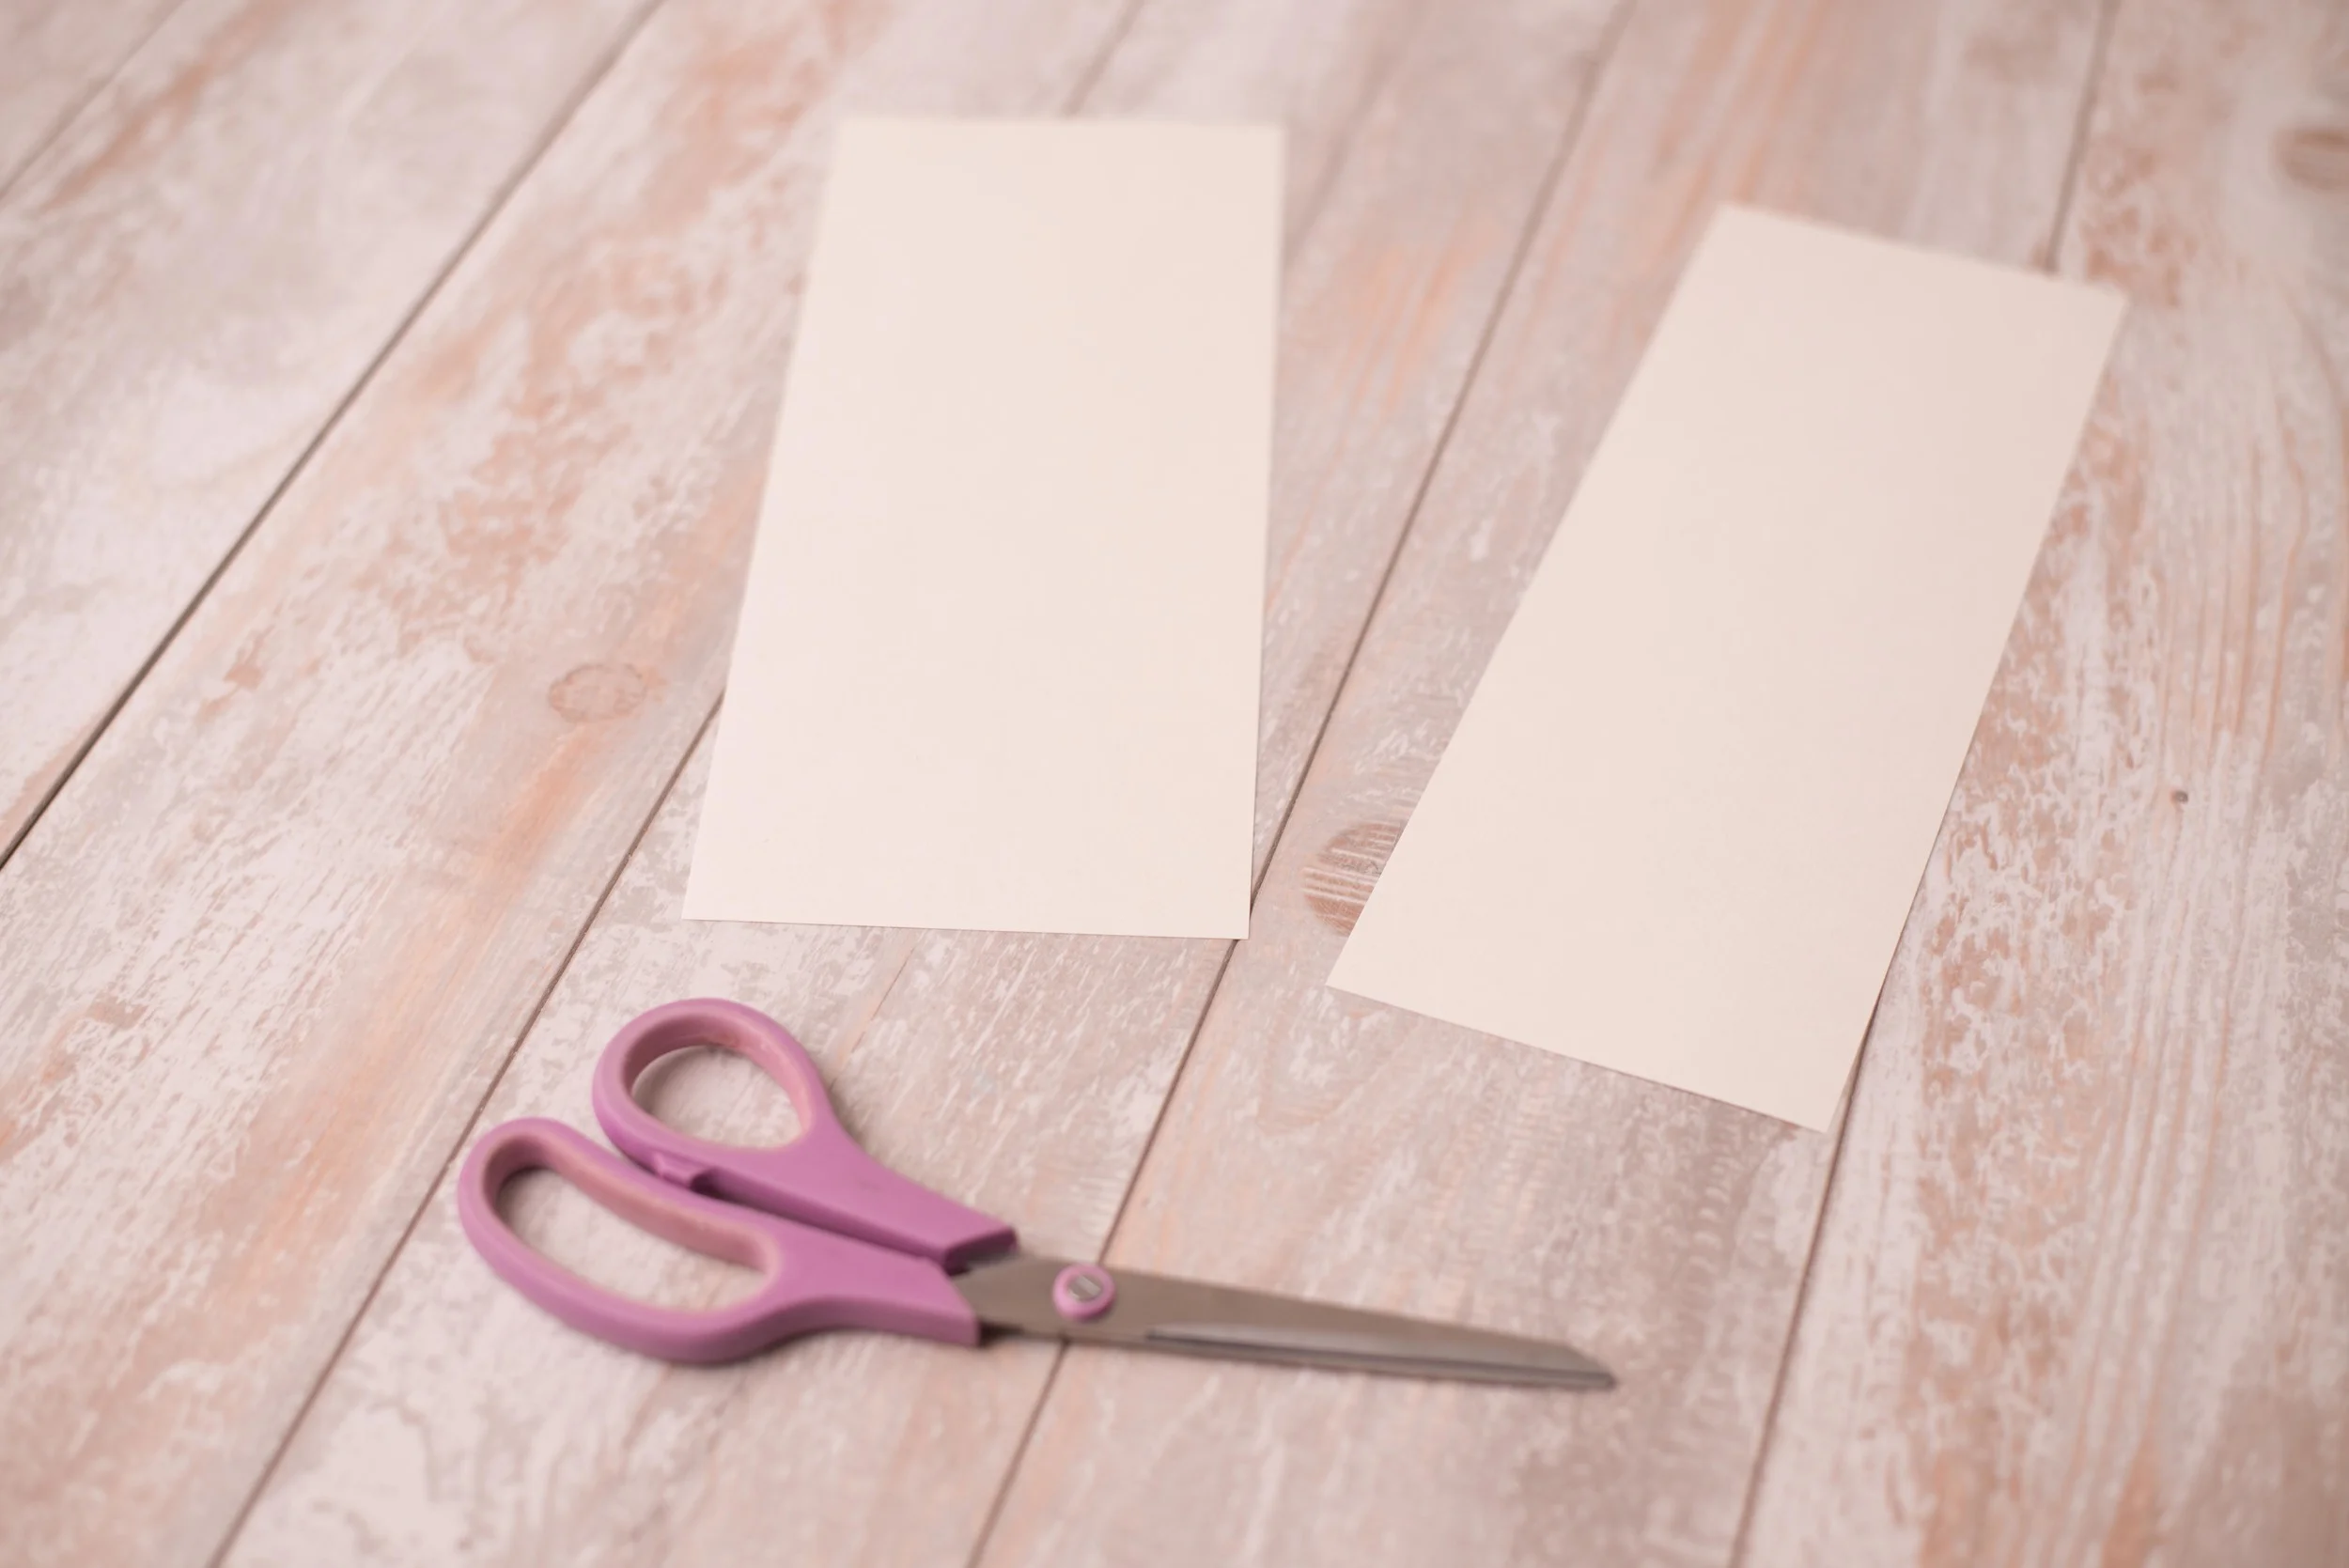
Scissors
Glue gun & glue sticks
Spray paint
Ruler/Yardstick
Did you find this tutorial helpful?
Comment below or share on your Facebook and Pinterest Page! Also, feel free to share your own pics of your DIY teepees in use.
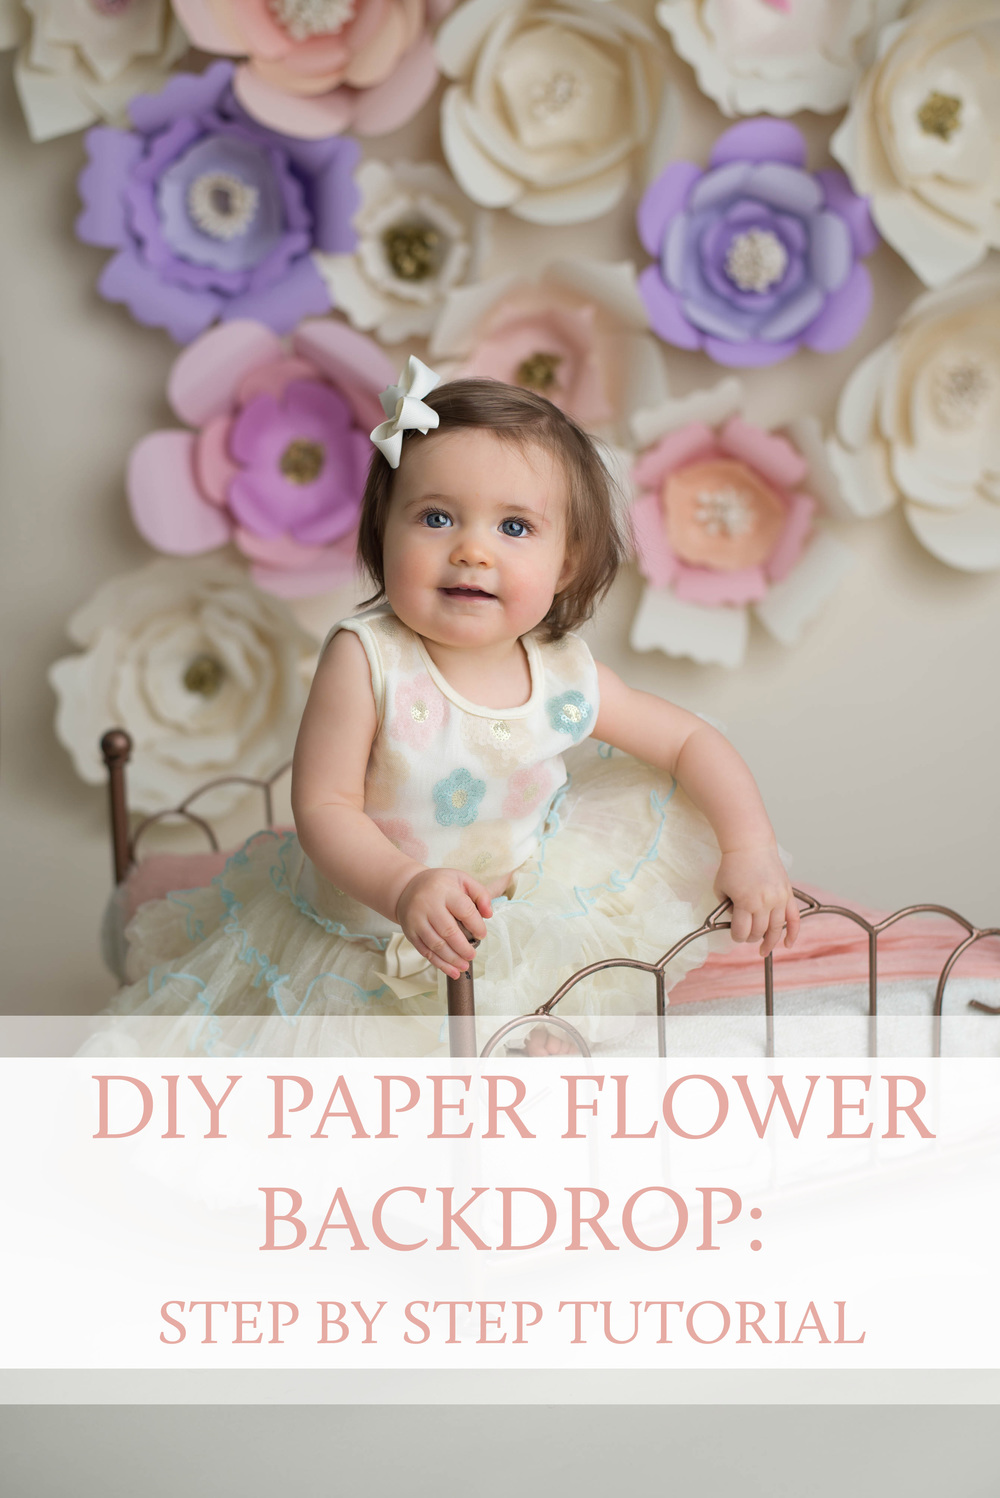
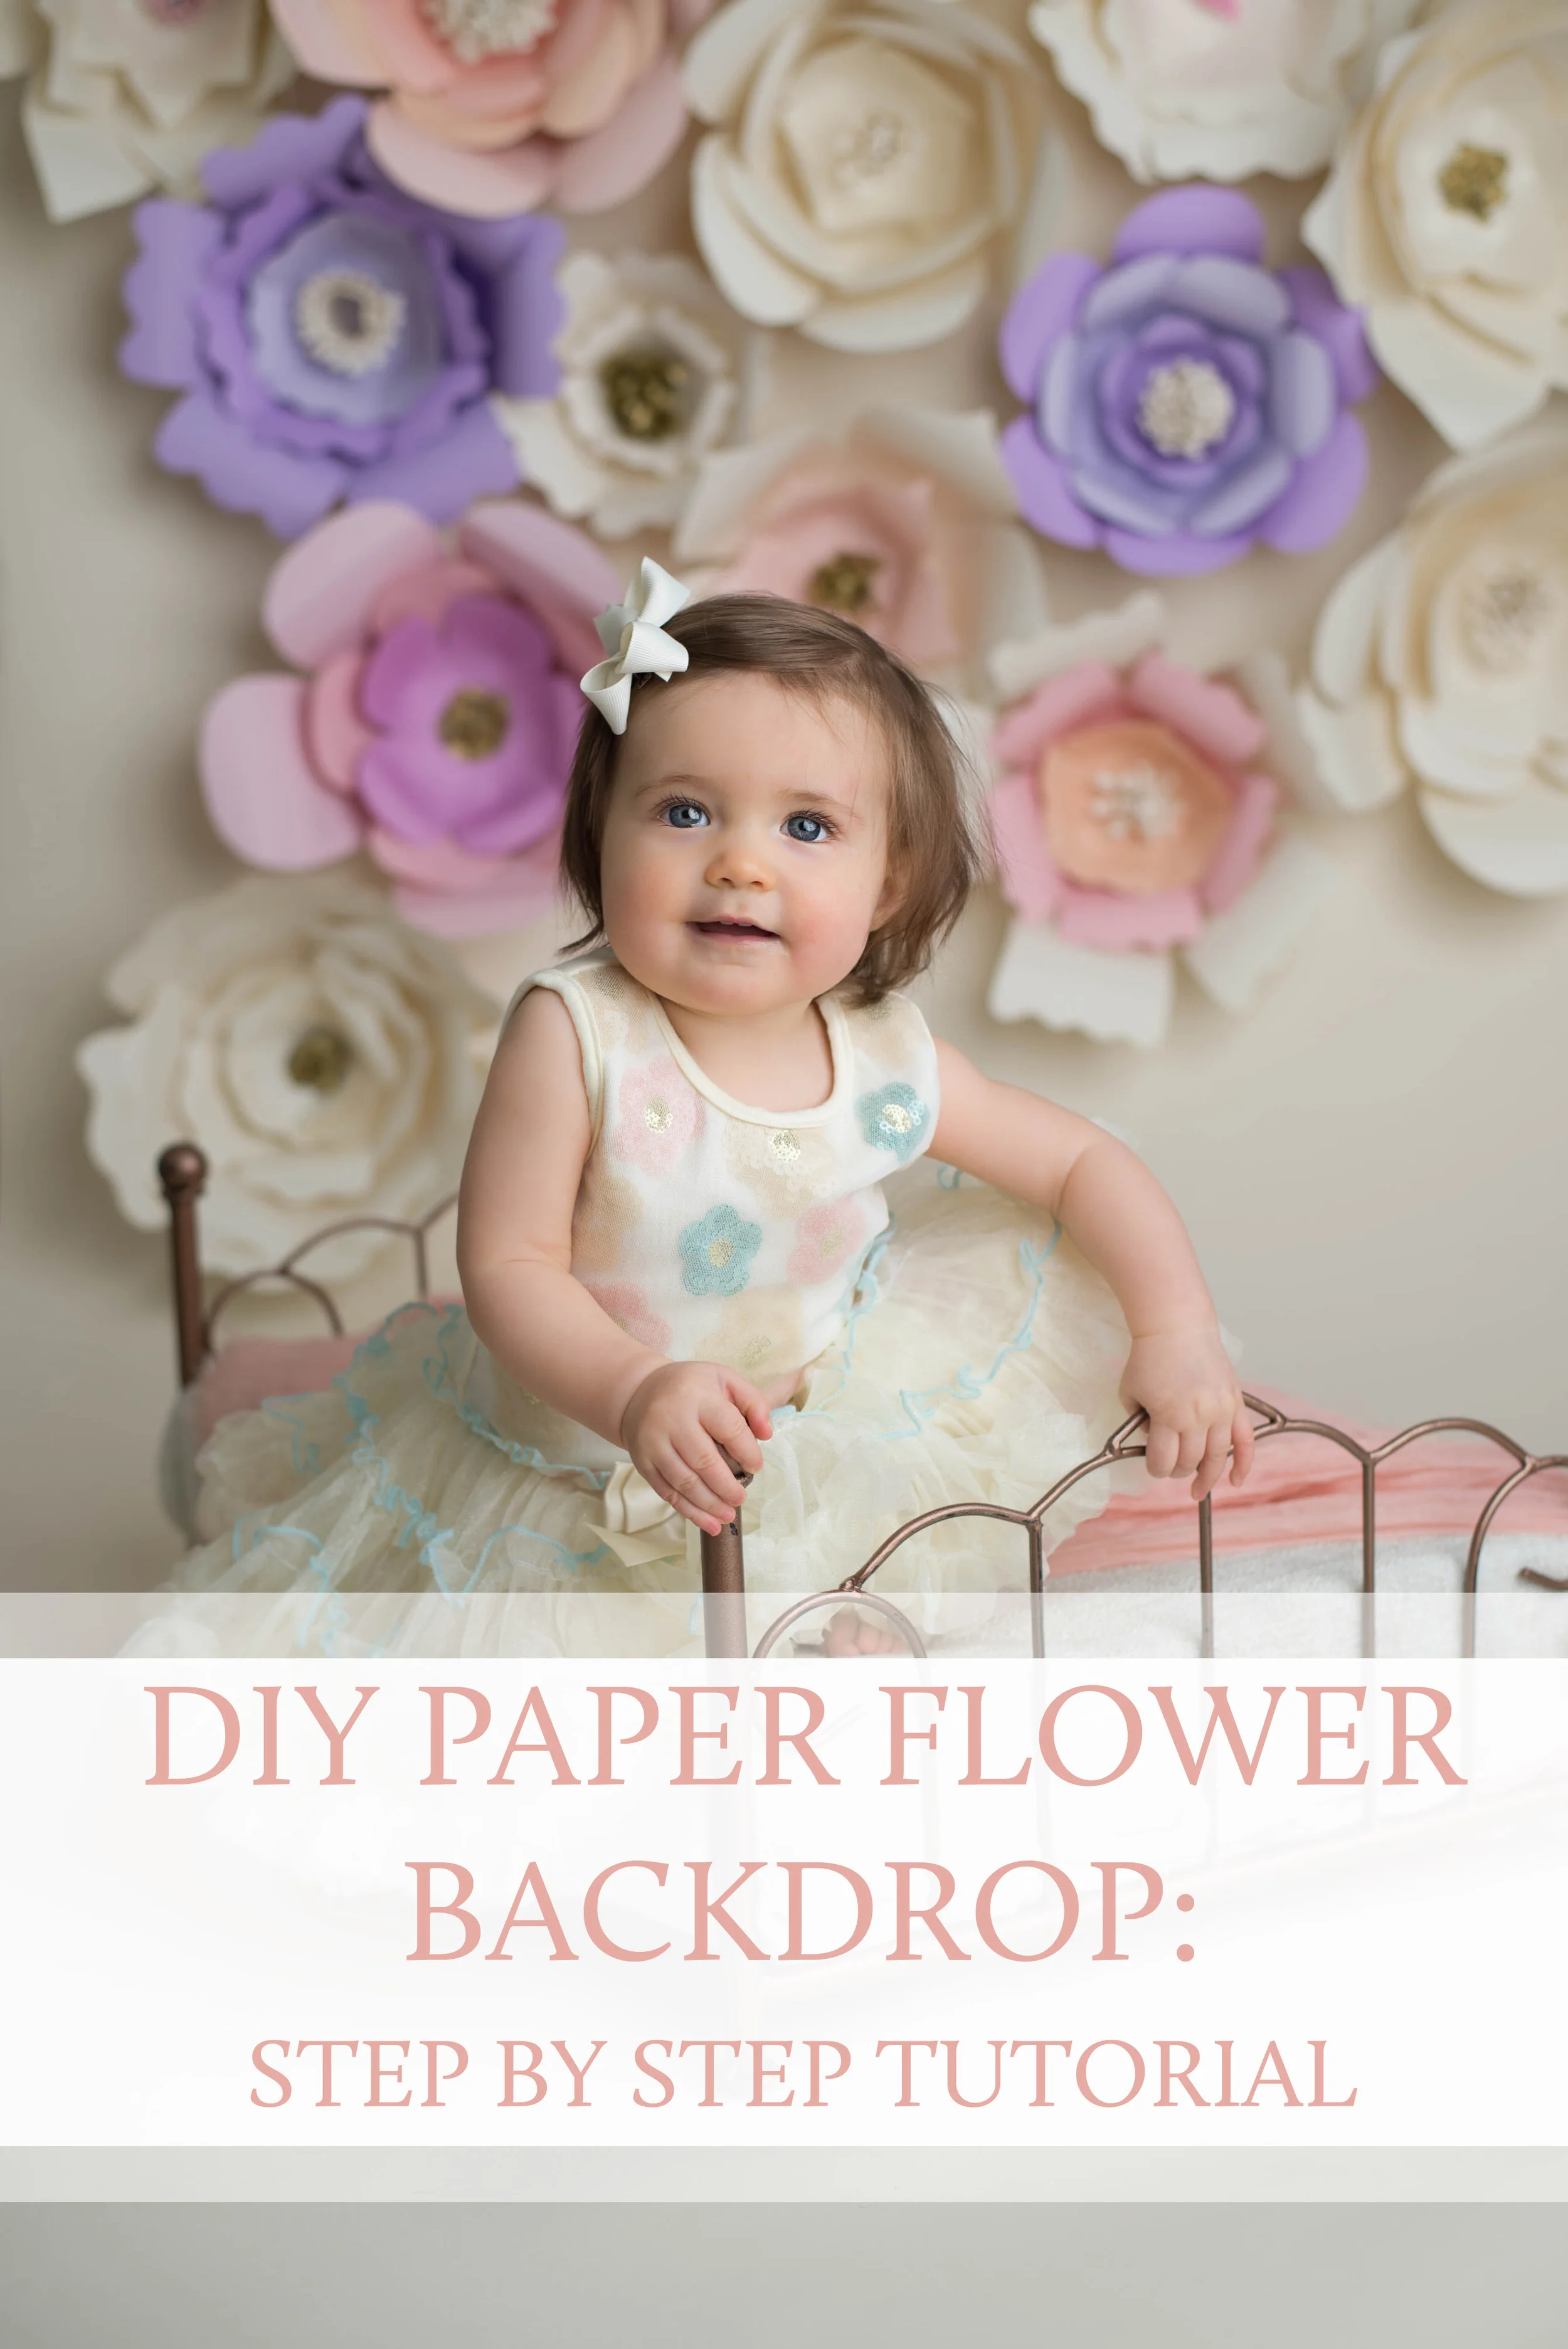
Be sure to check out our very popular DIY Paper Flower Backdrop Tutorial for step-by-step photos and instructions on creating an elegant one of a kind backdrop for your next photo session, too! This would be gorgeous to combine with a teepee!